Why Your Procreate Sketches Look Flat and Muddy (7 Quick Fixes You Can Use Today)

You know that moment when the sketch in your head looked cute, fun, awesome, then you put it on your iPad and it comes out flat, muddy, sticky (like it needs to be peeled off the screen)? Yeah. Annoying.
The good news is, most of the “why does my art look weird” panic has simple causes and simple fixes.
You don’t need more talent. You need a better setup, a better starting point, and fewer opportunities to spiral into pixel-perfection doom.
These are some of the most common digital art mistakes beginners make when switching to Procreate, and we are gonna learn easy fixes.
If your Procreate drawings look flat or muddy, you’re probably running into common digital art mistakes — like low value contrast, brush overload, or working on a canvas that’s too small. These 7 fixes help your art look clearer, cleaner, and more confident fast.
Table of Contents
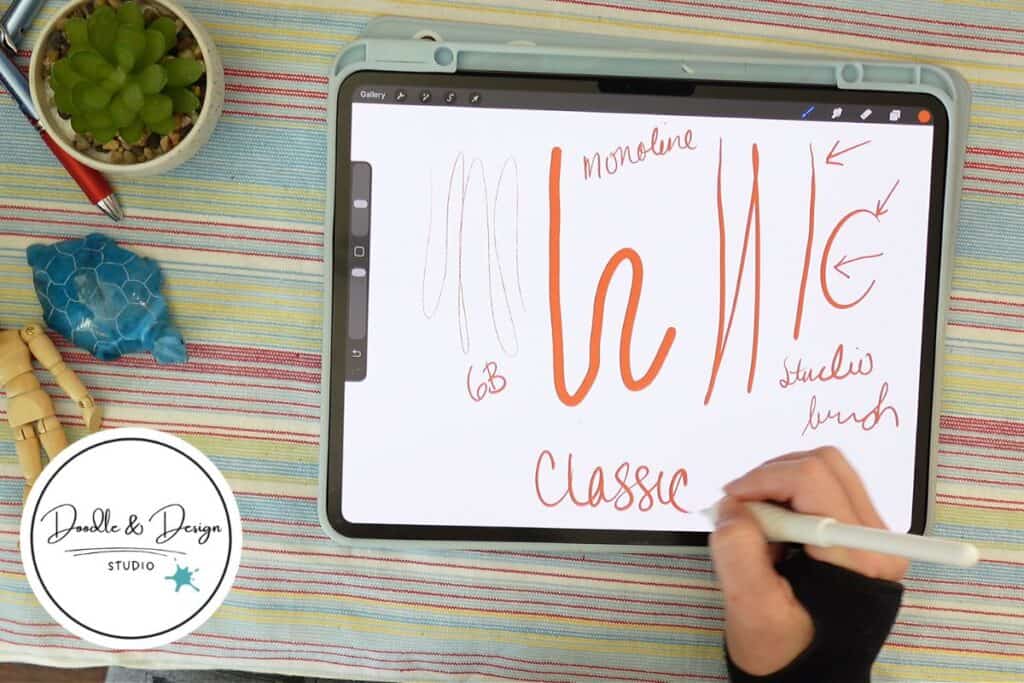
Fix 1, Stop fighting your brushes
If your lines look shaky, your shading feels impossible, or everything looks oddly textured, you might just be using the wrong brush for the job. Procreate has a million options, and that’s not always a blessing.
Signs you picked the wrong brush
- Wobbly lines that never feel clean
- Shading feels broken or patchy
- No pressure sensitivity, so everything is the same weight
- Too much texture, so your drawing looks muddy fast
Your one week brush challenge
Pick one simple sketch brush and one simple inking brush, then use only those for a week. That’s it. No brush hopping. No downloading 47 packs at midnight.
If you want to test without commitment, set a 10 minute timer per brush and doodle the same shapes each time. And if you change brush settings, duplicate your brush first, so you can undo your chaos later.
If you want a bigger list once you’ve calmed the brush chaos, check out Best brushes for creating Procreate stickers.

If you’re overwhelmed, start here: Free Digital Drawing Guide
If Procreate still makes your brain glitch, and because it has cute drawing prompts, grab this: Digital Drawing without the Overwhelm. You’ll focus on a few simple tools, small finishable pieces, and building confidence without pressure.
Fix 2, Use a canvas size that won’t betray you later
Pixelation drama usually starts with one innocent mistake: a canvas that’s too small, or a file you imported that was tiny, low DPI, and now you’re trying to blow it up like it’s magic.
If the original art is low quality, you’re often better off using it as a sketch layer and redrawing it on a properly sized canvas.
A simple starting point that works
- 300 DPI is a solid default for anything you might print
- If you’re unsure where your art will end up, start bigger
- A square around 5000 by 5000 pixels gives you flexibility
- An 11 by 14 inch canvas at 300 DPI is a practical print friendly option
If stickers are your main product goal, you’ll also like Procreate sticker canvas size recommendations.
Fix 3, Stop zooming into panic mode
You’re working in a raster app. Pixels exist. When you zoom in hard enough, everything will look like tiny stairs. That doesn’t mean your art is ruined, it means you’re basically looking at it with a microscope.
Zoom back out. If it looks good at a normal view, you’re probably fine.
When you’re preparing to sell, do a test print or order a sample before you launch to the masses. Digital lets you redo things forever, which is both amazing and dangerous for your brain.
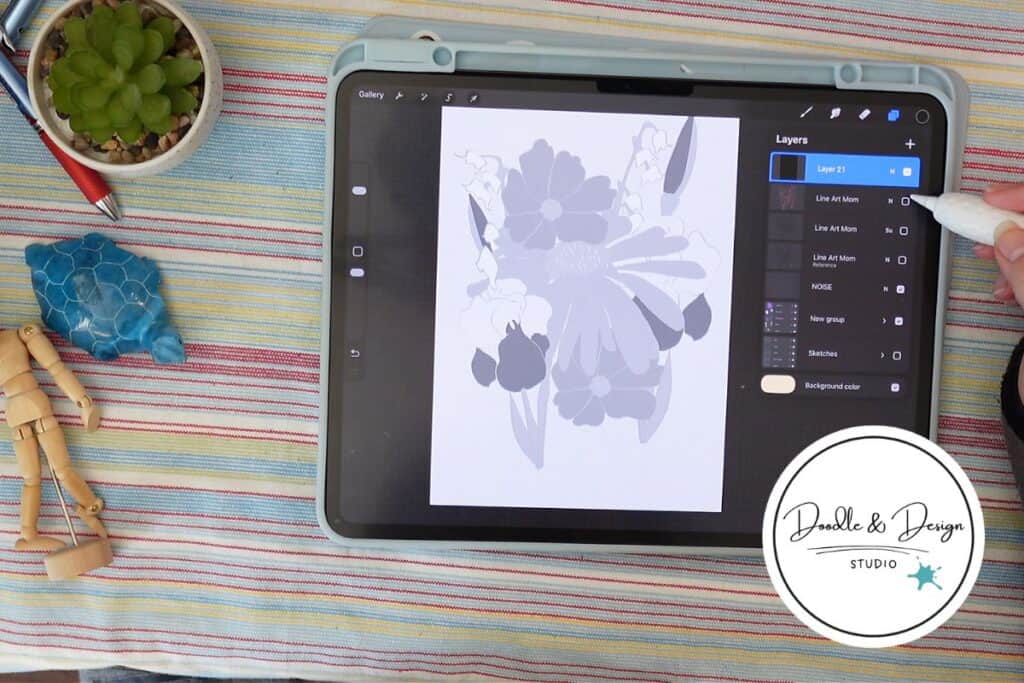
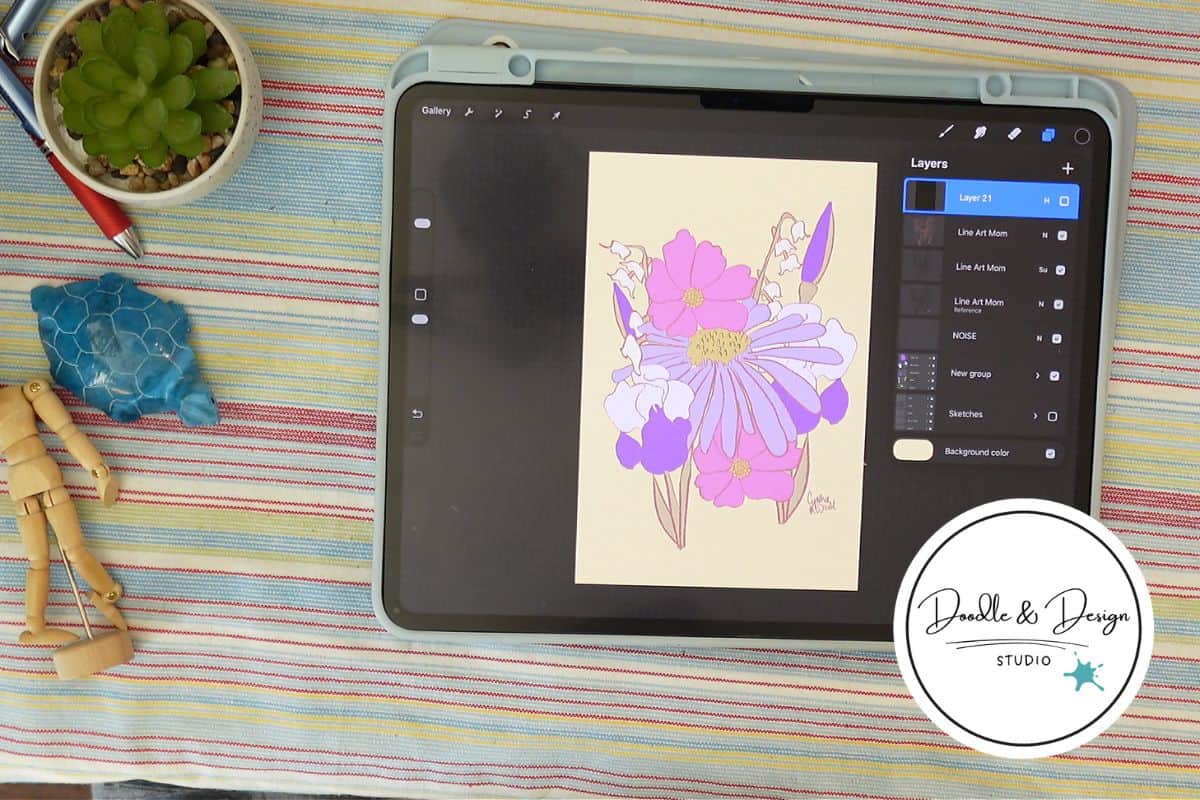
Fix 4, If it looks flat, check your values (not your worth)
Sometimes your colors are technically different, but their values are so similar that everything blends together. The result is that “why does this look like a pancake” feeling.
Quick grayscale check in Procreate
- Add a new blank layer at the top.
- Double tap black in the color panel, fill the layer with black.
- Tap the layer’s blend mode (the N), set it to Hue to see your art in grayscale.
Now you can spot where your background and subject are basically the same value, meaning they’ll blur together without outlines or shading.
For the official explanation of what blend modes do, skim Procreate blend modes guidance.
If your style is soft and low contrast, you might keep it. If you’re making products people need to read quickly (stickers, icons, prints), you’ll usually want clearer separation.
have you joined the art to income: create & Sell digital products facebook group?
If you’ve ever said, “I want to draw digitally, but I have no idea where to start,” this is your sign.
We learn Procreate tricks, share designs, celebrate tiny wins, and cheer each other on as we start selling what we make.
💕Join Us on Facebook✨
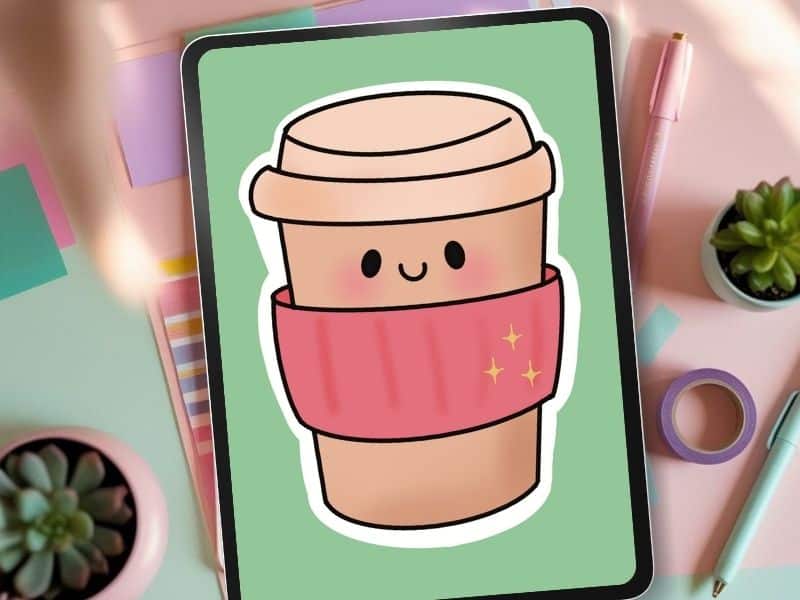
Fix 5, Decide what your edges are doing
Edges are sneaky. Too sharp and everything looks harsh. Too soft and everything melts together.
Try this: toggle your line art layer on and off. With bold outlines, your shapes separate cleanly. Without them, you may need shading to create structure.
Neither choice is “right,” but mixing sharp outlines with super soft fills can feel off unless you commit to it.
This is one of those spots where you experiment like you do with self care basics, simple inputs, small tweaks, then you keep what feels good and toss what doesn’t.
Fix 6, Your lines aren’t bad, your body might be tense
Drawing on glass feels different than drawing in a sketchbook. If you’re new to digital, shaky lines can be posture, grip, and fatigue, not a lack of skill.
Sit up. Drop your shoulders. Loosen your grip. Try to pull strokes from your arm, not just your wrist. Take breaks, especially if your shoulder to fingertips are doing that slow burn thing.
Two minutes of warmups that help
- Straight lines
- Circles
- Curves
- Little S shapes
- Simple T shapes
This isn’t for social media. This is for your hand to wake up without dragging your confidence down with it.

Fix 7, Make your iPad feel less like a skating rink
If you hate the slippery screen feel, you’re not alone. A paper feel screen protector can make drawing feel more like a sketchbook.
Some people avoid them because they wear down nibs faster, but if the alternative is never wanting to draw, that trade is easy.
Here are all the tools I use for my digital drawing
Other helpful comfort fixes from the workflow trenches:
- Pencil grips, if your hand cramps easily
- A drawing glove, if your hand sticks, though gestures can feel weird
- A tablet stand, if you want better posture (as long as it doesn’t wobble your whole life)
If you want more speed helpers once your setup feels good, see Procreate tools to speed up drawing.
Most muddy Procreate art comes from low value contrast, overly textured brushes, or stacking too many semi-transparent layers. A quick grayscale check often reveals the problem immediately.
Increase the difference between lights and darks, then decide whether your shapes are defined by outlines or shading. Clear edges create depth faster than adding more color.
Add a black layer on top of your artwork and set it to Hue. This turns your art grayscale so you can see where values blend together.
Procreate is a raster app, so pixels are normal at extreme zoom levels. Judge your work at normal viewing size and start with a larger canvas to avoid print issues.
Usually no. Tension, posture, grip, and fatigue cause shaky lines more often than lack of ability. Short warm-ups and a relaxed setup make a noticeable difference.
Give yourself time, even if you’ve drawn for years
Digital has a learning curve, even when your sketchbook skills are solid. So give yourself grace. Pick simpler tools, start with a canvas that supports your end goal, and walk away when your brain starts writing fake mean reviews about your art.
What part trips you up most right now, brushes, canvas size, colors, or shaky lines?

🎨 Art to Income Membership
Turn your doodles into dollars — one simple, sellable project at a time.
If you're staring at Procreate wondering how people go from drawing frogs in sweaters to actually selling stuff — you're not alone.
This membership helps you go from “where do I even start?” to having a finished product ready to list.
Each month you’ll get:
💖 One guided project to create and list a finished product
💖 Done-for-you assets to speed things up
💖 Trend + keyword ideas so you know what people are actually buying
💖 A supportive group of artists figuring it out right alongside you
💖 Listing and promo ideas so your art doesn’t just sit in a folder
You don’t need to be techy, trained, or totally “together” — just curious enough to try.
Want More Procreate
Whether you’re just starting out or ready to try your next cute design, here’s a full list of tutorials, tips, and easy wins for making stickers in Procreate:
Start Here: Beginner-Friendly Guides
- Procreate Beginner Guide for Stickers
- Making Stickers in Procreate for Beginners
- How to Design Stickers in Procreate
- How Procreate Stickers Boosted My Confidence as a Creative Mom
- How Procreate Helped Me Reconnect with Creativity
- What I Learned from Trying A Daily Sticker Sketch Challenge(and Failing Sometimes Too)
Learn Cute Sticker Drawing Techniques
- Draw a Cute Blushing Star Sticker
- Designing a Cute Bunny Sticker
- How to Draw Cute Cherries
- Draw a Cloud in Procreate (Easy!)
- Design a Daffodil Sticker in Procreate
- Draw a Baby Duck in Procreate
- How to Make Your First Digital Sticker in Procreate (In 10 Minutes!)
- 3 Easy Outline Effects in Procreate That Make Your Stickers Pop
Procreate Tools, Ideas & Tips
- Easy Procreate Sticker Ideas
- Sticker Making Tips in Procreate
- Procreate vs Canva for Sticker Design
- How to Design Stickers
- Procreate Tools for Sticker Design: The Beginner’s Guide for Burnt-Out Moms
- Using Layers for Stickers in Procreate
- Clipping Masks For Procreate Stickers (with Less Stress and More Fun!)
- Best Canvas Size for Procreate Stickers (Beginner Guide)
- Best Procreate Brushes for Stickers (Free & Paid)
- Resizing Stickers in Procreate: The Busy Mom’s Guide to Sanity, Success, and Not Losing It
- Procreate Color Palettes for Stickers, Effortless Sticker Color Magic
- Eraser Tool Tips for Procreate Stickers (That Even Exhausted Moms Can Master)
I have also created an entire Procreate Starter Kit with a complete sticker file so you can see exactly how I made it!
🎥 Prefer to learn by watching?
I’ve got a YouTube channel full of quick, no-pressure tutorials made for tired, creative souls like you.
Subscribe here and catch your next creativity boost, one sticker at a time.
Love and messy buns,
❤️
Cynthia McDonald
Helping women find creativity in the chaos — with stickers, stationery, and a little bit of fun
This post may contain affiliate links. I may earn a commission if you make a purchase at no extra cost to you.
Make sure and grab your favorite Pinterest Pin and Save it to your Digital Art Pinterest Board