
How To Design Your First Procreate Sticker Sheet From a Blank Canvas

You open Procreate, stare at that bright empty screen, and your brain goes just as blank.
You know you want a cute, sellable, procreate sticker sheet for your shop or planner, but the steps feel fuzzy. Where do you put each sticker, what size should the canvas be, and how do you keep it all looking like one pretty collection instead of a random pile of doodles?
You are in the right place. You will walk through the whole process, from blank canvas to finished sticker sheet, in a way that feels simple, calm, and fun, like a little self care ritual for your creative side.
If Procreate itself still feels new, you can keep this open while you follow a deeper Procreate beginner guide for stickers.
To make your first sticker sheet in Procreate, start with a blank canvas sized correctly for printing or digital use, design multiple stickers around one theme, then export your file as a transparent PNG or print-ready PDF.
- Create canvas: 4×6 inches at 300 DPI
- Choose a simple theme (food, planners, cozy icons)
- Draw each sticker on separate layers
- Add outlines or offsets
- Export as PNG for digital or PDF for print
Table of Contents
Start Your Procreate Sticker Sheet With The Right Canvas
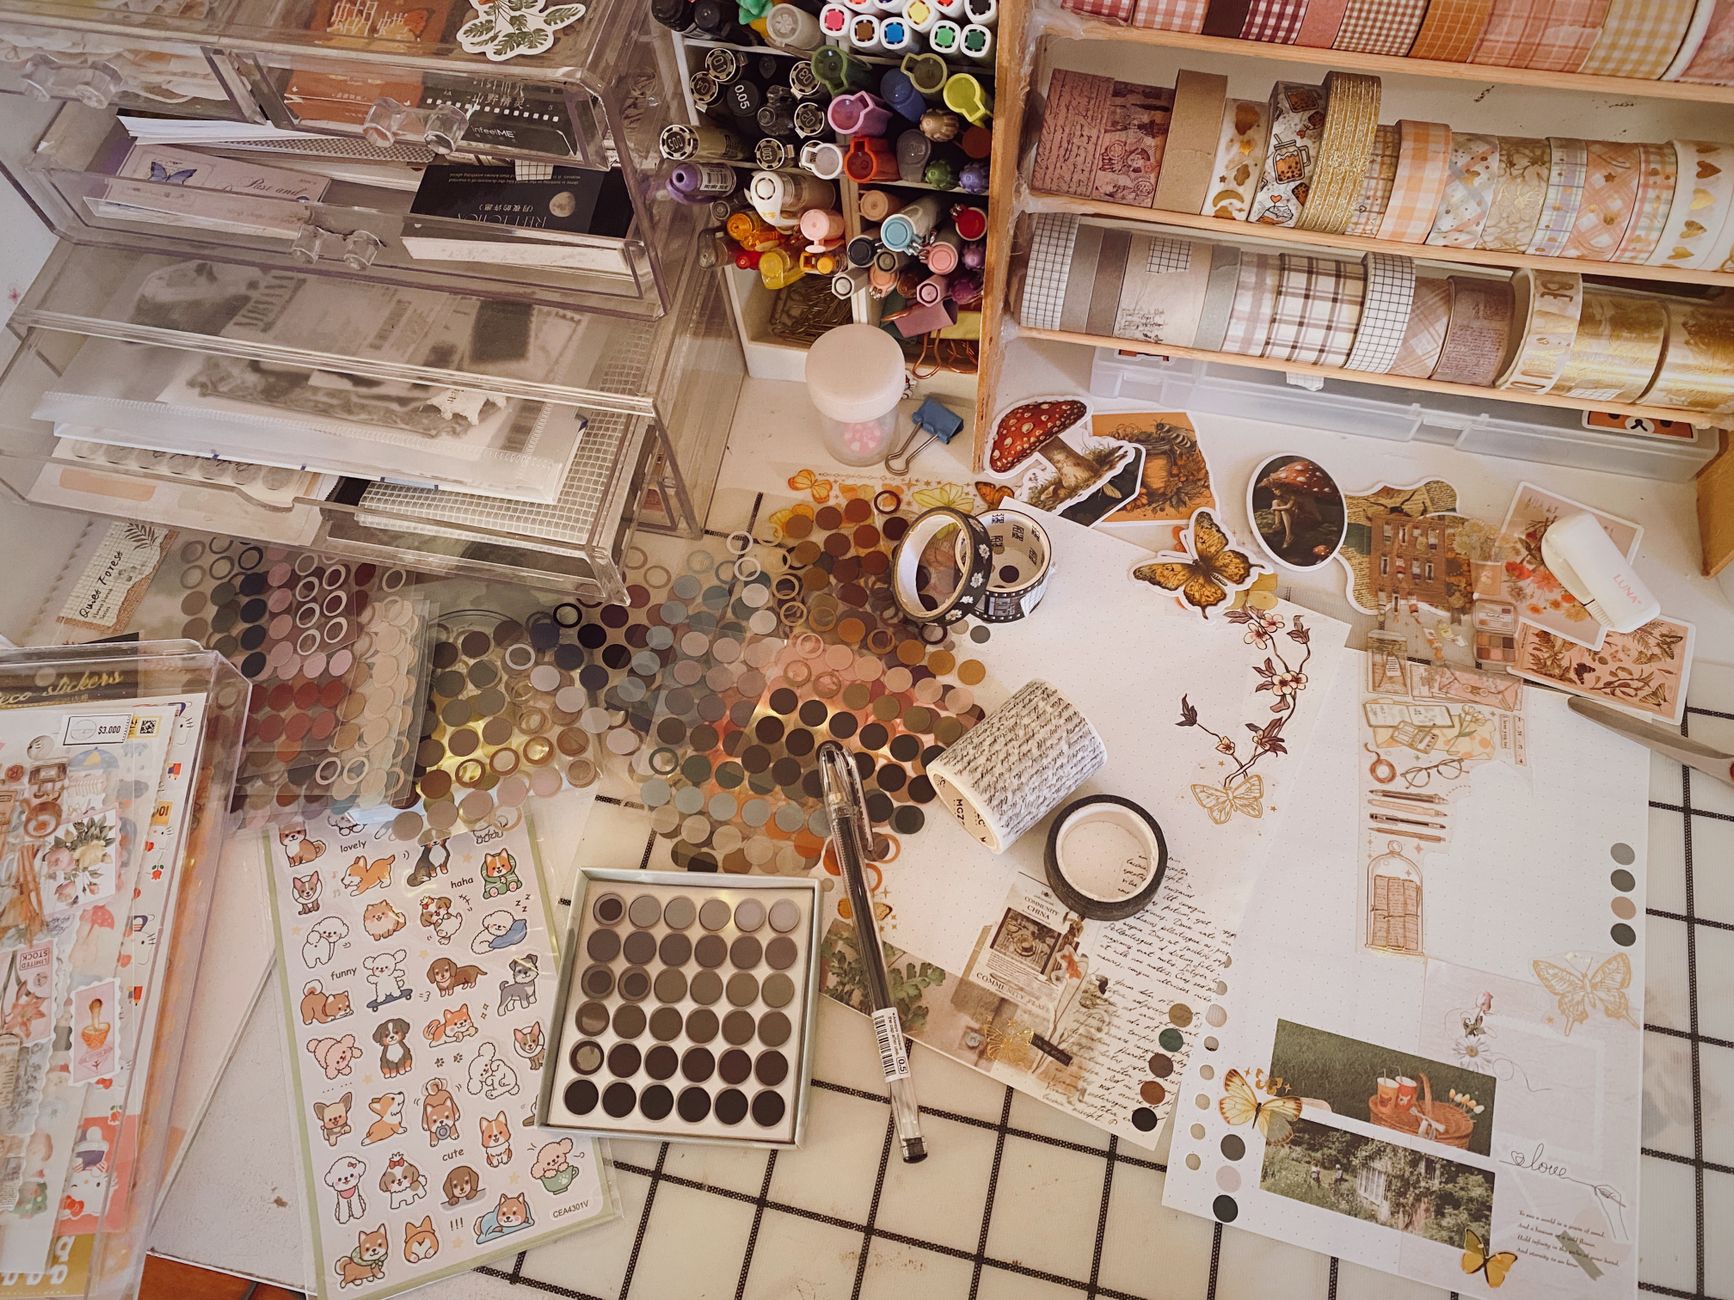
Photo by ansiveg
Think of your canvas like the foundation of your sticker design. When the size is set correctly from the start, everything looks polished before you even finish drawing.
For a print ready procreate sticker sheet, a simple starting setup is:
- Size around 8 by 10 inches or A4
- Resolution at 300 DPI
- Color profile set to CMYK if your printer or print shop needs it, or stick with sRGB if you sell digital files only
There is no one magic size, but you want room for 8 to 20 stickers without things feeling crowded. If you like nerdy details about sizes, you will enjoy this guide on the best canvas size for Procreate stickers.
Once your canvas is created, turn on a light grid in Procreate. It is like drawing invisible shelves on a store display, so each sticker has a cozy little spot to live in.
- 4 × 6 inches @ 300 DPI — Most Etsy sticker sheets
- 3 × 5 inches @ 300 DPI — Mini sheets or freebies
- 8.5 × 11 inches @ 300 DPI — Full printable layouts
Starting with standard sizes makes printing, packaging, and selling much easier later.
Pick A Theme That Feels Like A Mini Collection
Sticker sheets look more professional when they follow one clear theme. Instead of mixing unrelated ideas, choose designs that naturally work together as a collection.
Some cozy theme ideas:
- Self care night, candles, face masks, fluffy socks, tea
- Plant lady life, potted plants, watering cans, leaves
- Skincare joy, tiny soap bars, droppers, flowers, little labels
- Cottage kitchen, mugs, berries, jars, spoons
- Seasonal sets, winter mugs, summer fruit, fall leaves
You can even name your sheet like a scent, such as Coconut Lemon Morning or Lavender Field Evening. That small touch makes your set feel like something from a sweet little handmade shop. Just make sure the title in the search is something people are looking for. A cutesy name is fine on the sheet itself, but on the listing, no one will ever find it if it's Coconut Lemon Morning!
Before you draw, lightly plan how many stickers you want and how they will sit on the page. You do not need a perfect grid, just a rough idea of where big, medium, and small stickers will go so you have balance.
Struggling to come up with ideas? Check out these posts for inspiration!
Cute Sticker Ideas to Make on Procreate
Easy Procreate Sticker Ideas to Spark Your Creativity

If you’re overwhelmed, start here: Free Digital Drawing Guide
If Procreate still makes your brain glitch, and because it has cute drawing prompts, grab this: Digital Drawing without the Overwhelm. You’ll focus on a few simple tools, small finishable pieces, and building confidence without pressure.
Sketch Simple Shapes On Your Blank Canvas
Now you get to draw, and this is where the blank canvas finally starts to feel friendly.
Create a sketch layer and grab a soft pencil brush. Keep your strokes loose and quick. Think of this like scribbling ideas in a notebook, not producing finished art.
Start with your largest stickers first, maybe a big quote, a main illustration, or a centerpiece item. Then drop in medium items, then little accents. This top down approach helps you avoid a crowded mess at the end.
You might also:
- Use different colors for rough shapes and final lines
- Keep each sticker on its own layer so it is easy to move
- Zoom out often to check how the whole sheet feels
If you want a walk through of sketching and finishing a single sticker design, this step by step guide to creating stickers in Procreate is a great companion.
Want to take a peek at the digital drawing accessories I use? Here is my list of must-haves and nice-to-haves.
Clean Up Line Art And Make Colors Feel Cohesive
Once your rough sketch looks balanced, lower the layer opacity and create a new layer on top for clean line art.
Use a smooth brush like Studio Pen or a monoline style brush for crisp outlines. Give each sticker a little breathing room so a white border will fit around it later.
Now let’s talk color. To make your Procreate sticker sheet feel like a real collection, stick to a small color palette. When your colors repeat across stickers, the whole sheet instantly looks more cohesive and intentional.
You can:
- Pick 3 to 5 main colors and 2 accent colors
- Reuse the same greens, pinks, and golds across every sticker
- Add small touches, like rosy cheeks or tiny sparkles, to tie it together
Use Alpha Lock or Clipping Masks for shading if you know those tools. They let you color inside your lines in a way that feels like a grown-up coloring book. Here is an article about clipping masks if you just had a slight panic attack! Clipping Masks For Procreate Stickers (with Less Stress and More Fun!)
Arrange, Resize, And Add That Sticker Sheet Border
Now your stickers look cute on their own, so it is time to make them look great as a group. This is where the procreate sticker sheet really takes shape.
Select each sticker layer and use the Move tool to nudge them around the page. Resizing Stickers in Procreate: The Busy Mom’s Guide to Sanity, Success, and Not Losing It . This post will show you the ins and outs of using the select and transform tool for moving things around on your canvas.
A few tips:
- Keep similar shapes from lining up in a stiff row
- Rotate a few stickers slightly so the page feels playful
- Mix big, medium, and tiny icons so every space feels used
When you like the layout, add borders. Most sticker lovers expect a white or light colored outline around each design.
You can:
- Duplicate each sticker, fill the copy with white, and place it under the original
- Slightly enlarge the white shape with the selection tool
- Add a drop shadow or soft colored edge if your style calls for it. Check out this article for 3 Easy Outline Effects in Procreate That Make Your Stickers Pop
- Grab my free Procreate Starter Kit and use my sticker brush to outline your stickers!
Try to keep borders roughly the same width around the whole sheet, just like consistent labels on quality skincare bottles make a display feel calm and reliable.
- Set your canvas (choose a standard sheet size + DPI).
- Pick a simple theme (6–12 icons that match).
- Draw each sticker on its own layer (so editing is easy).
- Add outlines/offsets if you’re printing or cutting.
- Export correctly (PNG for individual stickers, PDF for printable sheets).
- Save a master file so you can edit and expand the set later.
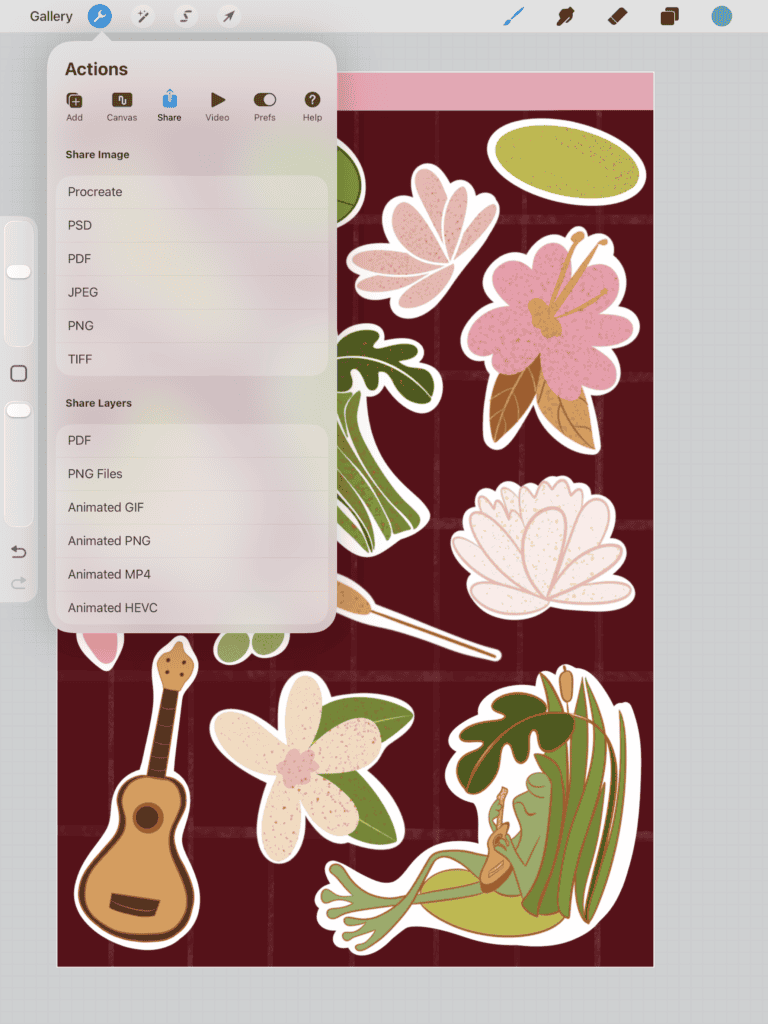
Export Your Procreate Sticker Sheet For Print Or Digital Sales
Now you are ready to send this baby out into the world, whether you print it at home, send it to a print shop, or sell it as a digital file.
Turn off any background color if you want a transparent PNG and export as:
- PNG for transparent backgrounds
- JPEG for a plain white background
- PDF if a print shop asks for it
Name your files in a way that makes sense to your future tired self, for example, cozy self care sticker sheet version one.
If you want to peek at a complete Procreate file that is already set up for you, the Procreate Starter Kit gives you a full sticker project you can learn from. It's an individual sticker, not a sticker sheet in the file!
You can also list the sheets you make on Etsy or your own site as a printable file or as a sheet sized for digital planners. Over time, you can build a little library of sheets.
Many creators design stickers in Procreate and then move to Canva for adding text or layouts, here’s how Procreate and Canva compare for sticker makers.
- Turn OFF background layer
- Export stickers as PNG (transparent)
- Use 300 DPI for printable stickers
- Export full sheet as PDF for customers
- Keep original Procreate file for edits
PNG files work best for digital stickers and cutting machines like Cricut or Silhouette.
What To Do After You Finish Your First Sheet
Your first sheet will not be perfect, and that is fine. You just proved you can go from blank canvas to finished Procreate sticker sheet, and that is a big deal. Wohoo! Celebrate!
From here you can:
- Try the same theme in a different color palette
- Turn your favorite sticker into a matching print or phone wallpaper
- Take a peek at The Beginner’s Guide to Making Money with Digital Art
Most of all, keep it fun. You are not just filling a page, you are building a tiny collection of your art that someone will stick on a laptop, planner, or notebook and see every single day. That is a quiet kind of creative joy, and you earned it.
Most beginner sticker sheets use a 4×6 inch canvas at 300 DPI because it prints cleanly and fits common packaging sizes.
Yes. Many Etsy sellers create sticker sheets entirely in Procreate and export them as printable or digital products.
Most sheets include 6–15 stickers depending on size and complexity. Leave spacing for cutting machines if printing.
PNG works best for individual stickers and transparent files, while PDF is ideal for printable sticker sheets customers download.
🎥 Prefer to learn by watching?
I’ve got a YouTube channel full of quick, no-pressure tutorials made for tired, creative souls like you.
Subscribe here and catch your next creativity boost, one sticker at a time.
Love and messy buns,
❤️
Cynthia McDonald
Helping women find creativity in the chaos — with stickers, stationery, and a little bit of fun
This post may contain affiliate links. I may earn a commission if you make a purchase at no extra cost to you.
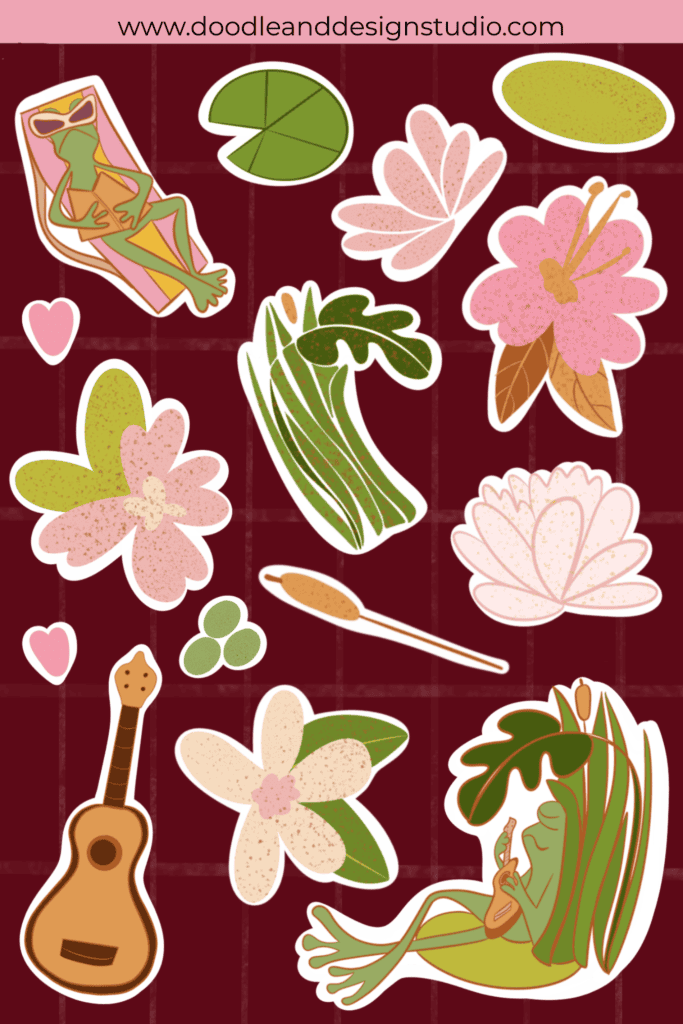
Make sure and grab your favorite Pinterest Pin and Save it to your Digital Art Pinterest Board

🎨 Art to Income Membership
Turn your doodles into dollars — one simple, sellable project at a time.
If you're staring at Procreate wondering how people go from drawing frogs in sweaters to actually selling stuff — you're not alone.
This membership helps you go from “where do I even start?” to having a finished product ready to list.
Each month you’ll get:
💖 One guided project to create and list a finished product
💖 Done-for-you assets to speed things up
💖 Trend + keyword ideas so you know what people are actually buying
💖 A supportive group of artists figuring it out right alongside you
💖 Listing and promo ideas so your art doesn’t just sit in a folder
You don’t need to be techy, trained, or totally “together” — just curious enough to try.


