Draw a Cute Blushing Star Sticker in Procreate: A Step-by-Step Tutorial
Ever wanted to create your own adorable stickers? This tutorial will show you how to draw a cute blushing star sticker using Procreate.

Whether you're a seasoned digital artist or just starting, this quick and fun project will guide you through each step.
Plus, it doesn’t require hours of work. If you like creating, you can still be creative, even when short on time!
Watch the video tutorial here:

Setting Up Your Canvas in Procreate
First, let's get our canvas ready. In Procreate, create a new canvas.
A good size to work with is 2000 pixels by 2000 pixels. This size gives you enough detail while keeping the file manageable.
However, you can always choose a size that you like or need for your project.
To get a better view of your sticker as you work, turn off the background layer. This lets you see the sticker without any distractions.
The video uses a light interface for better visibility.
If you're in dark mode, you can switch to the light interface by going to Actions > Preferences > Light Interface. Toggle On.
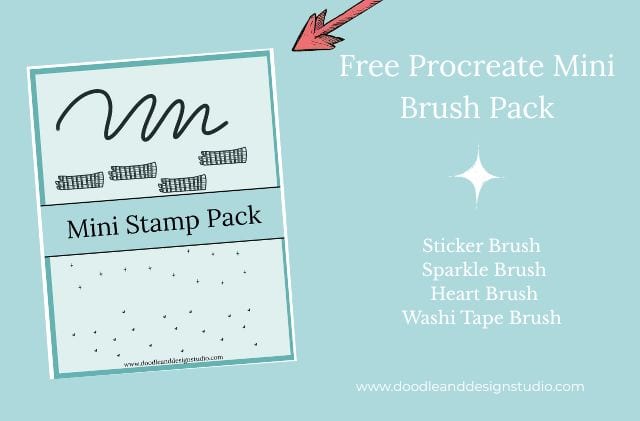
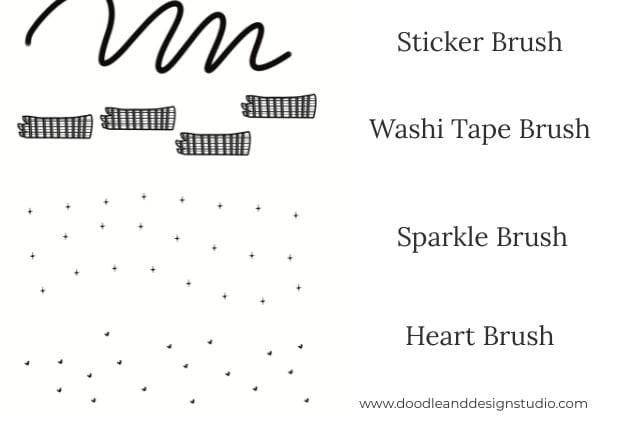
Want to follow along with this tutorial?
I made a free Procreate brush pack that includes a beginner-friendly sticker brush and 3 stamp brushes

draw a cute blushing star sticker ideas
Now comes the fun part: drawing the cute blushing star sticker! I will show you two different ways to create your star shape.

Using the Monoline Brush
The first method involves using the Monoline brush. You can find it in the “calligraphy” brush set.
This brush is perfect for creating smooth edges, which is exactly what we want for our sticker.

Start by selecting the Monoline brush and choosing a dark color. This will make it easier to see your lines.
Then, draw a “u” shape. Procreate has a feature called QuickShape that automatically smooths out your lines.
However, sometimes QuickShape can be a little too eager to give you sharp lines.
If that happens, hit the undo button and draw a slightly more rounded “u” shape to get the arc you want.
Repeat this process, creating several “u” shapes to form the points of your star.
It might take a little practice to get the shapes just right. Don't worry if they're not perfect; a little imperfection can add to the charm!
The Classic Star
The second method is the one you probably learned in grade school. It's the classic five-pointed star that we've all drawn a million times.
Simply draw the star shape as you normally would. Again, don't worry about perfection. A slightly organic, uneven shape can look really cool.
Don't even have enough time to create these cute blushing star stickers?
Check out our Etsy shop D and D Studio Designs, buy some stickers and skip forward to decorating your belonings or planner!
Cleaning Up the Lines
Once you have your star shape, you might want to clean up the lines a bit.
Use the eraser tool to get rid of any extra bits or wobbly lines.
Here's a handy tip: if you long-press on the eraser icon, it will select the same brush you're currently drawing with.
This is great because it keeps the texture and smoothness consistent.
Now zoom in and use your eraser tool to remove the five point star's center lines.

Coloring the Star: Adding a Base Color
With our star shape complete, it's time to add some color! First, make sure that your lines are closed.
This is important because it allows us to easily fill the shape with color.
Tap on the layer that contains your line art. Then, tap “Reference.”
This tells Procreate to use the lines on this layer as a reference for filling in color on other layers.
Next, create a new layer underneath the line art layer. This is where we'll add our base color.
Select a bright pastel yellow and use the ColorDrop tool to fill in the star shapes.
Because we set the line art layer as a reference, the color should fill the entire shape without spilling over the edges.
Want to try designing your first Procreate sticker?
Grab my free Sticker Brush Mini Pack with 1 custom brush and 3 fun stamps to kick off your creative chaos.

Adding Texture
Now, let's add some texture to give our star some depth. Create a new layer above the base color layer.
Then, turn on clipping mask. This will confine the texture to the shape of the star.
Navigate to the “Textures” brush set and choose the “Dove Lake” brush.
Select a lighter shade of yellow and gently brush over the star.
Create another layer with clipping mask and use the “Grunge” brush from the “Textures” brush set.
Pick a darker, mustard yellow color and add some darker texture. Adding texture keeps the design from looking so flat.
However, if you prefer flat colors, that's perfectly fine too!
Sticker News Right In Your Inbox
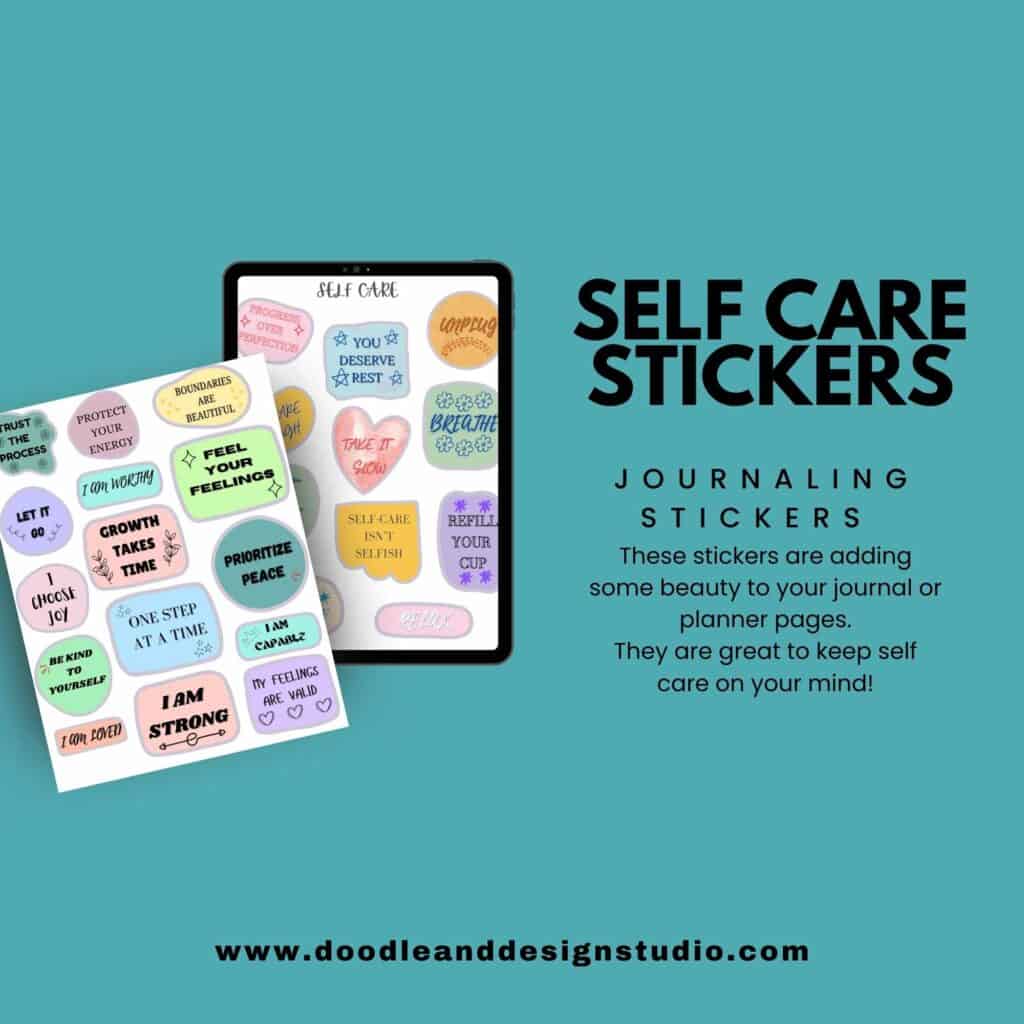
Sign up for our email list below and score this Freebie of 26 Self Care Stickers.
We will send you fun sticker news, new sticker ideas and prompts, and creative ways to use stickers!
Alternative Texture: Noise and Glow
Here's another way to add texture. If you want to try this method, first erase the previous texture from the light layer.
Create a new clipping mask layer and choose the “Noise” brush from the “Materials” set.
Use a darker yellow to create a grainy texture.
Fun fact: the more passes you make with this brush, the more it can actually remove texture. So just be careful.
Create another clipping mask layer and choose the “Glover” brush from the “Materials” set.
Use a very light yellow to add highlights. The different brushes can create really unique effects!
Brightening Effects
If you want to make your star even brighter, you can experiment with layer blend modes.
Tap the layer, then tap the letter on the layer. It's typically “N” for normal.
This will bring up a menu of different blend modes. “Add” can create a really bright effect.
For this tutorial, I preferred the original look after almost blinding myself with the “Add” selection.
So the layer mode is left on “Normal.”

Adding the Face: Eyes and Mouth
Time to give our cute blushing star drawing some personality!
Create a new layer above the color layers. Select black as your color.
Go back to the “calligraphy” brush set and choose the “Monoline” brush.
Draw large, black, cartoonish eyes. Sometimes QuickShape isn't helpful for perfect circles.
Just draw them as best you can! And make sure you fill them in.
Add a simple smile or a “w” shaped mouth.
You can also add eyelashes for extra cuteness.
Remember to use different layers for each element. This makes it easier to edit them later.
So you don't accidently get rid of all your hard work.

Adding Cheeks and Glimmer
To make our star even more adorable, let's add some blushing cheeks.
Create a new layer underneath the eyes layer.
Switch to the “Airbrushing” brush set and choose the “Soft Brush.”
Select a shade of pink for the blush and gently add some soft, subtle cheeks to the star.
Adjust the brush size for the effect you want.
For extra sparkle, add another new layer, using a clipping mask.
Select a very light pink and navigate to the “Luminance” brush set.
Choose the “Glimmer” brush to add sparkle to the cheeks (or the whole star!).
These steps are optional, but they add extra personality.

Creating a Sticker Background: White Outline
Now, let's turn our drawing into a sticker. There are a few different ways you can do this.
You can export the design as a PNG with a transparent background.
This is fine for some manufacturers. However, adding a white border provides a clear cutting line which may be necessary if you have a cutting machine.
Create a new layer underneath all the star layers. For the outline, I used the “calligraphy” > “monoline” brush.
Select a bright white color and carefully draw an outline around the cute blushing star.
A wider outline is helpful for cutting machines. The white outline acts as a cut line, preventing the machine from cutting into the design.
Turn off other layers to avoid unexpected results, especially if you're using varying opacities.
If you use opacities, the sticker will print with the white underneath it.
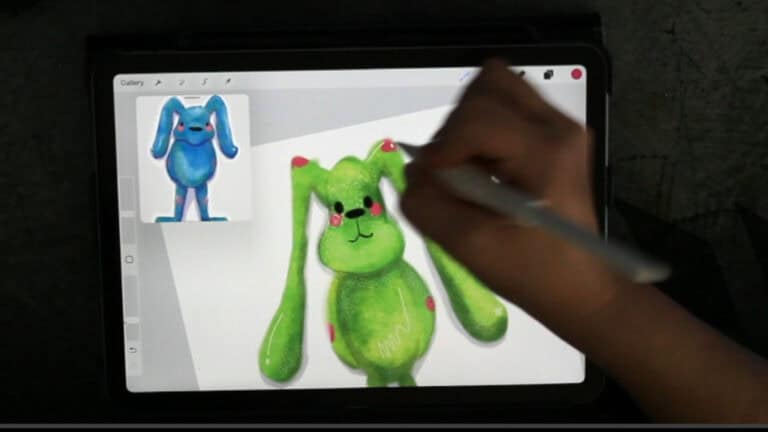
Want even more sticker tutorials? Be sure and check out Drawing A Daffodil in Procreate or Maybe Drawing A Cute Bunny In Procreate.
Alternative Sticker Outlines: Home Printing and Digital Planning
If you're planning to print your stickers at home and cut them by hand, try using a gray or purple outline.
A colored outline provides a clear guide for manual cutting.
For digital planning, you can create a white border with a gray shadow.
This shadow makes it look like a sticker on the page, lifting it off the background.

Adding The Gray Shadow for Digital Stickers
To add a shadow, first turn off the white outline layer temporarily.
Create a new layer underneath the white outline layer. Select a purple-gray color for the shadow.
Use the monoline brush to draw small shadows around the edges of the star, opposite the light source.
This shadow adds depth and makes the sticker appear to lift off the page in digital planners. Yay!

Exporting the Sticker
Finally, it's time to export your cute blushing star sticker! Wohoo, you did it!
Turn off the background layer if you want a transparent background.
Go to “Actions” > “Share.” Select “PNG” as the file format.
Choose where to export the file, such as saving it to your photos or sending it via email.
That's it! You were able to draw a cute blushing star sticker in Procreate. Give yourself a pat on the back.
This project is quick, easy, and a lot of fun.
You can print it out or use it digitally.
Ok, are you ready for some great ideas for how to use the stickers you made? Be sure and check out Stickers for A Creative Outlet.
Maybe you need a place to store all these amazing new stickers you are going to be creating?
Don't forget to check back on our YouTube channel for more great drawing tutorials.
Ready to try your own sticker design?
Download the free Procreate brush pack made for beginners includes my starter stamps + sticker brush and a quick-start guide.
👉Fill in the form to get instant access.
Want More Procreate
Whether you’re just starting out or ready to try your next cute design, here’s a full list of tutorials, tips, and easy wins for making stickers in Procreate:
Start Here: Beginner-Friendly Guides
- Procreate Beginner Guide for Stickers
- Making Stickers in Procreate for Beginners
- How to Design Stickers in Procreate
- How Procreate Stickers Boosted My Confidence as a Creative Mom
- How Procreate Helped Me Reconnect with Creativity
- What I Learned from Trying A Daily Sticker Sketch Challenge(and Failing Sometimes Too)
Learn Cute Sticker Drawing Techniques
- Draw a Cute Blushing Star Sticker
- Designing a Cute Bunny Sticker
- How to Draw Cute Cherries
- Draw a Cloud in Procreate (Easy!)
- Design a Daffodil Sticker in Procreate
- Draw a Baby Duck in Procreate
- How to Make Your First Digital Sticker in Procreate (In 10 Minutes!)
- 3 Easy Outline Effects in Procreate That Make Your Stickers Pop
Procreate Tools, Ideas & Tips
- Easy Procreate Sticker Ideas
- Sticker Making Tips in Procreate
- Procreate vs Canva for Sticker Design
- How to Design Stickers
- Procreate Tools for Sticker Design: The Beginner’s Guide for Burnt-Out Moms
- Using Layers for Stickers in Procreate
- Clipping Masks For Procreate Stickers (with Less Stress and More Fun!)
- Best Canvas Size for Procreate Stickers (Beginner Guide)
- Best Procreate Brushes for Stickers (Free & Paid)
- Resizing Stickers in Procreate: The Busy Mom’s Guide to Sanity, Success, and Not Losing It
- Procreate Color Palettes for Stickers, Effortless Sticker Color Magic
- Eraser Tool Tips for Procreate Stickers (That Even Exhausted Moms Can Master)
I have also created an entire Procreate Starter Kit with a complete sticker file so you can see exactly how I made it!
Pin your favorite Pinterest pin to your Sticker Making Pinterest Board so it never gets lost!