Procreate Tools for Sticker Design: The Beginner’s Guide for Burnt-Out Moms
You’ve seen the cute sticker sheets on Etsy. You’ve probably downloaded a few printables.
And now you're thinking: Can I make my own?
Sis, the answer is yes, even if you haven’t touched Procreate before, even if your iPad’s still got yogurt fingerprints.
In this guide, I’ll walk you through the exact Procreate tools I use to design stickers, from the brushes that keep my outlines crisp to the settings that save my sanity.

If you’re totally new, figuring out the best Procreate tools for sticker design can feel like trying to find your keys in a grocery bag full of bubble wrap.
I’ve been there, too. This post is your quick-start cheat code.
I’ll walk you through the best brushes, layers, and settings that actually make your designs pop.
Table of Contents
Essential Procreate Tools for Sticker Design

Organizing Your Canvas and Reference Layers
Good stickers start with a canvas that isn’t total chaos. If you’re anything like me, you open Procreate and start drawing on whatever size pops up.
But let’s pause. Get your setup right, and you’ll save yourself a million tiny headaches later.

- Canvas Size: Start somewhere safe, like 2000×2000 pixels at 300 DPI. That works for both print and digital.
- Name Your Layers: Trust me, don’t stick with “Layer 1,” “Layer 2,” like you’re stacking Jenga blocks. Name them: “Outline,” “Color,” “Shadow,” so you always know what’s up.
- Reference Layers Are Your Buddy: Tap on a layer, select “Reference.” That layer now tells Procreate where you’ve put lines for things like color fills. Super useful for keeping different sticker parts in one tidy place. Fill color on a layer below without mess.
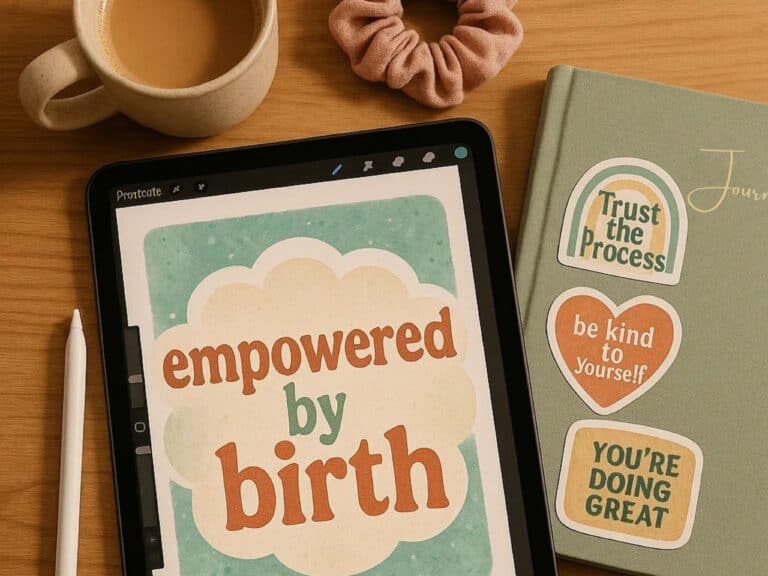
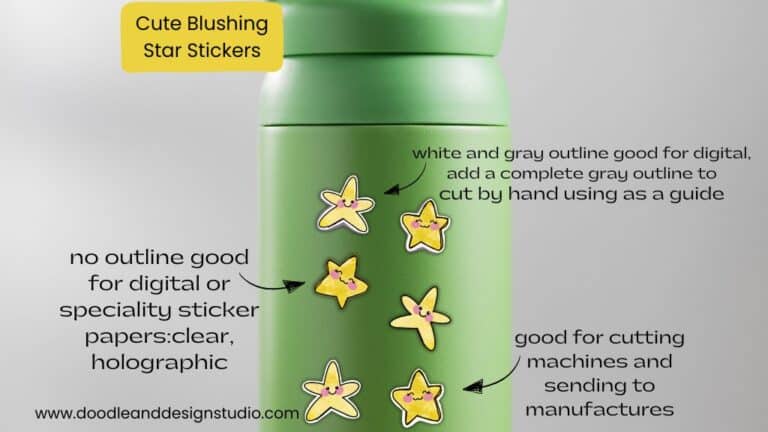
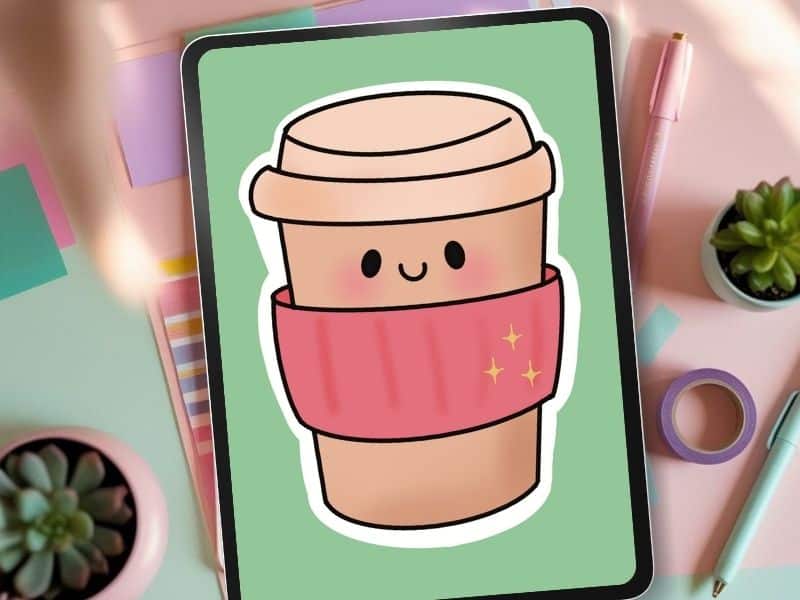
Want to hop right into sticker design? Draw a Cute Blushing Star Sticker in Procreate: A Step-by-Step Tutorial is a quick easy tutorial that will give you a quick win!
Make Your First Sticker in Procreate
Grab your starter file, the brushes, tips, and step-by-step cheatsheets you need to design your first cute sticker today.

Brushes and Custom Brushes
Brushes are the not-so-secret sauce in Procreate.
The ones that come with the app? Slick, and there are tons of them!
There are loads of custom brushes too, it's kind of like buying accessories, it's addicting!

Here’s what to keep in mind:
- Default Brushes: Great for outlining, coloring, and tossing together quick doodles.
- The “Monoline” brush is basically the MVP for sticker outlines—smooth, even, chef’s kiss, perfect for that professional border.
- 6b is my personal choice for sketching, but you will need to go in and play around to find your favorite.

- Custom Brushes: Custom brushes let you design your own texture, thickness, and flair. Want your sticker to look like it’s been drawn on a napkin? Or with neon highlighters? Yeah, that’s possible.
- Tons of free and paid sets exist, or you can make your own right in Procreate. Grab my free Procreate Starter Kit — it comes with my favorite beginner-friendly sticker brush, a custom canvas setup, and more tools to keep your creative chaos cute.
- One of the main things I like about custom brushes is that they can save you loads of time. Instead of creating fur one stroke by stroke, you can use a fur brush and be finished in half the time!
Quick note: It's easy to get overwhelmed with all the options so I'm listing a few to try out.
Here Are Some Great Default Brushes to Get Started
- Texture Brushes: Seriously, grab a pencil-y brush for a hand-drawn feel, or a gouache for painter vibes. Layer different textures for more depth.
- Monoline for Outlines: Monoline is smooth, clean, and basically fool-proof. Perfect for those sticker cuts.
- Soft Airbrush for Shading: This gives your stickers a soft pop, think blush on cheeks or gentle drop shadows.
- Add Sparkle (Literally): Glimmer, Disco, or Flower Power? Yes, please. Makes anything instantly cuter.
Don’t be afraid to try wild stuff. Mix and match, make your own, and remember: weird is good.
That’s a quick path to a collection of stickers that nobody else can duplicate.

Selection, QuickShape, and Snapping Tools
Lining things up in a drawing app can feel like trying to hang a picture frame straight without a level.
Procreate’s selection, QuickShape, and snapping tools save you from sticker chaos.
- Selection Tool: Use the “Freehand” or “Automatic” selections to grab, adjust, and move pieces of your design without tearing your hair out.
- Clean up wonky sketches, duplicate perfect eyes for a symmetrical look, or cut around designs that need a re-do.
- QuickShape: Ever try drawing a circle, then realize it’s lobster-shaped?
- Hold for a second after drawing a shape and Procreate zaps it into a perfect circle, square, triangle. QuickShape guarantees clean sticker outlines. Your heart gets to rest easy.
- Snapping: Turn on “Snapping” in the transform settings so your selected objects will remain in proportion when re-sizing. Your sticker sheets will look like you used a ruler, but faster.

Color Tools and Palettes
Colors make or break stickers. You want your designs to pop and not look faded or weirdly neon when you print them.
- Palettes: Build custom color palettes for your sticker packs. Save and reuse palettes or create new ones as often as you like.

- Options: Under Colors, you have access to the Color Disc, Classic Color, Harmony, Value in addition to the Palettes mentioned above.
- The disc and classic color options are very similar, but the color disc gives you more control and fine-tuning options.
- Harmony is pretty cool, it will show you complementary shades to your selected color.
- The Value tab gives you precise control over your color selection.
- Starting out I would suggest using the Disc or Classic and Harmony to find matching color combos!

Using Layers and Groups
Okay, if you’re not already obsessed with layers, you’re doing sticker design on hard mode.
Layers save your sanity the way pockets save your phone from falling out.
Layers are like sticker insurance. They let you test, edit, and undo without wrecking the whole thing.
Draw your outline on one layer, your colors on another, and keep special effects like sparkles, blush, or shadows on their own layers too.
Mess up? No sweat. Each piece of your sticker lives on its own invisible sheet known as a layer, so you can move, change, or hide stuff anytime. No erasers needed. Using Layers for Stickers in Procreate is a great post for a deep dive on all things layers.

Quick lesson in layers:
Draw your outline on one layer. Keep those lines separate from everything else.
Add another layer under for color.
Layer sandwich time. Outlines up top, colors underneath.
Tidy and simple. Continue to add layers for each different color for ultimate control of your sticker.
Name them. Please. “Layer 17 copy 3” will haunt you later when you’re halfway through a sticker pack.
Now, once you’ve got a few pieces for one sticker: outline, blush, sparkles, maybe text, group them.
This can make them way easier to keep track of once your layers start to add up!
Tap all the relevant layers, hit “Group,” and boom: one tidy bundle.
It makes moving, resizing, or duplicating your design a million times easier.
Trust me, when you're trying to lay out a full sticker sheet, this is everything.

Clipping Masks and Alpha Lock
If you’ve ever colored something in Procreate and accidentally gone way outside the lines (hello, toddler energy), Alpha Lock and Clipping Masks are here to save your brain.
Both let you color inside the lines without erasing anything, they just go about it in slightly different ways. Here’s the breakdown:

What’s a Clipping Mask (in human terms)?
Imagine putting a sticky note on top of your art, but only letting the new stuff (like glitter, blush, or shadows) show up where your original drawing is.
That’s a clipping mask.
It lets you test out new looks without touching your base layer. No regrets. No starting over.
How to do it:
- Add a new layer above your color or outline.
- Tap it, then choose “Clipping Mask.”
- Draw on that new layer, it’ll only show up where your original art exists.
Use it for:
- Adding sparkle to a heart
- Shading the side of a donut
- Testing colors like, “What if this cat had a pink belly?”

What’s Alpha Lock (in mom-speak)?
Alpha Lock is like giving your layer boundaries, like putting bumpers on a bowling lane.
Once it's turned on, anything you draw will stay inside your existing artwork.
You’re not creating a new layer here, you’re locking what’s already there.
Perfect for:
- Adding blush to cheeks
- Changing colors on one piece without redrawing
- Shading inside your sticker shapes without spills
- Adding multiple colors you want to blend together smoothly
How to use it:
- Go to the layer with your artwork.
- Click the layer and select “Alpha Lock.”
- Now when you paint or shade, it stays inside the shape like magic
What’s the difference between Alpha Lock and Clipping Masks?
| Feature | Alpha Lock | Clipping Mask |
|---|---|---|
| Edits same layer? | Yes (direct changes) | No (edits happen on a new layer above) |
| Non-destructive? | ❌ (changes your original) | ✅ (you can delete the mask anytime) |
| Best for… | Quick edits, shading, color tweaks | Big changes, effects, layering glitter |
| Chaos level? | Low chaos — quick & dirty | Lower chaos — more flexibility |
Which one should you use?
- Use Alpha Lock when you’re just adding a lil color or texture.
- Use Clipping Masks when you want to test something or layer effects without committing yet.
If you're mid-sticker and asking, “What if this donut had rainbow frosting?” Clipping Mask it.
If you're like, “Oops, that blush needs to be brighter,” go Alpha Lock.
Want even more Procreate tips and chaotic sticker goodness? Be sure and check out my YouTube channel for tips, tricks, and a large dose of silly!

Quick Export and Transparent Backgrounds for Stickers
In the world of sticker creation, transparent backgrounds are everything.
The easy steps to export clean, pro-level stickers:
- Hide your background color layer. Hit the little checkmark on the background layer. If your canvas shows the grey checkerboard: you’re good.
- Export as PNG. Go to Actions > Share > PNG. This keeps the transparency locked in, so your stickers don’t have a clunky white square when printed or uploaded to a shop.
- Double-check your DPI settings (300 DPI for print, 72 DPI for web). High-res means your stickers look sharp, not fuzzy.
- Test the file before sending to print Drop it on a colored background in another app or preview it online. No background? Winner.

If you’re planning sticker packs for an online market (hello passive income), transparent PNGs are the gold standard.
They work for Cricut machines, print shops, and digital sticker packs.

You made it to the end, and honestly? That alone deserves a sticker.
The truth is, when you learn the right Procreate tools for sticker design, you stop feeling stuck and start having fun. Check out How Procreate Stickers Boosted My Confidence as a Creative Mom and it can boost yours too!
So go open Procreate. Play a little. Mess up a lot. And make the thing anyway.

👉 Ready to try all these tools without the guesswork? Download the free Procreate Starter Kit and jumpstart your sticker game with brushes, a sticker template, and my go-to Procreate shortcuts.
Love and messy buns,
❤️
Cynthia McDonald
Helping women find creativity in the chaos—with stickers, stationery, and a little bit of fun
have you joined the art to income: create & Sell digital products facebook group?
If you’ve ever said, “I want to draw digitally, but I have no idea where to start,” this is your sign.
We learn Procreate tricks, share designs, celebrate tiny wins, and cheer each other on as we start selling what we make.
💕Join Us on Facebook✨
Want More Procreate
Whether you’re just starting out or ready to try your next cute design, here’s a full list of tutorials, tips, and easy wins for making stickers in Procreate:
Start Here: Beginner-Friendly Guides
- Procreate Beginner Guide for Stickers
- Making Stickers in Procreate for Beginners
- How to Design Stickers in Procreate
- How Procreate Stickers Boosted My Confidence as a Creative Mom
- How Procreate Helped Me Reconnect with Creativity
- What I Learned from Trying A Daily Sticker Sketch Challenge(and Failing Sometimes Too)
Learn Cute Sticker Drawing Techniques
- Draw a Cute Blushing Star Sticker
- Designing a Cute Bunny Sticker
- How to Draw Cute Cherries
- Draw a Cloud in Procreate (Easy!)
- Design a Daffodil Sticker in Procreate
- Draw a Baby Duck in Procreate
- How to Make Your First Digital Sticker in Procreate (In 10 Minutes!)
- 3 Easy Outline Effects in Procreate That Make Your Stickers Pop
Procreate Tools, Ideas & Tips
- Easy Procreate Sticker Ideas
- Sticker Making Tips in Procreate
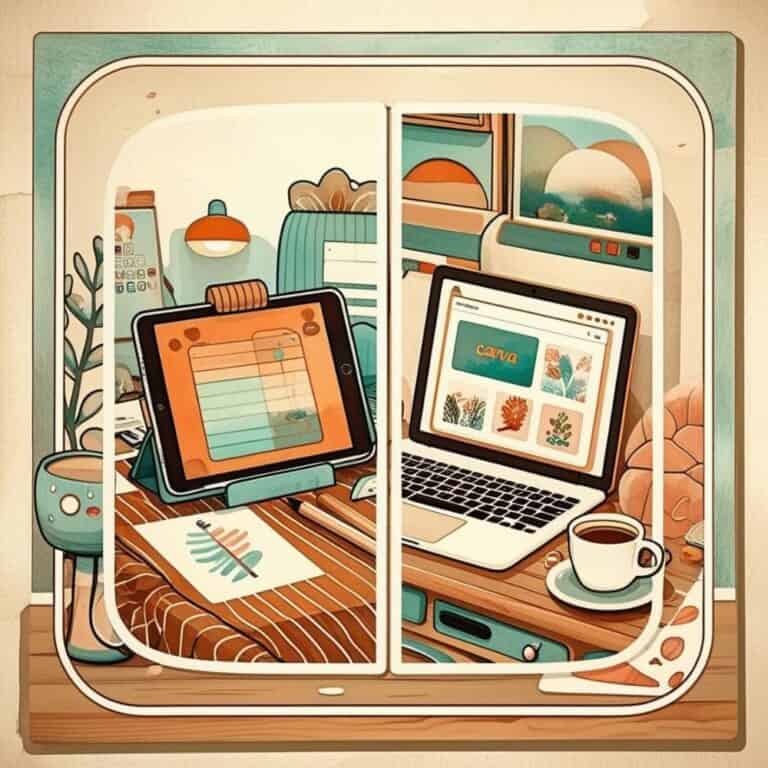
- Procreate vs Canva for Sticker Design
- How to Design Stickers
- Procreate Tools for Sticker Design: The Beginner’s Guide for Burnt-Out Moms
- Using Layers for Stickers in Procreate
- Clipping Masks For Procreate Stickers (with Less Stress and More Fun!)
- Best Canvas Size for Procreate Stickers (Beginner Guide)
- Best Procreate Brushes for Stickers (Free & Paid)
- Resizing Stickers in Procreate: The Busy Mom’s Guide to Sanity, Success, and Not Losing It
- Procreate Color Palettes for Stickers, Effortless Sticker Color Magic
- Eraser Tool Tips for Procreate Stickers (That Even Exhausted Moms Can Master)
I have also created an entire Procreate Starter Kit with a complete sticker file so you can see exactly how I made it!
Make sure and grab a cute Pin for your Sticker Making Pinterest Board!