3 Easy Outline Effects in Procreate That Make Your Stickers Pop
Hey, sticker-loving superstar! Have you ever finished a sticker, zoomed out, and thought, “Wow… why does this look so meh?” Like, it’s just lying there. Limp. Flat.
Totally blending into the background. Kind of like when you try to hide in a crowded room with kids yelling your name every seven seconds. Been there. The struggle is so real.

But here’s the good news: you can totally shake those flat, sad vibes.
You just need a secret weapon—outline effects!
Yup, in Procreate you can outline those babies, throw on some glow, add a dramatic shadow, and basically give your stickers a makeover that even your chaotic mom brain will approve of.
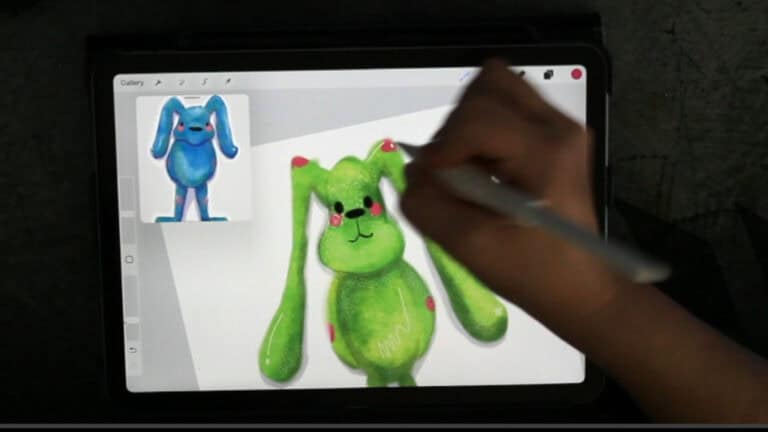
Grab your Apple pencil because I’m about to spill all the secrets to bring your stickers to life.
Table of Contents
Prefer to Watch Instead?
If you're more of a visual learner (or just want to see the magic in action), hit play on the video below!
I’ll walk you through all three outline effects step-by-step inside Procreate, perfect if you like following along with your iPad in hand.

Outline Effects for Procreate Stickers: Why They Matter
Let’s start with the hard truth: flat stickers don’t stand out. If your creation looks like it’s fading into the page or just flopping around with zero personality, you’re not alone. It happens.
Flat, limp, and sad aren’t usually the sticker mood you’re going for.
But outlining? That’s like giving your art a triple shot of espresso. It wakes everything up.
Outlines and shadows are your secret sauce for sticker drama. You get instant depth and dimension.
Your designs start jumping off the page like, “Hey! Look at me! I’m not basic!”
Plus, if you’re hoping to sell these on Etsy, share on Insta, or spice up your planner, that extra pop is what gives your work that professional, polished look.
No more blending into the void.
Prepping Your Canvas and Artwork
Before you go running wild with outlines, let’s talk setup. This is important!
A little prep now saves a ton of “ugh, why is this not working?!” later. Here’s the low-stress, slightly scatterbrained setup routine:
- Make your canvas bigger: If your masterpiece fills up the whole screen with zero wiggle-room, expand that canvas! In Procreate, head to crop/resize and give yourself more space for those outlines. You’ll thank yourself later. (And if you're unsure, review Picking the Best Canvas Size for Stickers.)
- Get your artwork onto one layer: Layers are awesome but chaos-prone (just like laundry piles). Merge your art if you are sure you don't need all of your layers, so you’re outlining the whole thing, not each part. If you want smart layer magic, check out Using Layers in Procreate for Stickers.
- If you don't want to get rid of your layers, swipe down on your sticker design, copy all, open a new canvas, and paste it in. Work in the new canvas, it will be on one layer, and your original will be safe and sound!
- Duplicate like a boss: Every time you start a new outline effect, duplicate your layer! Safety first! You keep the original intact so if you do something wild (it happens), you can hit “undo” about thirty times.
Start tidy, stay sane. Trust.
Oh, and do yourself a favor and organize your layers—label them if you don't want to spend hours searching later.
That way, when your kid yells “Mom, where’s my sock?!” you can pause and come back without panicking over which layer was which.

Dreamy Glow Outline Effect: Instant Sticker Magic
Alright, ready for that soft, glowy fairy-light vibe? Seriously, this effect is like giving your sticker a magical aura.
Kind of what I wish I had around myself at school dropoff, but I digress.
Here’s how you nail the glow:

- Duplicate your artwork layer; this will become the outline

- Grab the freehand selection tool. Trace all the way around your sticker—nice and steady. No rushing. Wobbly? It’s fine.

- Lightly feather your selection, about 2–3%. Or as close as you can get it. The point? Softer edges.

- Pick a bright white (or pink/purple/neon unicorn rainbow, you do you) and fill the selection!

- Pick your color, click your layer and click Fill Layer

- Head to Adjustments. Use Gaussian Blur. Blur a little until it looks dreamy and soft.

- Play with layer opacity. Somewhere around 41% looked cute for me but trust your gut (and your eyeballs).
- Test layer modes. Overlay wins it for me, but scroll through the options. Warning: Some may zap your colors or look wild. Don’t say I didn’t warn you!
- At this point, you would normally put the “outline layer” under your sticker. The glow outline is pretty transparent over my sticker, so play around and see if you want to leave your layer on top or drag it underneath your design.
Tip: If you scroll too fast, pause—nobody needs a sticker-induced mini strobe party.
This glow trick is perfect for stickers on dark backgrounds, planners, digital journals, basically any place where you want your art to stand out but not shout “LOOK AT ME!!” every time you open your iPad.
Here’s why this rocks: instead of muttering “why does this look so flat?” you’ll be grinning at a sticker that looks ready to levitate straight onto someone’s notebook.
For more step-by-step guides on stickers, peek at the Digital Sticker Design Tutorial in Procreate. You’ll find plenty of help for getting those details right.

Shadow Outlines for Depth and Drama
Now for a dash of sass and mood. Shadow outlines are where you get to add real depth: think drop shadow, but better. It’s sticker drama, in the best way.
This is going to be similar to the steps above, so if you need a refresh, you can use those picks for reference!
How to make it happen:
- Duplicate your original artwork
- Use the freehand select tool, trace nice and steady.

- Fill the outline with a dark color. You can go classic black, moody gray, or throw out the rulebook and use purple

- Move the duplicate just a smidge off the original. Down and right? Left and bottom? Play around. Maybe drag it, nudge it, nudge it again… you know the feeling.
- Gaussian Blur again! Blur those harsh edges until it looks soft instead of cut-and-paste.

- Drop the layer’s opacity if the shadow is screaming for attention more than your toddler at bedtime.

- Scroll through layer modes to see what works. And yes, sometimes “normal” just looks best. Sometimes not. Drag your sticker outline under your artwork.

Feeling fancy? Duplicate the shadow layer and use the transform tool(the arrow) to make it a little bigger than the first shadow layer.
Try filling it with a lighter color, like white, to check how it looks with a double outline! So fun!

If you find yourself fiddling with the position, stretching it, reshaping—yes, that’s what you’re supposed to do.
Sometimes the shadow will look wild, sometimes it’s chef’s kiss, and sometimes you’ll groan.
When in doubt, just move everything around until your sticker tells you it’s happy.
Some days, it takes a little extra trial and error to get the vibe right. I do it all the time and still end up muttering, “Is this shadow weird or cute? Ugh, I’ll try moving it again.” True story.
Curious about more techniques for stickers? Check out Clipping Masks for your stickers to make fun effects on one layer at a time without making a giant mess!

Classic White Outline: Bold, Clean, and So Sticker-Like
This is the OG sticker move. When you think of vinyl stickers or Etsy sheets, you’re picturing that chunkier, solid white outline. It just looks right.
Here’s how to nail a clean, classic outline:
- Duplicate your art again (shocking, right?).

- With your freehand select tool, draw around your sticker. This time, set feather to zero for crisp, bold edges.

- Hit invert. (You want to color outside, not inside.)
- Fill with white. Clean up messy bits with your brush (grab it from the Procreate Starter Kit).
- A teeny bit of Gaussian blur will round off the harsh, cut-out look, but don’t go overboard.
Want a chunkier border? Freehand it with the brush.
Some sticker companies add a white border for you if you print professionally, but always check their guidelines first.
Now, things get a little wild. Outlines can leave transparent spots or awkward patches.
Don’t panic. Grab your new favorite sticker brush and color those empty bits white. No cheats, just patience.
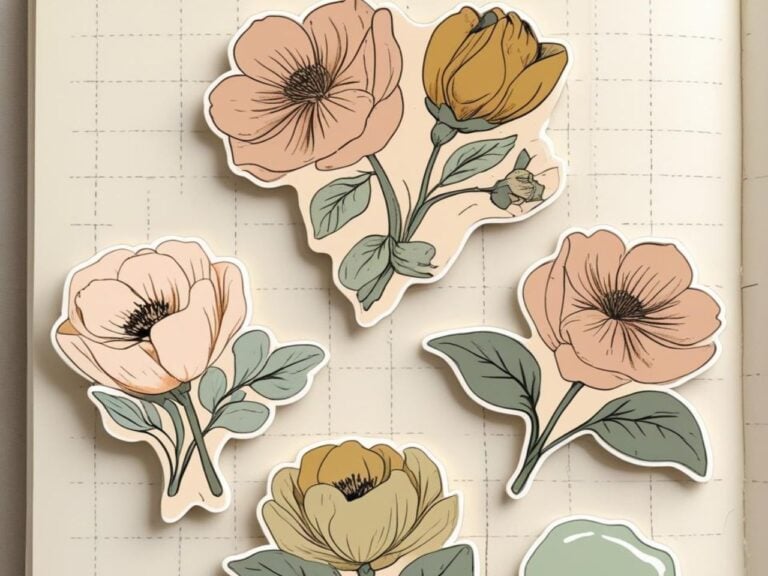
Yup, sometimes you have to go around the outside by hand. Procreate doesn’t always fill every tiny nook, especially with things like flower crowns or weird hands holding teacups (don’t ask).
If you’re hungry for another step-by-step for digital stickers (including more beginner-friendly advice), try How to Draw Cute Cherries in Procreate: A Fun & Easy Sticker Tutorial. It’s packed with easy-to-follow guidance.
Final Checks and Exporting: Stickers Ready to Shine
Alright, breathe. You’ve given your sticker the pop, the drama, and that chunky border. Let’s finish strong.
Here’s your final sticker checklist:
- Check those outlines: Is your border a hot mess? Adjust the layers, move them up or down, nudge that outline into place.
- Fill every last gap: Grab your brush pack and make sure absolutely no transparent bits are peeking through. It should look solid and crisp.
- Export as PNG: Always! PNG keeps your backgrounds transparent and your lines crisp and clean. Don’t settle for fuzzy, weird-looking stickers.
- Save your layered file: Trust me, you’ll want to tweak things later or maybe reuse that cute cup/mouse/whatever. Save a full copy before flattening or merging down for export.
Reminder: Never flatten your only copy. Future you will throw shade and regret.
Make Your First Sticker in Procreate
Grab your starter file, the brushes, tips, and step-by-step cheatsheets you need to design your first cute sticker today.
Extra Resources and Freebies for Your Sticker Journey
You made it. Want more sticker magic in your life? I’ve got you!
- Grab the completely free Procreate Starter Kit brush pack—these are the same brushes used in my YouTube tutorials.
- Need more step-by-step tutorials? Check out the wild ride that is my YouTube Procreate tutorial playlist.
- Want exclusive freebies, inspo, and all my sticker chaos straight to your inbox? Get on my VIP email list for sticker lovers.
- Browsing for even more sticker ideas? Get motivated with a super cute Strawberry Sticker Procreate Tutorial.
Pssst—don’t forget to follow along on all the socials! You’ll get a front-row seat to my sticker adventures, organized chaos, and maybe a few coffee spills.
Last Thoughts from Your Sticker Obsessive
Busy moms, fellow Procreate rookies, or Etsy hopefuls, these outline effects? You got this. A little practice and your stickers will never blend into the background again.
Go experiment, mess up, laugh at your own outlines, and remember: perfection is overrated. Personality lives in those not-so-perfect borders and little mistakes.
If you ever get lost or need a pep talk, my YouTube channel is packed with more real-life sticker shenanigans and honest tutorials—no sugar coating, just actual help and a few laughs.
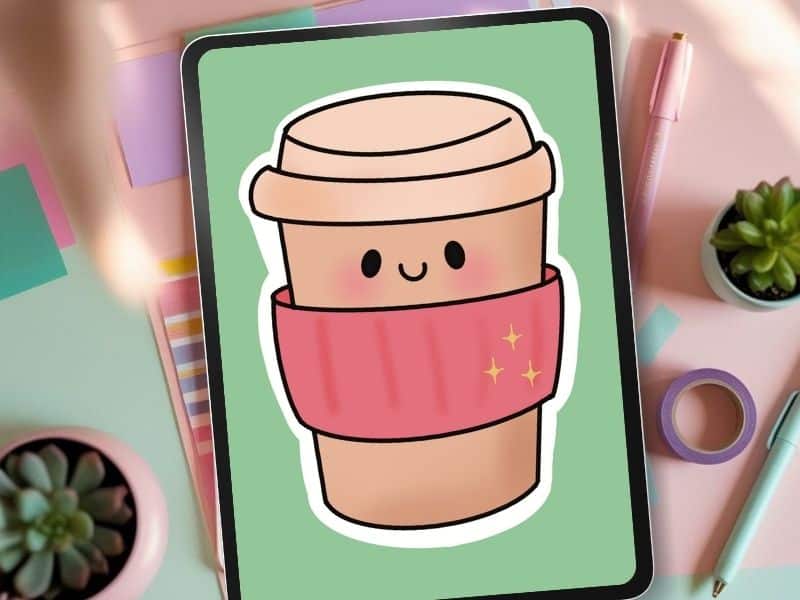
Happy outlining! Now go make something POP. (And if your sticker looks like it's holding a mouse instead of a cup, just roll with it. Art is subjective… ish.)
I really should go find that mouse and take a picture so you all will see what I’m talking about!
Girlfriend in this sticker is holding the flattest cup in the history of cups and it totally looks like a computer mouse I have!
Love and messy buns,
❤️
Cynthia McDonald
Helping women find creativity in the chaos — with stickers, stationery, and a little bit of fun
Want More Procreate
Whether you’re just starting out or ready to try your next cute design, here’s a full list of tutorials, tips, and easy wins for making stickers in Procreate:
Start Here: Beginner-Friendly Guides
- Procreate Beginner Guide for Stickers
- Making Stickers in Procreate for Beginners
- How to Design Stickers in Procreate
- How Procreate Stickers Boosted My Confidence as a Creative Mom
- How Procreate Helped Me Reconnect with Creativity
- What I Learned from Trying A Daily Sticker Sketch Challenge(and Failing Sometimes Too)
Learn Cute Sticker Drawing Techniques
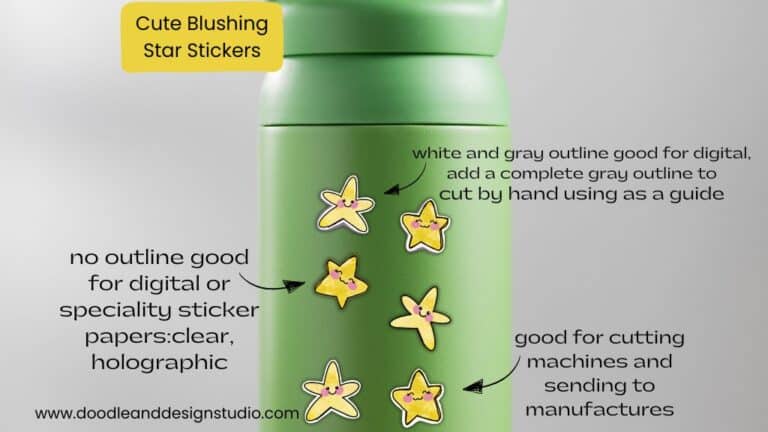
- Draw a Cute Blushing Star Sticker
- Designing a Cute Bunny Sticker
- How to Draw Cute Cherries
- Draw a Cloud in Procreate (Easy!)
- Design a Daffodil Sticker in Procreate
- Draw a Baby Duck in Procreate
- How to Make Your First Digital Sticker in Procreate (In 10 Minutes!)
- 3 Easy Outline Effects in Procreate That Make Your Stickers Pop
Procreate Tools, Ideas & Tips
- Easy Procreate Sticker Ideas
- Sticker Making Tips in Procreate
- Procreate vs Canva for Sticker Design
- How to Design Stickers
- Procreate Tools for Sticker Design: The Beginner’s Guide for Burnt-Out Moms
- Using Layers for Stickers in Procreate
- Clipping Masks For Procreate Stickers (with Less Stress and More Fun!)
- Best Canvas Size for Procreate Stickers (Beginner Guide)
- Best Procreate Brushes for Stickers (Free & Paid)
- Resizing Stickers in Procreate: The Busy Mom’s Guide to Sanity, Success, and Not Losing It
- Procreate Color Palettes for Stickers, Effortless Sticker Color Magic
- Eraser Tool Tips for Procreate Stickers (That Even Exhausted Moms Can Master)
I have also created an entire Procreate Starter Kit with a complete sticker file so you can see exactly how I made it!