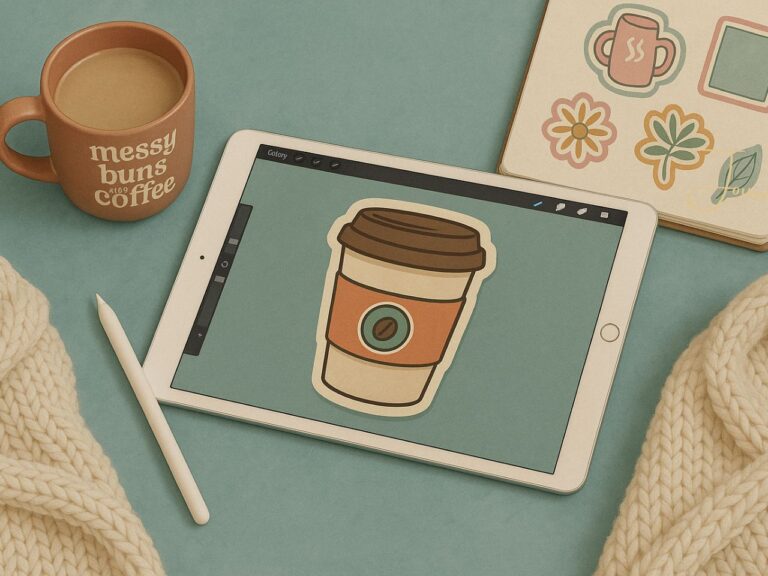
How to Draw Cute Cherries in Procreate: A Fun & Easy Sticker Tutorial

Ready to create some adorable cherry stickers? This simple tutorial will guide you through how to draw cute cherries using Procreate.
It's perfect for beginners. This project is quick, fun, and gives you a sweet design for stickers or other creative projects.
If you're looking for a quick creative break, you've come to the right place! Let's draw cherries together!

Step 1: Setting Up Your Procreate Canvas
First things first—open up Procreate and tap that plus sign (+) to create a new canvas.
If you're making stickers, a 1000×1000 or 2000×2000 pixel canvas works great.
Want to use your design for other projects too? Go bigger—3500×4000 pixels is a solid choice.
Pro Tip: A larger canvas = sharper stickers. You can always shrink it down later!

Step 2: Draw Cute Cherries
Now for the fun part—let’s sketch those cherries!
1. Choose Your Brush: Select the “Monoline” brush (under Calligraphy). It’s smooth, simple, and comes standard with Procreate.
2. Sketch the Basic Shapes: Use black, set your brush size to 20%, opacity at 100%, and sketch two cherries next to each other.
Use a light touch to create curved shapes.
Don’t stress about perfection—wonky cherries are still cute!
Pro Tip: Struggling with smooth curves? Go slow, and practice a few times!
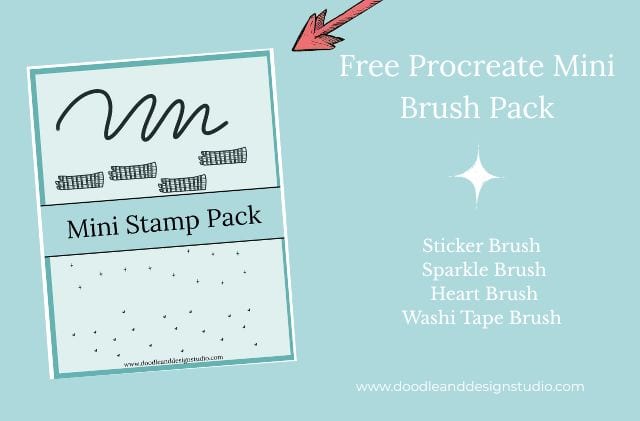
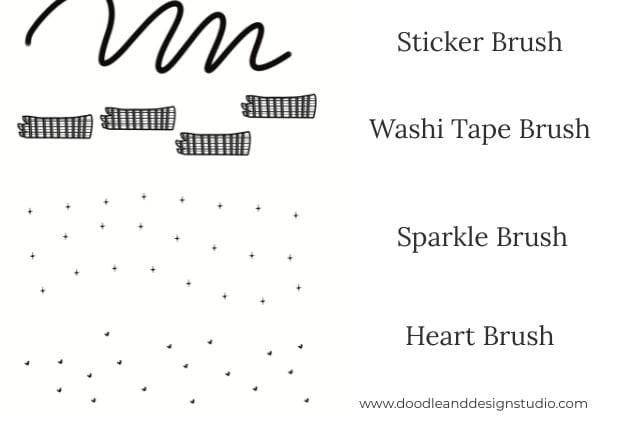
Want to follow along with this tutorial?
I made a free Procreate brush pack that includes a beginner-friendly sticker brush and 3 stamp brushes

Step 3: Adding the Stems
Cherries need stems, obviously. Let’s add them:
- Draw two curved lines coming out from the top of each cherry.
- Connect them at the top with another curve.
- Add little oval (or lemon-shaped) details where the stems meet the cherries. It makes them look more polished!
Troubleshooting: If Procreate’s symmetry tool keeps straightening your curves (rude), just turn it off and freehand it!
No time for even a simple design? I got you sis, check out our store for cherry stickers ready to purchase.
Step 4: Cleaning Up Your Lines
Time to tidy up!
- Use the eraser tool to clean up any overlapping lines so your stems don’t look like they’re floating.
- (Optional) Want a cute border? Add a new layer and draw a circle around your cherries.
Step 5: Merging Layers (Because Organization is Key)
- Once your cherries and circle (if you added one) look just right, pinch those layers together to merge them.
- If pinching isn’t working (sometimes Procreate is stubborn), just manually merge them down.
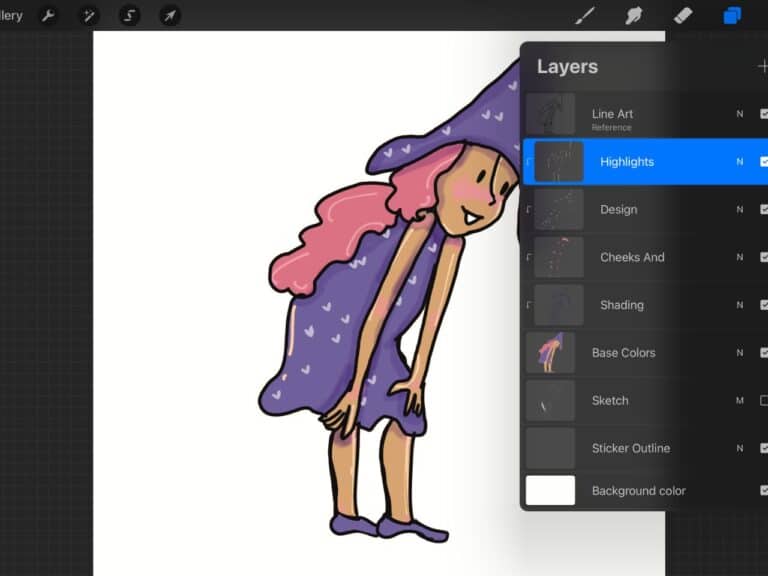
Step 6: Prepping for Color
- Set your line art layer as a “Reference” layer. This lets you drag and drop colors into a new layer without making a mess!

Step 7: Coloring Your Cherries
Let’s bring this chery drawing to life!
- New Layer: Create a layer underneath your line art.
- Pick Your Cherry Red: Go for a bright red—avoid anything too orange.
- Fill It In: Drag and drop the color into your cherries.
Double-check: Zoom in to make sure you didn’t miss any tiny gaps!
- Create another new layer for the stems and fill them with a light green.
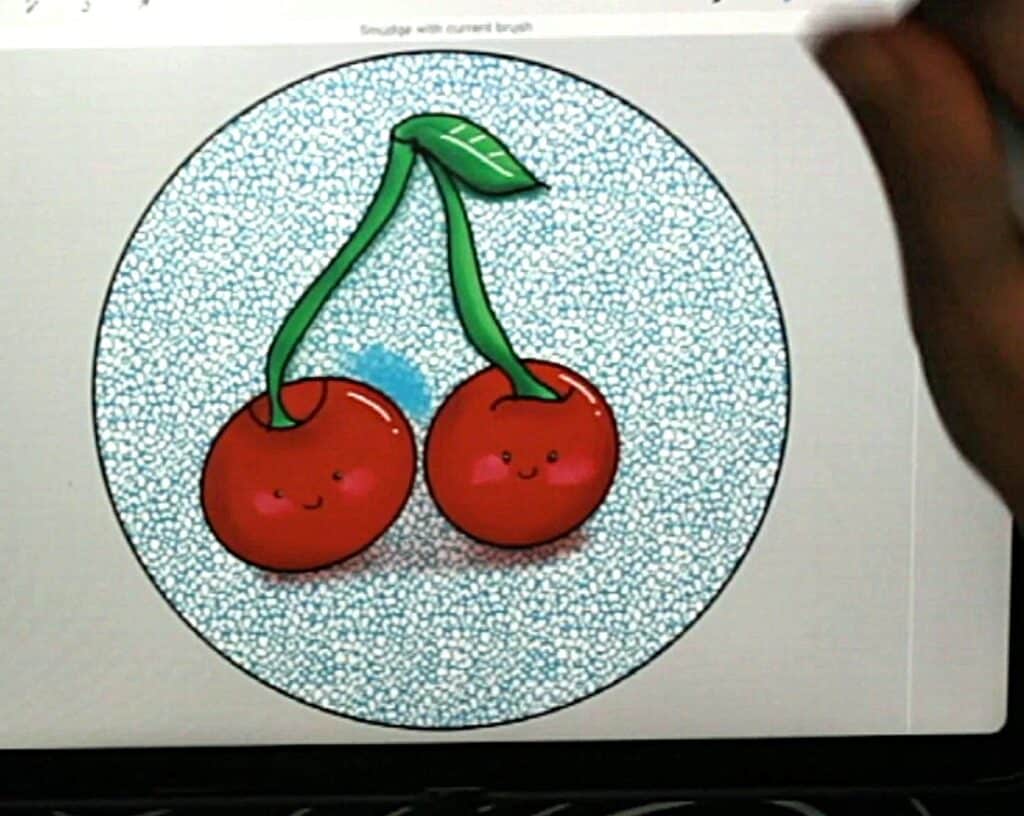
- If you added a background circle, make another layer and fill it with a fun color like bright blue!
I'm not sure what it is about the combo of red and blue teal.
Mmm chef's kiss, I can never resist it. What about you?
Want to try designing your first Procreate sticker?
Grab my free Sticker Brush Mini Pack with 1 custom brush and 3 fun stamps to kick off your creative chaos.

Step 8: Making It Even Cuter (Optional)
Want to make your cherries irresistibly cute? Give them a little face!
- Switch to a sketching brush (like the 6B pencil).
- Draw two tiny eyes and a mouth on one cherry and then the other.
- Add rosy cheeks with a lighter pinkish-red.
- If the cheeks look too intense, smudge them slightly for a soft glow.

Step 9: Adding Shadows for Depth
Shadows make everything pop!
- Create a new layer above your cherry color layer.
- Pick a shadow color (a darker red or grayish-purple).
- Use the “Airbrush” tool with a soft brush to add shadows.
- Smudge them to blend for a natural effect.
- Don’t forget under the cherries! A tiny shadow makes them feel more three-dimensional.
Adding Shadows to the Stems
Let's not forget the stems!
- Creating a Clipping Mask: Create a new layer above your stem color layer and set it as a “Clipping Mask.” This will keep your shadows within the stem shapes.
- Adding Shadows with Darker Green: Use a darker green color to add shadows to the stems. Focus on the outsides of the leaves and areas where shadows would naturally occur.
- Adding Shadows Under Stems: Add an additional layer to put some shadows underneath the stems.
- Use the smudge tool to blend the shadows and make them look more natural. Reduce the opacity of the shadow layer if it looks too dark.
Step 10: Adding Highlights for Shine
- Create a new layer on top of everything.
- Use white and the “Monoline” brush to add tiny highlights.
- Focus on the light spots (tops of the cherries, edges of the stems).
- Add a tiny white dot in each eye if you added a face—it makes them sparkle!
Optional Step: Use the monoline brush to add a thick white sticker outline to give your cute cherries that traditional sticker feel.

Step 11: Exporting Your Sticker
Almost there!
- Turn off the background layer (if you want a transparent sticker).
- Go to “Share” > “PNG” and save your masterpiece!
You’re now the proud creator of an adorable cherry sticker! Need creative ideas on how to use your stickers? Check out Stickers for a Creative Outlet: Fun Ways to Express Yourself
Bonus: Playing with Textures
Feeling extra creative? Try adding some fun textures to your cherry drawing!
- Create a new layer above your colors and set it as a Clipping Mask.
- Use texture brushes from “Elements” or “Vintage” to add depth.
- Experiment with opacity to make the effect more subtle!

Cool Texture Ideas:
- Vintage
- Concrete Block
- Stone Wall
Ready to try your own sticker design?
Download the free Procreate brush pack made for beginners includes my starter stamps + sticker brush and a quick-start guide.
👉Fill in the form to get instant access.
Want More Procreate
Whether you’re just starting out or ready to try your next cute design, here’s a full list of tutorials, tips, and easy wins for making stickers in Procreate:
Start Here: Beginner-Friendly Guides
- Procreate Beginner Guide for Stickers
- Making Stickers in Procreate for Beginners
- How to Design Stickers in Procreate
- How Procreate Stickers Boosted My Confidence as a Creative Mom
- How Procreate Helped Me Reconnect with Creativity
- What I Learned from Trying A Daily Sticker Sketch Challenge(and Failing Sometimes Too)
Learn Cute Sticker Drawing Techniques
- Draw a Cute Blushing Star Sticker
- Designing a Cute Bunny Sticker
- How to Draw Cute Cherries
- Draw a Cloud in Procreate (Easy!)
- Design a Daffodil Sticker in Procreate
- Draw a Baby Duck in Procreate
- How to Make Your First Digital Sticker in Procreate (In 10 Minutes!)
- 3 Easy Outline Effects in Procreate That Make Your Stickers Pop
Procreate Tools, Ideas & Tips
- Easy Procreate Sticker Ideas
- Sticker Making Tips in Procreate
- Procreate vs Canva for Sticker Design
- How to Design Stickers
- Procreate Tools for Sticker Design: The Beginner’s Guide for Burnt-Out Moms
- Using Layers for Stickers in Procreate
- Clipping Masks For Procreate Stickers (with Less Stress and More Fun!)
- Best Canvas Size for Procreate Stickers (Beginner Guide)
- Best Procreate Brushes for Stickers (Free & Paid)
- Resizing Stickers in Procreate: The Busy Mom’s Guide to Sanity, Success, and Not Losing It
- Procreate Color Palettes for Stickers, Effortless Sticker Color Magic
- Eraser Tool Tips for Procreate Stickers (That Even Exhausted Moms Can Master)
I have also created an entire Procreate Starter Kit with a complete sticker file so you can see exactly how I made it!
Share Your Creations!
Now you know how to draw cute cherries in Procreate! If you had fun, check out my YouTube channel for more sticker design ideas.
Looking for more sticker designing ideas try our Designing a Cute Bunny Sticker in Procreate: A Step-by-Step Guide
Make sure you pin your favorite pinterest pin to your sticker making board on Pinterest.