How to Design Stickers in Procreate When You Are Clueless

Ever thought about creating your own stickers and didn’t know where to start?
You’ve got an iPad, some creativity bubbling up, and maybe even Procreate downloaded.
But now you’re scratching your head, wondering, “Okay, what’s next?”
Let’s take the kind of chaotic-yet-fun journey I followed to learn how to design stickers in Procreate, complete with messes, laughs, and lessons.
Table of Contents
Tackling a Chaotic Workspace & Device Settings
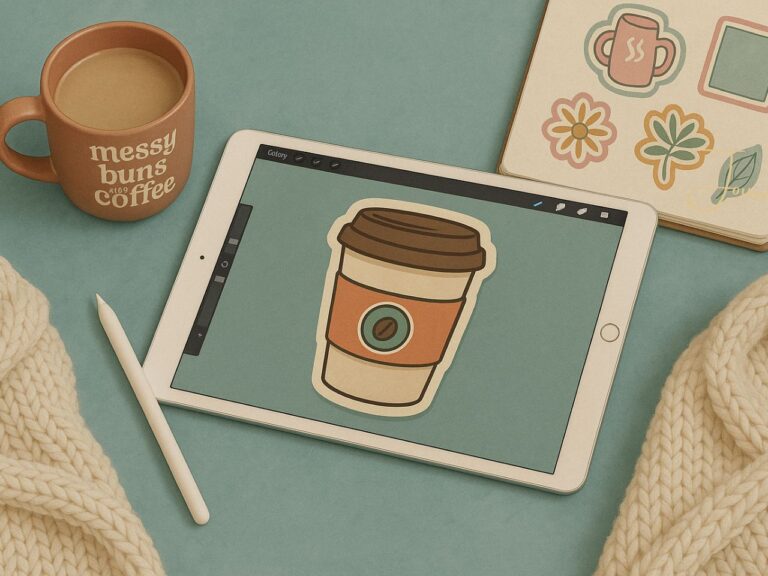
Let me just start by saying, you don’t need anything fancy to begin creating. My setup was anything but polished, just a hot mess of devices and inspiration.
Before jumping into Procreate, one practical tip I stumbled upon was adjusting the iPad’s auto-lock setting.
Seriously, nothing kills the flow of creating like your screen turning off over and over and over again. I'm not sure why it took me so long to figure this out.
To keep your screen on while drawing:
- Go to Settings > Display & Brightness.
- Find Auto-Lock and toggle it to Never.
I also toggled the lock/unlock setting, which shuts off your iPad when you close the cover. That’s optional, though—do what works for you.
However, if you are likely to forget charging your Ipad but you will remember to close the cover, I would recommend it.
If you need a reason to start making your own stickers check out Quick and Easy Craft Projects with Stickers.
before we get started Designing stickers in procreate…..
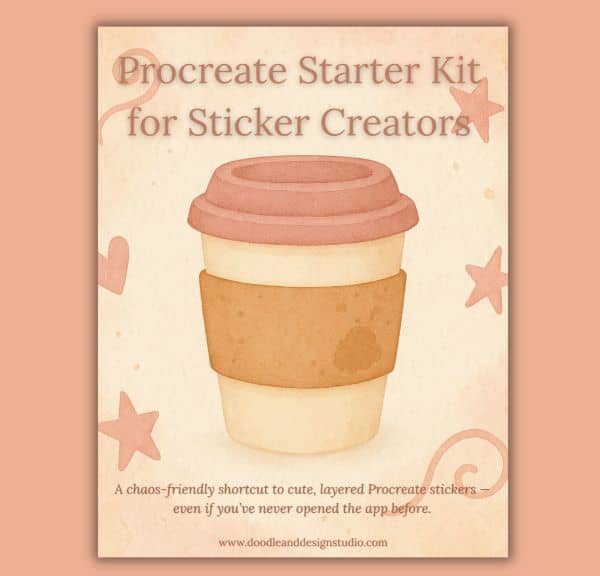
Grab my Freebie Procreate Starter Kit!
A chaos-friendly shortcut to cute, layered Procreate stickers — even if you’ve never opened the app before.
What’s Inside
☕ Cozy Coffee Sticker File (.procreate)
A fully layered file you can explore, duplicate, or use as a template
🖌 Mini Brush Pack (.brushset)
The exact beginner brushes I use for sketching, inking, and outlines
📄 Quick Start PDF Guide
Includes a cheat sheet, beginner tools, and a mini tutorial to walk you through your first layered sticker

Make sure you check out our Procreate Beginner Guide for Stickers That Slap, where you can learn all about Procreate and lots of fun step-by-step tutorials!
Finding Inspiration in Life’s Mess
Sometimes, inspiration hits in the most unexpected ways.
For me, it came from a pile of crumpled tissues because, well, that’s what happens when you’ve got a sick toddler in the house.
Those little moments, the ones where creativity intersects with real life, can spark some fantastic ideas.
My suggestion? Don’t overthink it. Noticed something quirky or relatable? That might just be your next design.

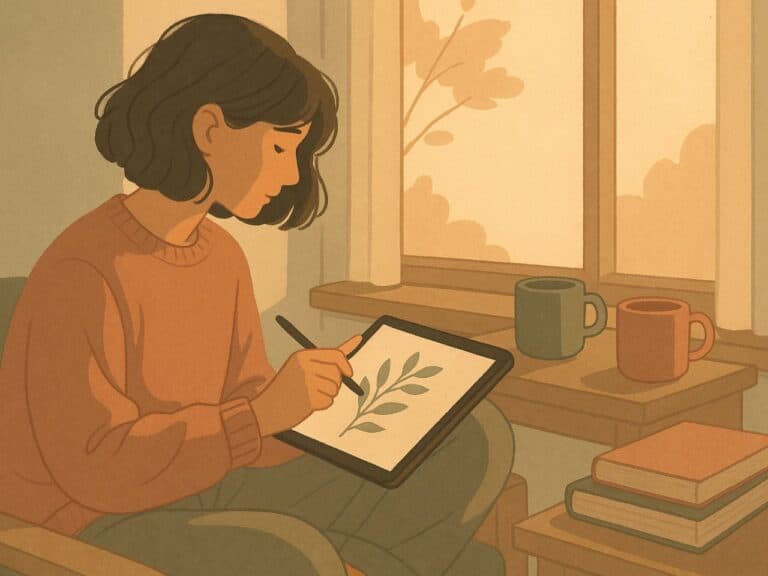
Starting Small and Practicing With Procreate
If you’ve had Procreate sitting on your tablet for years but haven’t dived in yet—hey, same here. I’ll admit it. I bought my iPad specifically for Procreate and then promptly slacked off.
Here's the thing: Procreate isn’t about being perfect.
It’s about experimenting. Be prepared for messy sketches, redos, and more trial and error than you’d expect.
That’s how you’ll find your footing. Don't sweat it, we are all about relaxing and embracing your creative process.
Ok let's get started with how to design stickers in procreate.
Setting Up Your Canvas
Now, let’s get into the nuts and bolts of your first sticker design.
When starting a new canvas, size matters, sometimes. It really depends what you plan to do with your finished piece.
If it's going to live on your tablet forever 1000 pixel x 1000 pixel will be just fine.
A printed sticker works great at 2000 pixel by 2000 pixels.
I went with dimensions of 3800 x 3800 pixels because I may create larger art pieces with mine in the future.
It works perfectly for both digital and print designs. Check out Best Canvas Size for Procreate Stickers (Beginner Guide) for in-depth info on best canvas sizes for stickers.
Procreate allows you to customize sizes, so pick what fits your project needs, but this size gives ample room for detail without overwhelming your device.
Sketching Out Ideas
Every design starts with a sketch—a rough idea you refine as you go along. You don’t have to nail it on the first try.
While sketching in Procreate, I used the selection tool (it looks like a little “S” symbol) to move parts around without constantly redrawing.
This saves time and keeps things flexible.
If you’re drawing a face, start simple:
- Sketch a circle for the head.
- Add guides to place eyes, the nose, and the mouth.
Roughing out these basics helps keep proportions in check while you work.

Bringing Your Character to Life
For my sticker design, I focused on my toddler’s flushed cheeks and pouty face, you know, standard “not feeling well” features.
It’s these little details that breathe life into a drawing. Use contrasts, highlights, and shapes to emphasize the personality you’re capturing.
Don’t worry if it doesn’t look perfect right away. Tweaks and adjustments are all part of the process.
Adding Textures and Colors
Textures
Textures can really take your design up a notch. I used a watercolor paper texture to give my character a more polished feel.
But, heads up: managing this layer alongside others can be tricky. Read all about Using Layers for Stickers in Procreate (Without Losing Your Mind).
If you plan to export your design as a sticker you will need to painstakingly select your outline or you will end up with watercolor paper in your transparent background.
That is not what we want. This prevents us from inserting our image directly into other media or printing it out with a nice clean background.
There maybe an easy fix for using these textured papers I just haven't found it yet. If you have the answer be sure and let me know!
Ok, side bar over.
Layers
Procreate lets you build your illustration on layers, which is fantastic—but too many layers might confuse things or slow the app.
So don't be like me, name your layers so you aren't constantly trying to figure out which layer is which while dealing with 20 plus layers.
Colors
When it came to adding colors, I started with a base color for the skin, then layered shadows and highlights. Learn how to make your own color magic in Procreate Color Palettes for Stickers, Effortless Sticker Color Magic.
Procreate's Color Drop feature is a lifesaver as long as you make sure all your lines are closed. Just drag and drop a color into an area to fill it quickly.
A chaos-friendly shortcut to cute, layered Procreate stickers — even if you’ve never opened the app before.
I created this kit because when I opened Procreate the first time, I had no clue what to tap, layer, or brush. If that’s you, you’re not behind — you’re just beginning. Let’s make it easy and fun.
Grab your starter file, brushes & layer guide. Let’s make stickers!
Outlining and Refining Details

Clean outlines make a world of difference, especially when designing for stickers. I used Procreate’s built-in pens to create crisp borders around my design.
Once outlines were solid, I added subtle details using darker and lighter shades for depth.
Want to add highlights? Go slightly lighter than your base shade for a subtle glow.
Shadows? Just a hint darker than your main color.
Sticker Specifics: Proportions and Practical Tips
When designing characters, proportions are key. They help people recognize your creations even if they aren't realistic.
For toddlers, I made the body about one and a half times the size of the head. However, this isn’t a strict rule, it’s more about what looks natural.
Procreate allows you to adjust proportions easily with the selection and move tools, so don’t be afraid to experiment.
The Trial and Error of Layer Management
Let’s talk layers. They’re your best friend and your trickiest challenge.
I had so many layers going that my app started lagging.
And yes, I may have accidentally edited the wrong layer (more than once).
So as I was saying earlier, name your layers. I'm trying to break myself of forgetting now.
The earlier you start in your process the easier it becomes habit.
Keep your layers organized by naming them and grouping similar ones.
As you gain confidence, you might find fewer layers make for smoother work. But that is really personal preference. There isn't a wrong way.
Some people like everything separate. You may want all your base colors on one layer, shadows on a different layer,etc. Experiment until you find what works for you.

Preparing for Printing
Ready to turn your design into a physical sticker?
You’ll need to prepare your file correctly before sending it to a printing service.
Start by isolating your design onto a transparent background. Turn off your background layer.
This is where paper textures can get you into trouble.
They still show up with background turned off so that the texture shows under your color.
Double-check for tidy edges and ensure your layers don’t leave stray textures behind.
You can export your final design as a PNG, which works well for sticker printing.
Then you can print or upload to professional design company for printing.
If you think this sticker is just the cutest thing, you can grab one of your own at the Doodle and Design Studio Shop!

Designing stickers in Procreate started messy for me, but that’s part of the fun.
The sheer act of diving in, trying new things, and letting creative chaos guide you is what makes the process enjoyable and the end result uniquely yours.
Whether you’re inspired by everyday moments or just want to try something new, the key is to start somewhere.
Learning how to design stickers in procreate will get easier and easier the more you practice!
Creating stickers connects whimsy with practicality, and your iPad becomes your launchpad.
Don't sweat the imperfections. Instead, celebrate them as the marks of growth and learning. So grab your Apple Pencil, open Procreate, and get started!
Looking for more creative projects or tips? Keep following along here on the website and my youtube channel for more tutorials.
Stick around long enough, and who knows you might just discover your next favorite creative obsession!
Want even more ways to get creative, even if you are short on time? Check out Stickers for a Creative Outlet for lots of great ideas!
Love and messy buns,
❤️
Cynthia McDonald
Creating stationery and sticker goods for women who crave creativity in the chaos
Want More Procreate
Whether you’re just starting out or ready to try your next cute design, here’s a full list of tutorials, tips, and easy wins for making stickers in Procreate:
Start Here: Beginner-Friendly Guides
- Procreate Beginner Guide for Stickers
- Making Stickers in Procreate for Beginners
- How to Design Stickers in Procreate
- How Procreate Stickers Boosted My Confidence as a Creative Mom
- How Procreate Helped Me Reconnect with Creativity
- What I Learned from Trying A Daily Sticker Sketch Challenge(and Failing Sometimes Too)
Learn Cute Sticker Drawing Techniques
- Draw a Cute Blushing Star Sticker
- Designing a Cute Bunny Sticker
- How to Draw Cute Cherries
- Draw a Cloud in Procreate (Easy!)
- Design a Daffodil Sticker in Procreate
- Draw a Baby Duck in Procreate
- How to Make Your First Digital Sticker in Procreate (In 10 Minutes!)
- 3 Easy Outline Effects in Procreate That Make Your Stickers Pop
Procreate Tools, Ideas & Tips
- Easy Procreate Sticker Ideas
- Sticker Making Tips in Procreate
- Procreate vs Canva for Sticker Design
- How to Design Stickers
- Procreate Tools for Sticker Design: The Beginner’s Guide for Burnt-Out Moms
- Using Layers for Stickers in Procreate
- Clipping Masks For Procreate Stickers (with Less Stress and More Fun!)
- Best Canvas Size for Procreate Stickers (Beginner Guide)
- Best Procreate Brushes for Stickers (Free & Paid)
- Resizing Stickers in Procreate: The Busy Mom’s Guide to Sanity, Success, and Not Losing It
- Procreate Color Palettes for Stickers, Effortless Sticker Color Magic
- Eraser Tool Tips for Procreate Stickers (That Even Exhausted Moms Can Master)
I have also created an entire Procreate Starter Kit with a complete sticker file so you can see exactly how I made it!
Make sure you grab one of these Pinterest Pins to add to your Design Stickers in Procreate Pinterest Board so you never lose track of your projects!