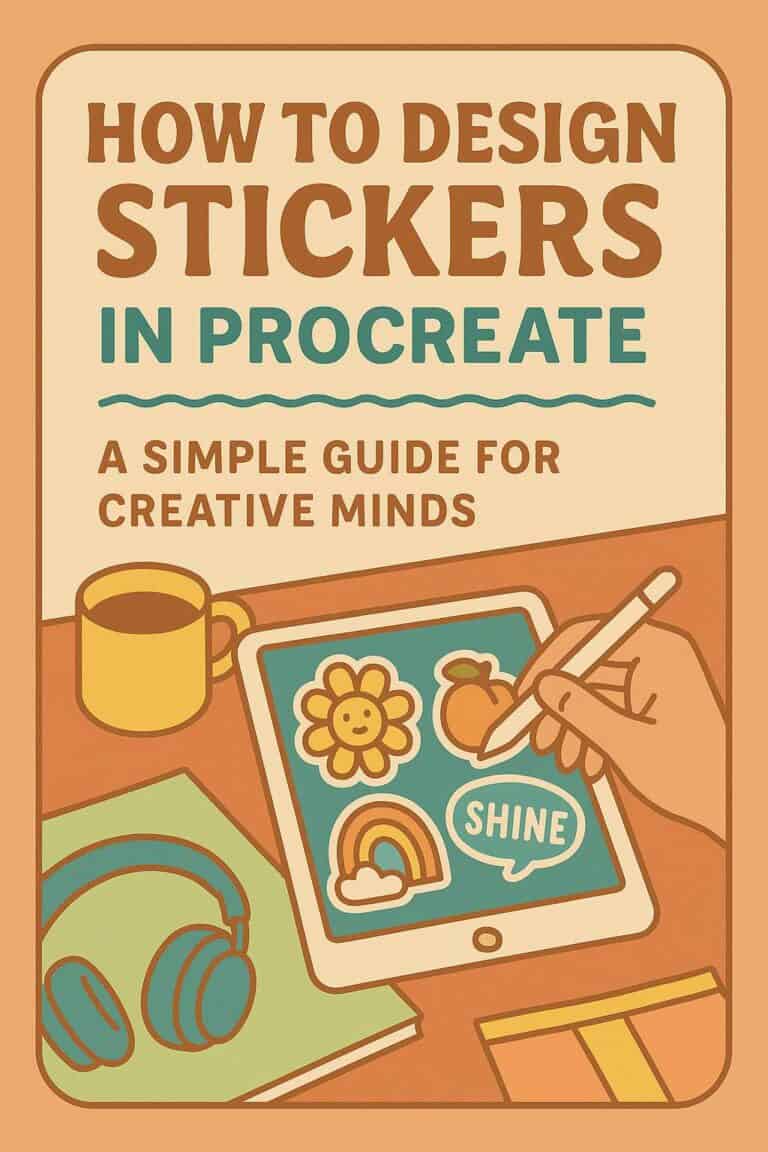
How to Design Stickers: A Simple Guide for Creative Minds
You ever open Procreate, stare at the blank canvas, and think, “Okay… now what?”
Same, girl. Same.
If you’ve got a creative itch but only like twelve minutes of peace and quiet before someone yells ‘MOM!’ from across the house, this guide is for you.
Designing stickers in Procreate is one of those low-pressure, high-satisfaction things that lets you be artsy without needing a whole afternoon or a spotless workspace.
You don’t need to be a pro. You don’t need a plan, you may want a general idea since we are working on borrowed time here but anyways…
Let's learn how to design stickers.
Grab Your Supplies
You just need your iPad, apple pencil, the procreate software, a little curiosity, and maybe a snack (because obviously).
Whether you want to make stickers to slap on your water bottle, drop into your planner, or sneak into your digital notebook, I’ll walk you through the basics step by chaotic step.
You’ll go from “What even is DPI?” to “OMG I MADE THAT” real quick.
And hey, if you’re a visual gal like me, I’ve got tutorials waiting for you right here on YouTube. Let’s get into it and make something fun!
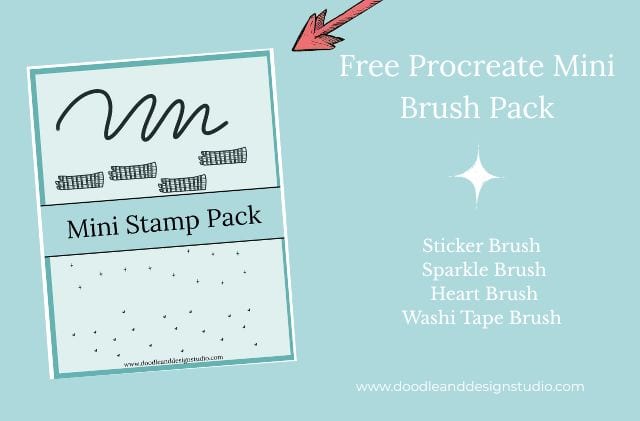
Want to follow along with this tutorial?
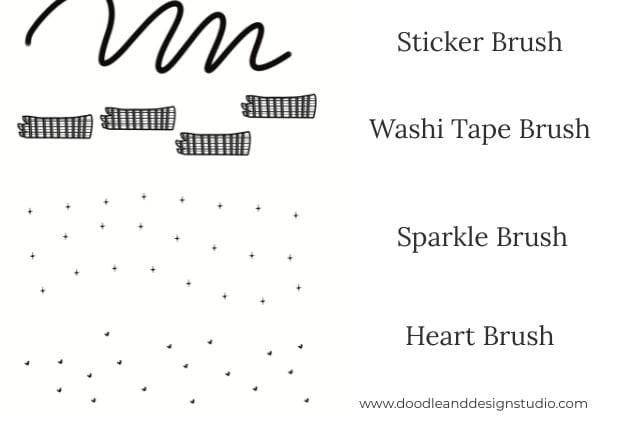
I made a free Procreate brush pack that includes a beginner-friendly sticker brush and 3 stamp brushes
Why Use Procreate for Sticker Design?
Okay real talk, if you’ve got an iPad and a chaotic urge to make something adorable, Procreate is your new BFF.
It’s the kind of app that makes you feel like a digital queen even if you’re just scribbling between snack breaks or zoning out after bedtime routines.
What Makes It So Fun to Use?
- It’s beginner-friendly no fancy design degree required.
- You can undo anything. Two-finger tap? Lifesaver.
- Layers keep your work neat when your brain isn’t…. hmm you haven't seen my layers, but goals.
- There’s a brush for literally every mood: sketchy, glittery, watercolor-y, sparkly chaos?
Let’s just say, once you start, you’re gonna want to create everything. Stickers today, maybe a whole sticker wallpaper tomorrow?
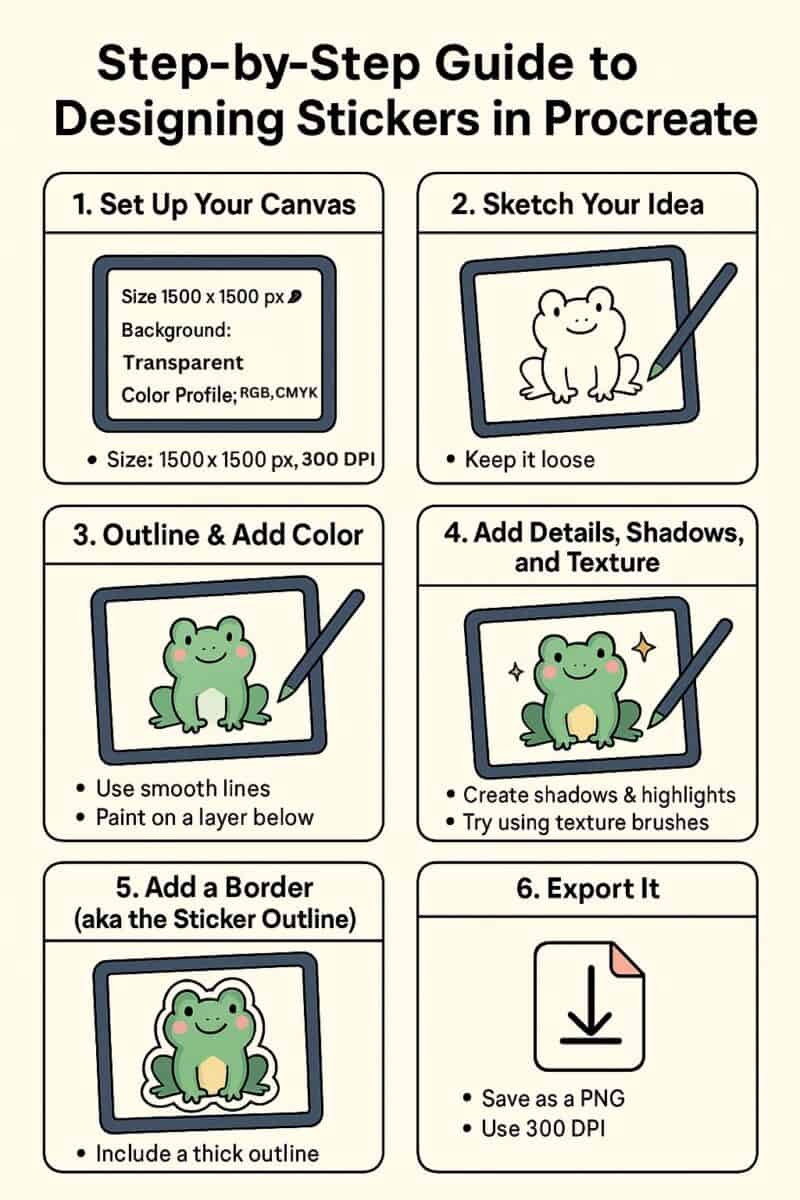
Step-by-Step how to design Stickers in Procreate
aka “Let’s make something cute while ignoring the laundry”
1. Set Up Your Canvas
- 1500×1500 pixels is a great starting square.
- 300 DPI keeps things nice and sharp.
- Transparent background if you want a cut-out vibe.
Save your canvas as a preset so next time you can skip straight to the fun stuff.
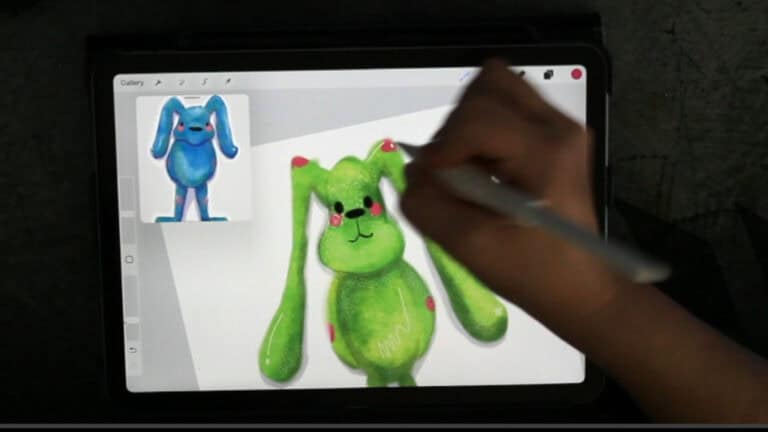
2. Sketch Your Idea
- Keep it messy and fun.
- I sketch on one layer, then lower the opacity and trace on a new layer. You’re allowed to trace your own art, I promise.
Want to try designing your first Procreate sticker?
Grab my free Sticker Brush Mini Pack with 1 custom brush and 3 fun stamps to kick off your creative chaos.
3. Outline & Add Color
- Use smooth brushes like “Studio Pen” for line art.
- Add color on a layer underneath.
- Turn on Alpha Lock or a Clipping Mask to color inside the lines like a grown-up coloring book.
4. Add Details, Shadows, and Texture
- Optional but makes it pop!
- Try shadow layers, blushes, sparkles — whatever fits the vibe.
5. Add a Border
- Under your layers add a new layer
- Trace your work with a nice juicy brush like monoline or studio pen set at a large diameter.
- Color drop inside the outline you just created
6. Export It
- Export as PNG, with your background layer turned off. This keeps your transparency, which you will need for digital stickers or cutting machines.
- Name it something cute, not “finalfinalforrealthisone.png” (but also… we’ve all done it).
Once exported, you’re ready to upload your design to a printing service or use your cutting machine to bring your stickers to life.
Tips for Busy Creatives
Because sometimes all you have is 20 minutes and a half-eaten granola bar
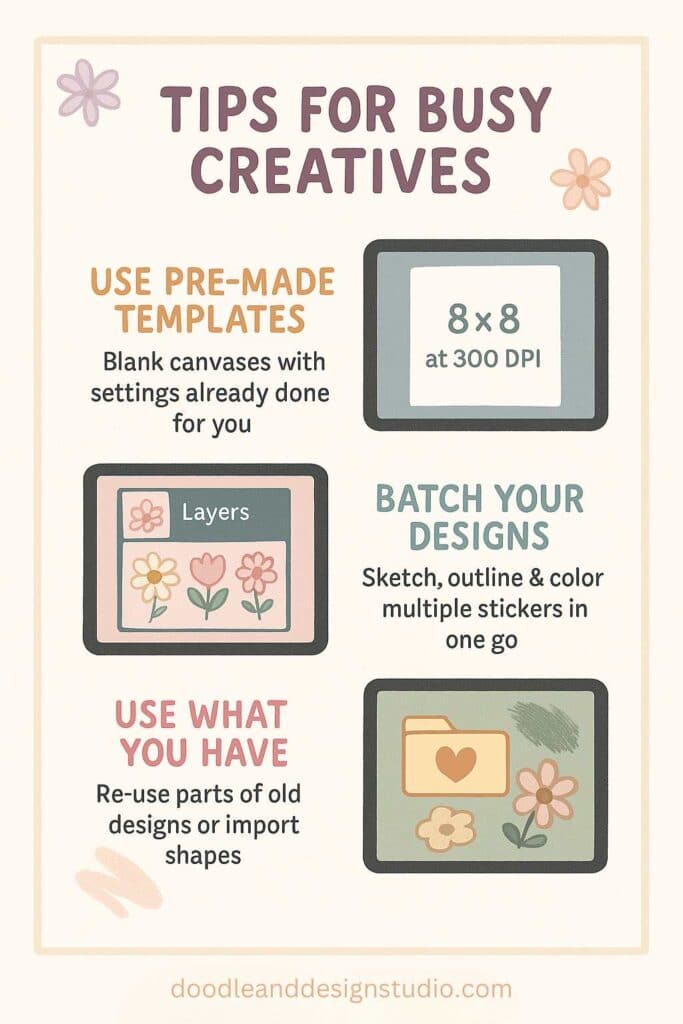
Use Pre-Made Templates
- Set your canvas up once and reuse it forever.
- No more Googling “what is DPI” at 11PM.
- Using pre-made canvas templates and sticker outline sets allows you to get right into the fun part, designing.
- Ease for Beginners: Templates can remove the intimidation factor by giving you a jumpstart. Many pre-made canvas setups include pre-sized dimensions and helpful guidelines for sticker boundaries, which means one less thing to set up on your own.
Batch Your Designs
When your ideas are flowing, why stop at one sticker design? Batch processing: a method of tackling multiple designs at once is the ultimate solution for busy creatives. It makes learning how to design stickers just a little easier! Heck Ya.
Instead of speeding through each sticker individually, you can handle all your designs in a focused, streamlined session. Here’s how to make it work:
- Sketch all your ideas at once. This eliminates downtime between designs and keeps your creativity rolling.
- In Procreate, each sticker can have its own layer or group of layers. This allows you to toggle between designs effortlessly during the editing process. Like meal prep — but way cuter.
- Once your designs are finalized, group them onto a single canvas sized to fit your preferred print dimensions. This saves time by enabling you to export everything in a single file for printing.
Note! Before you get started exporting everything in one file: this works better with sticker sheets or home printing.
If you are creating single die-cut stickers to send to a printer they will normally all be individual files.
So take a moment and think out your end game before you merge everything into one file!
Why is batch processing so effective? Because it taps into a workflow where similar tasks are grouped. It’s like baking a batch of cookies instead of making one at a time, the oven's already hot, so make the most of it!
batch is boss
It has taken me awhile to get the hang of this because I get bored and want to move on to something else. However, once I have the opportunity to start creating again it's like starting over from scratch.
If I would have just continued the ideas and process would have been fresh.
The baking analogy is great for me cause I totally try to use my oven for multiple things when its on!
You don’t have to reinvent the wheel every time. You just have to keep rolling.
“Rolling, Rolling, Rolling on the River.” No that didn't just get stuck in your head when you read that sentence? Hmm, are you sure?
Printing Options for Your Stickers
Once you’ve completed your fantastic sticker designs, it’s time to bring them to life.
The printing process is just as important as the designing stage, ensuring that your stickers look vibrant, crisp, and juicy.
Luckily, there are several ways to print your stickers, depending on your tools, budget, and needs. Let’s explore your options.
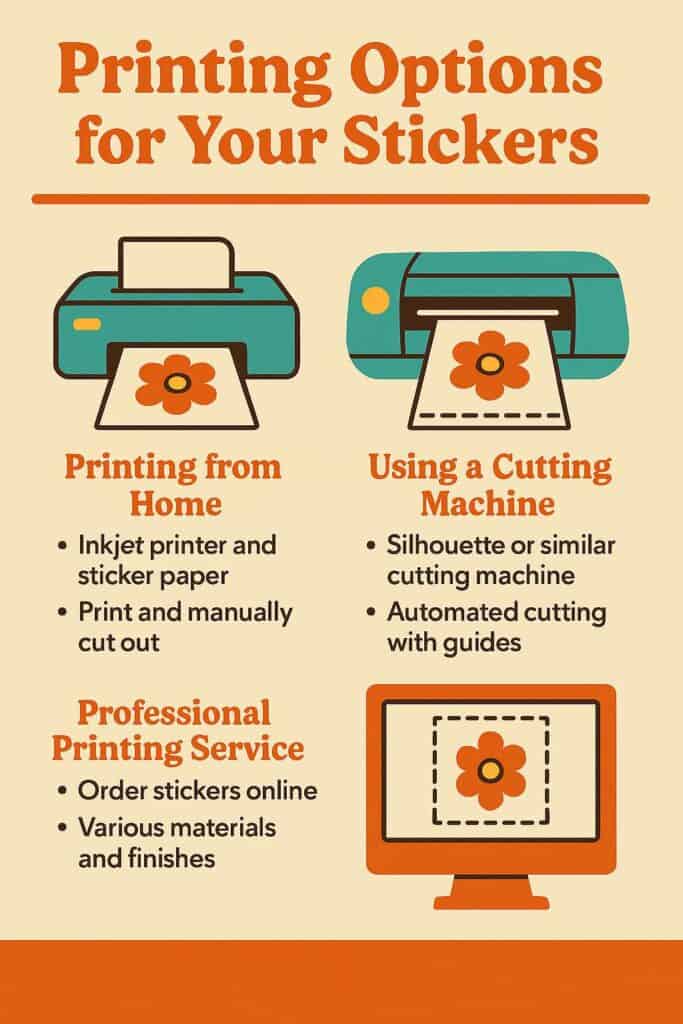
Option 1: Print at Home
- Invest in a good-quality inkjet printer along with sticker paper that matches the printer’s settings (matte, glossy, or clear).Inkjet printer + sticker paper = your new best friends.
- Export your design, arrange them on a page in, hit print.
- Scissors, paper trimmer, or craft knife gets the job done.
Printing from home is great for small batches and offers control over the entire process.
However, the time and effort needed for cutting manually may not be ideal for larger projects.
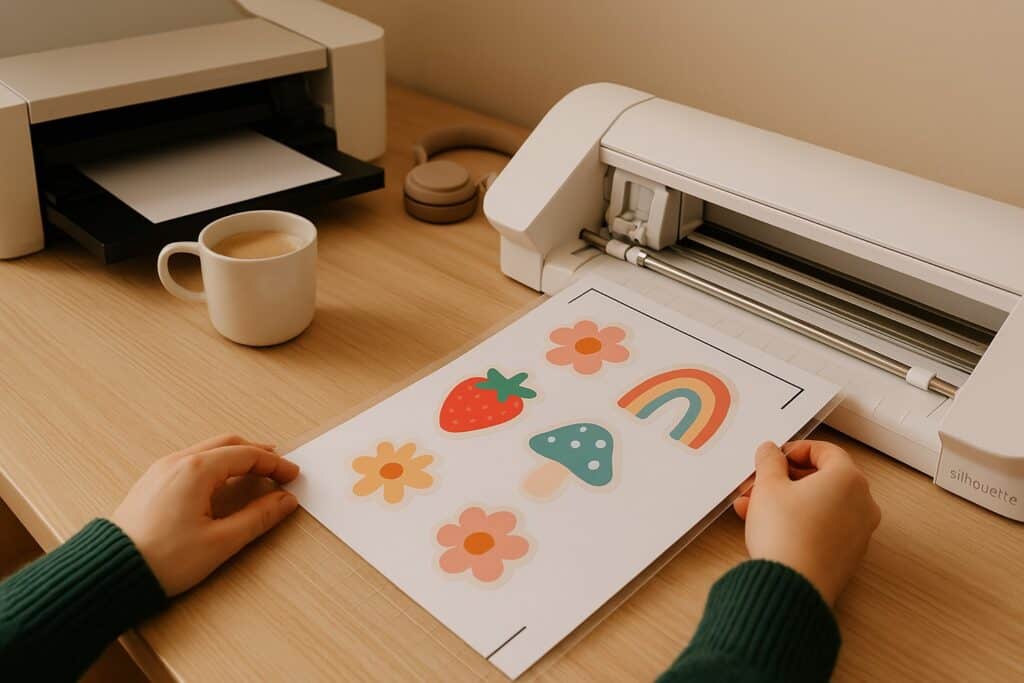
Option 2: Use a Cutting Machine (Silhouette or Cricut)
For a more automated and high-tech approach, consider using a cutting machine like Cricut or Silhouette. These tools do the hard part cutting the stickers saving you time and producing cleaner results. Why not let tech do the heavy lifting?
- Export the Design Add a border to your design for your cutting machine to use as cut lines and export.
- Upload to the Software Import your design into the cutting machine’s software (e.g., Cricut Design Space or Silhouette Studio).
- Once uploaded, set the cut lines, ensuring the machine knows where to slice.
- Load and Cut Place your printed sticker sheet on a cutting mat and send it through the machine. Once cutting is complete, you’ll have perfectly shaped stickers, ready to peel and stick.
Note
Or that is the idea, make sure and watch some videos because there is a learning curve to using home cutting machines.
Option 3: Use Them Digitally
- Digital stickers DPI can actually be way lower like 72DPI and the canvas size can be around 100×1000 pixels.
- Export as a transparent PNG. Upload into digital planners like Good Notes.
- Use as cute iPad or phone wallpapers.
- Create a digital sticker book just for you.
No rules here just good vibes and sticky joy.
Professional Printing Services
Looking for a polished, bulk printing option without the hassle of DIY? Professional printing services like StickerApp or VistaPrint deliver exceptional quality.
These platforms allow you to upload your designs and customize factors like size, shape, and material.
There are lots of sticker companies out there a quick google search will give you lots of options to check out and review.
Here are some pros and cons to consider:
- Pros
- Professional-level quality with rich colors and sharp details
- Options for unique finishes like holographic, matte, or glossy
- No extra effort beyond uploading your files and placing an order
- Waterproof, weatherproof, scratch resistant, you cannot get these features at home unless you invest in speciality inks and printers. ***Keep that in mind if you wonder why the ink is running off the sticker you slapped on your Stanley.
- Cons
- Higher cost, particularly for small quantities
- Longer turnaround time, with shipping times adding days or weeks****I send all my stickers out to be printed at the moment and in our world of Amazon Prime it feels like it takes for-ev-ah to arrive.
Whether you’re creating stickers for personal use, branding, or selling, these services are worth considering for their quality and ease of use.
I'm still on the fence staying in a long term relationship with sticker companies. I don't always love buying in large quantities and patiences? I don't know her.
However, I have to considered that my customers are probably getting a higher quality sticker than I can make at home.
Sending my stickers out to be manufactured also means I don't have to learn a cutting machine or add another to do on my long list.
If your stickers are mainly going to be used for surfaces that won't be getting wet or heavy outdoor use then home printing is probably a great option.
All this to say, it really is a personal choice and depends how the stickers will be used!
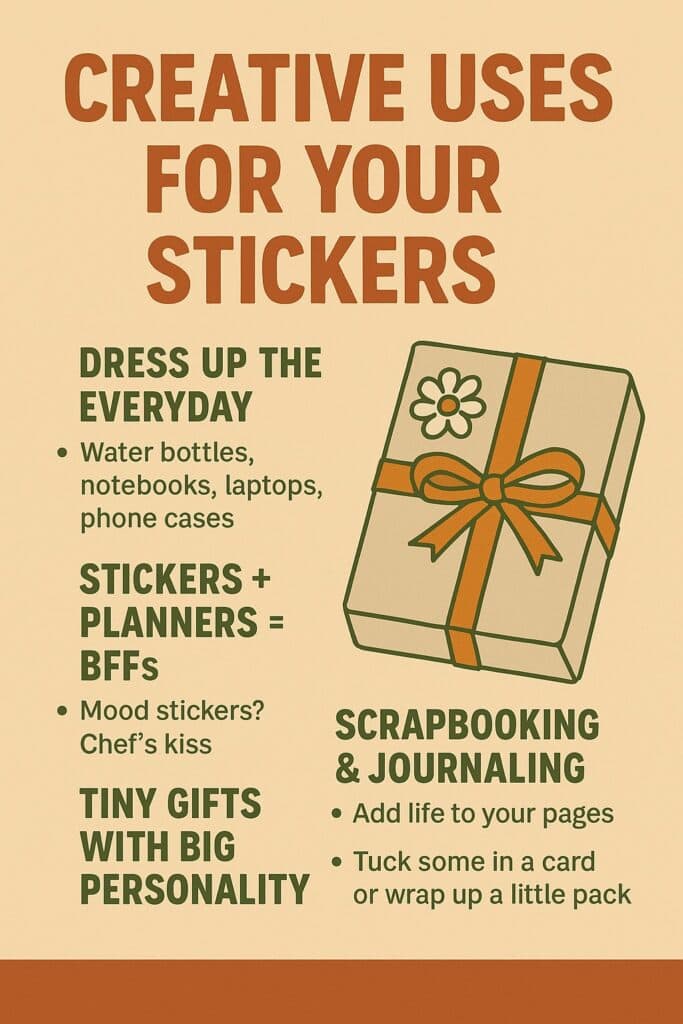
Creative Uses for Your Stickers
Because we’re not making them just to sit in a folder and collect digital dust, right?
Dress Up the Everyday
Water bottles, phone cases, laptops — stick ‘em everywhere like you're a joyful raccoon marking your territory.
Planners = Sticker Heaven
Mark to-dos, track moods, or just make a theme week because life is better when it’s covered in stars and bunnies. Check out 10 Creative Ways to Decorate Your Planner with Stickers for Fun and Motivation to get you started.
Journals & Scrapbooks
Frame your favorite memories or add fun doodles. It’s like turning your pages into little art galleries. How to Start a Sticker Journal: A Fun Guide for Beginners will get you started in no time!
Thoughtful Little Gifts
- Pop a few into a birthday card. You can even make the card with stickers! Creative Ways to Use Stickers for DIY Greeting Cards
- Decorate a gift box. And fill it with bookmarks made with stickers ! How to Create Stunning Bookmarks with Stickers for Fun and Personal Flair
- Leave one on your partner’s coffee cup for a little “I see you” moment.
Keep ‘Em Just for You
- Build a digital sticker album.
- Wallpaper your iPad with your creations.
- Make a “look what I made” folder and hype yourself up. Or check out this article and create an enitre Sticker Wall Altar or um I mean masterpiece
Because making cute things just because you can is reason enough.
You’re doing amazing. Keep creating, even if it’s a little messy, a little silly, or squeezed in between dishes and daycare drop-offs.
We’re in this together and I'm so glad you could learn how to design stickers with me today💖
Ready to try your own sticker design?
Download the free Procreate brush pack made for beginners includes my starter stamps + sticker brush and a quick-start guide.
👉Fill in the form to get instant access.
Want More Procreate
Whether you’re just starting out or ready to try your next cute design, here’s a full list of tutorials, tips, and easy wins for making stickers in Procreate:
Start Here: Beginner-Friendly Guides
- Procreate Beginner Guide for Stickers
- Making Stickers in Procreate for Beginners
- How to Design Stickers in Procreate
- How Procreate Stickers Boosted My Confidence as a Creative Mom
- How Procreate Helped Me Reconnect with Creativity
- What I Learned from Trying A Daily Sticker Sketch Challenge(and Failing Sometimes Too)
Learn Cute Sticker Drawing Techniques
- Draw a Cute Blushing Star Sticker
- Designing a Cute Bunny Sticker
- How to Draw Cute Cherries
- Draw a Cloud in Procreate (Easy!)
- Design a Daffodil Sticker in Procreate
- Draw a Baby Duck in Procreate
- How to Make Your First Digital Sticker in Procreate (In 10 Minutes!)
- 3 Easy Outline Effects in Procreate That Make Your Stickers Pop
Procreate Tools, Ideas & Tips
- Easy Procreate Sticker Ideas
- Sticker Making Tips in Procreate
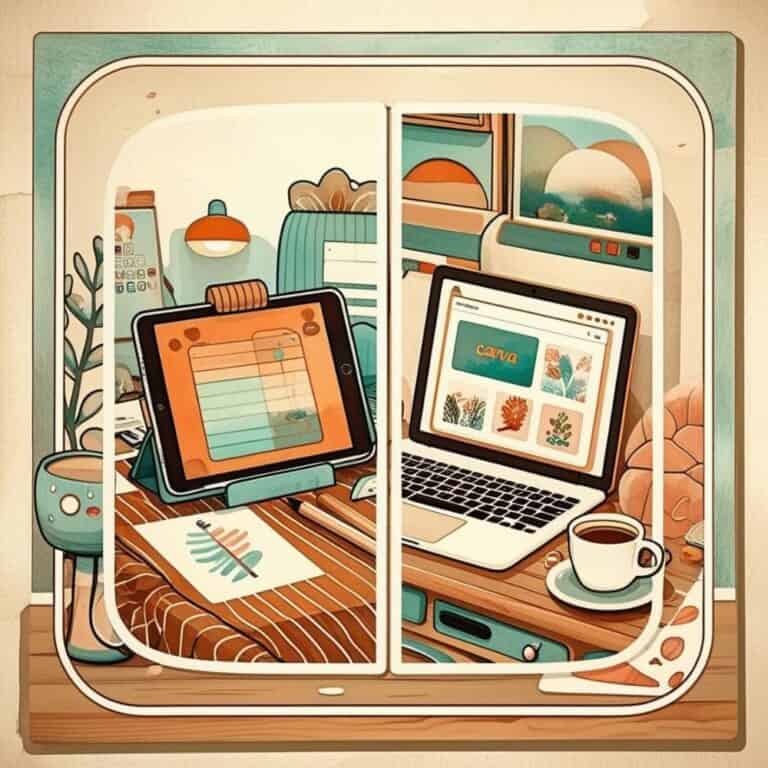
- Procreate vs Canva for Sticker Design
- How to Design Stickers
- Procreate Tools for Sticker Design: The Beginner’s Guide for Burnt-Out Moms
- Using Layers for Stickers in Procreate
- Clipping Masks For Procreate Stickers (with Less Stress and More Fun!)
- Best Canvas Size for Procreate Stickers (Beginner Guide)
- Best Procreate Brushes for Stickers (Free & Paid)
- Resizing Stickers in Procreate: The Busy Mom’s Guide to Sanity, Success, and Not Losing It
- Procreate Color Palettes for Stickers, Effortless Sticker Color Magic
- Eraser Tool Tips for Procreate Stickers (That Even Exhausted Moms Can Master)
I have also created an entire Procreate Starter Kit with a complete sticker file so you can see exactly how I made it!
Be sure to save your favorite Pin Below to your Sticker Making Pinterest Board!