Draw a Cloud in Procreate: Easy Sticker Tutorial

Hey there! Cynthia here, ready to show you how to draw a super cute cloud sticker in Procreate.
Perfect for adding a touch of whimsy to your digital planner, journal, or sticker collection.
We'll go over creating simple cloud shapes, adding soft shading and textures, and even learn to make easy rainbow accents.
So grab your iPad, and let’s get this how to draw a cloud lesson started!
Setting Up Your Procreate Canvas
First things first, let's set up our canvas. A good size to use is 2000 x 2000 pixels. This gives you a nice, high resolution, which is important, especially if you plan to print your stickers.
If your stickers will live in the digital universe for digital planning and journaling 1000 x1000 pixels is perfect.
To create a new canvas, tap the “+” icon in the Procreate gallery, then tap the “+” in the upper right corner.
Enter 2000 for both the width and height, and you're good to go!
Want bigger prints available then crank up your pixels.
I have a habit of using 3500 x 3500 or larger because I may end up using my designs for art prints.
Feel free to experiment with different sizes to see what works best for you.
Want to follow along with this tutorial?
I made a free Procreate brush pack that includes a beginner-friendly sticker brush and 3 stamp brushes

Choosing Your Color Palette
Colors can really make or break a sticker! For this cloud design, I'm using a sky blue, blush pink, soft yellow, and lavender.
When picking colors, try to pick colors that are a bit brighter than normal, because printed colors are often less vibrant than they appear on screen.
Color profiles can also affect the brightness of colors when printing.
Make sure and do test prints on your home printer. If you are printing professionally look up your manufacturer's recommendations.
It's a good idea to use colors that complement each other to create a cohesive look.
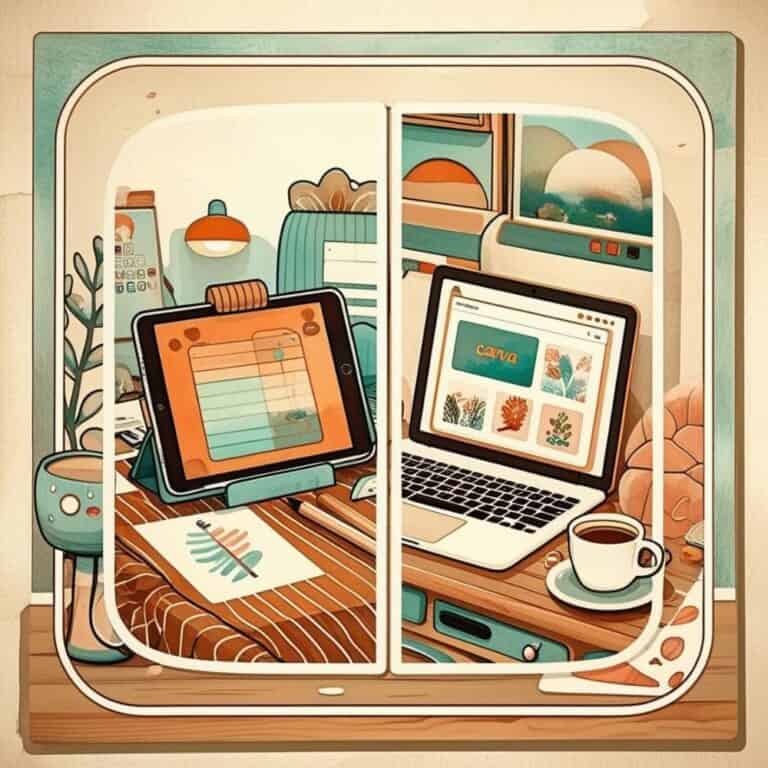
For some color palette help, check out Canva's free color palette generator. You can upload an image with colors you like and canva will put a palette together for you!
Don't be afraid to experiment and find your own unique combinations!

In Procreate, you can also use the “harmony” color selection for some different color ideas that compliment your base colors.

Draw A Cloud: the Basic Cloud Shape
Now for the fun part: drawing the cloud! Start with your sky blue color. You can draw your cloud freehand, or use basic shapes as a guide.
I find the Monoline brush from the “Calligraphy” set works great for this.

I personally like to draw a straight line and then add puffy shapes to it. But feel free to draw your cloud in whatever style you like best.
Procreate's shape recognition can help smooth out your curves.
Just draw a line, hold your apple pencil down at the end, and Procreate will try to straighten it for you.
For easy color filling, make sure your cloud shape is completely closed.
I recommend practicing cloud shapes on a separate layer first to get the hang of it.
Want to try designing your first Procreate sticker?
Grab my free Sticker Brush Mini Pack with 1 custom brush and 3 fun stamps to kick off your creative chaos.

Color Your Cloud
To easily color the cloud shape, set the layer with your cloud outline as a ‘Reference Layer'.
Then, create a new layer underneath and simply color drop the blue into your cloud shape.
The ‘Reference Layer' tells Procreate to use the outline on that layer as a boundary for filling color on other layers.
If you don't have your lines completely closed, your color will go everywhere. Trust me I'm an expert at missing those closed lines!
If you want a lighter blue, you can always adjust the color to fit your personal style.

Adding Shadows for Dimension
Shadows can be key to adding depth and realism to your cloud.
First, create a new layer for your shadows.
For the shadow color, use a darker shade of blue or a gray-toned lavender.
To keep the shadows within the cloud shape, create a clipping mask.
ap the shadow layer, then tap “Clipping Mask.” This will “clip” the shadow layer to the shape of the cloud layer below.
For a soft, diffused shadow effect, use an airbrush, specifically the soft brush. Lower the opacity of the shadow layer for a subtle effect.
Focus on adding shadows to the curves and bottom edges of the cloud.
Then, use the smudge tool to blend the shadows, so it looks nice and seamless.
If you hold down the smudge tool for a moment it will convert to the brush you are currently using.
This is great for blending and looking like the shadow belongs.
Be careful not to smudge too much, or you might get rid of the shadows completely!
Or you might be like me and decide your design looks better simple and flat and pitch all this extra work out the metaphoric window.
changing your canvas size in Procreate
Sometimes we just don't know exactly what we need. Too big? Too small? No problem.
We are simply going to follow this path and Resize our canvas:
Actions >Canvas >Crop and Resize
From here you can simply grant yourself more space by dragging the outside edges around.
Same is true if you want to cut out some extra white space. Once you have what you need just click done.
It's great, unlike working with real paper or canvas, when you are out of room you are out of room!

Creating the Rainbow Arcs
Time to add a rainbow! We'll use the pink, yellow, and lavender colors from our palette.
Create a new layer for the rainbow, and grab the Monoline brush again for clean, crisp lines. Think about where you want to position the rainbow on the cloud.

When drawing in procreate, it's really in your best interest to remember to create all your line art on one layer.
This way you can use that reference layer to color fill. If you watch the video you can see yours truly has a horrible memory and totally forgot.
So if you are like me, you'll chase your tail and wonder where you have gone wrong.
Don't be like me put all your line art together and close those darn lines!
Filling in the Rainbow Colors
Color dropping is super useful for filling in the rainbow, especially on a drawing app like Procreate.

Sidebar: if you want texture in your base layer coloring by hand is going to give that effect.
Using color drop is going to give you a flat color fill. Does that make sense?
If the color drop doesn't work perfectly, you may need to manually fill in the colors.
Use a smaller brush size for more precise coloring.
If you’re watching this part of the tutorial on YouTube, you might want to speed up.
Unless you just want to watch me on the struggle bus as I color in this rainbow.
It's okay if there are some gaps but make sure to fill in any interior lines. If you want to quickly change the colors later, you can use alpha lock.

I often use watercolor as an inspiration, and I like letting a little bit of light shine through the gaps.
Since we will be making a sticker, that will be on a white background, you do want to make sure you stay in the lines when coloring in your rainbow.
Stickers tend to look cleaner when the colors stay in the lines because the overshoot will show up on the white sticker border.

Adding Texture and Shading to the Rainbow
To add visual interest, let's add some texture to the rainbow. Select the rainbow layer and tap “Alpha Lock.”
Experiment with different brushes for texture, such as grunge brushes or water brushes.
Remember to keep the texture and shading subtle.
It’s easy to overdo it!
A lighter color often works best for subtle texture. Feel free to try things out!
Adding texture can also be a good way to cover up slight errors in your artwork.
In the end, I decided no texture was the best choice for me in this sticker.

Adding Text with the “Embrace the Chaos” Mantra
Let's add some text to give the sticker a personal touch.
Instead of lettering, use a text box for cleaner text, unless of course you are a hand lettering boss.
I myself am more like a hand lettering preschooler.
I chose the phrase “Embrace the Chaos,” because I'm trying to accept the season of life I'm in right now!
Your girl has struggles, being a teen mom, a toddler mom, a wife, working etc… You know we all have heaps going on.
So “Ebrace the Chaos,” seems a fitting Mantra. Say it with me now….
Anyways, let's get back to the text box.
Using the text tool in Procreate can be a little tricky.
Sometimes the text isn't visible, and selecting it can be a pain.

If you run into problems, try using the keyboard and adjusting the text size. Positioning the text on the cloud can also be challenging.
To select the text, change its color, and center it, experiment with different fonts and text styles. You want the text to stand out and be easy to read.

If you're not a fan of “Embrace the Chaos,” try other empowering phrases or mantras like “You Got This!”, “Create Every Day!”, or “Dream Big!”.
Try to match the color of the text with colors already in the sticker. I used a darker blue.
Word of caution make sure you are happy with your text before you switch layers.
Procreate will rasterize your text, turning it into an image. This means it's no longer editable as text.
So if you aren't happy, you will simply have to delete the text layer and start over.

adding highlights
Adding highlights to your cloud and rainbow just help it look super cute.
Choose a small brush and choose white or a color lighter than the color you are putting it on top off.
The monoline brush works great for this, but be sure and check the inking section to see if something tickles your fancy.

Final Touches and Outlining
Now, for the final steps to prepare the sticker for printing. You can either turn off your background layer and export your sticker now.
If this is your choice just skip down to the next step.
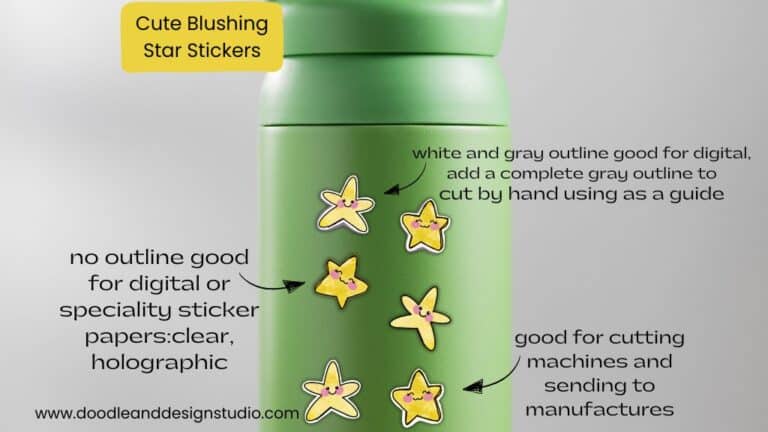
You can also add a white border or outline around your sticker, giving it that iconic sticker feel.
A sticker outline brush makes creating a border easy.
There are lots of brush makers out there simply google sticker outline brush to see what's available.
If you aren't interested in purchasing one you can head back to your trusty monoline brush, set it at a large size and go from there.
Create a new layer underneath the artwork for the outline. Creating a smooth, consistent outline can be tricky.

If you have any issues, try adjusting the brush size. If your outlines aren't smooth, try slowing down and completing small areas.
This way if you have to erase it's only a little bit of the area.

Once finished with the outline, turn off your other layers and color fill with white.
After using color fill zoom in and make sure all areas inside the sticker borders are filled.
A clean, well-defined outline is key for a professional-looking sticker.

Exporting and Sharing Your Sticker
Now for the final step: exporting your sticker. I recommend exporting as a PNG file to preserve transparency.

Yay! We did it. A cute sticker with our new Mantra! Atleast my chaos will be cute!
Thanks for following along with this tutorial! I hope you had a great time learning how to draw a cloud in Procreate.
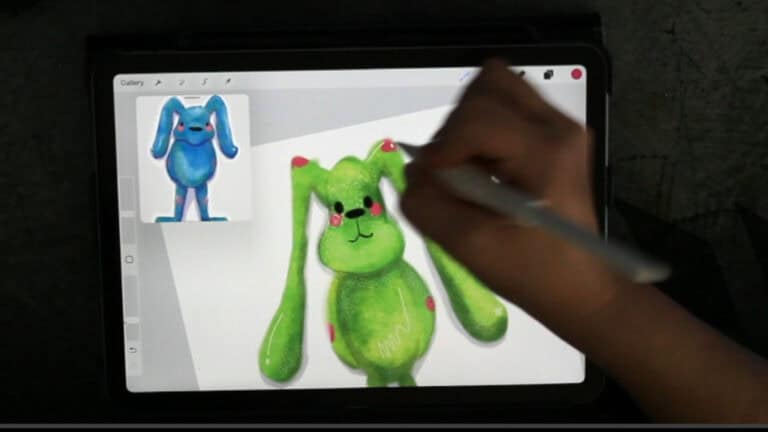
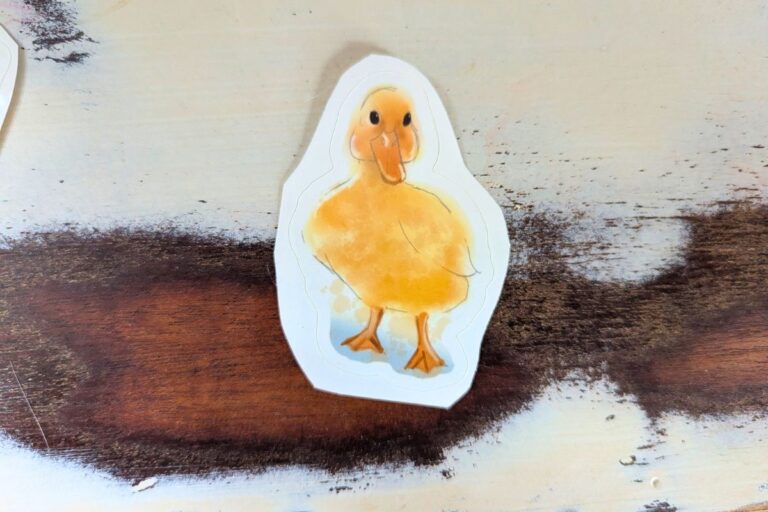
If you enjoyed this tutorial, check out Designing a Cute Bunny Sticker in Procreate: A Step-by-Step Guide , How to Draw Cute Cherries in Procreate: A Fun & Easy Sticker Tutorial, or maybe even Quick and Fun Ways to Draw A Baby Duck In Procreate (With Video!)
If you are more interested in starting from scratch, I gotcha. Check out this post Easy Procreate Sticker Ideas to Spark Your Creativity
And most importantly, Embrace the Chaos and keep creating!
I hope your cloud is more cooperative than mine!
Need a fun project for your stickers? Check out creative ways to use stickers for DIY Greeting Cards!
Ready to try your own sticker design?
Download the free Procreate brush pack made for beginners includes my starter stamps + sticker brush and a quick-start guide.
👉Fill in the form to get instant access.
Want More Procreate
Whether you’re just starting out or ready to try your next cute design, here’s a full list of tutorials, tips, and easy wins for making stickers in Procreate:
Start Here: Beginner-Friendly Guides
- Procreate Beginner Guide for Stickers
- Making Stickers in Procreate for Beginners
- How to Design Stickers in Procreate
- How Procreate Stickers Boosted My Confidence as a Creative Mom
- How Procreate Helped Me Reconnect with Creativity
- What I Learned from Trying A Daily Sticker Sketch Challenge(and Failing Sometimes Too)
Learn Cute Sticker Drawing Techniques
- Draw a Cute Blushing Star Sticker
- Designing a Cute Bunny Sticker
- How to Draw Cute Cherries
- Draw a Cloud in Procreate (Easy!)
- Design a Daffodil Sticker in Procreate
- Draw a Baby Duck in Procreate
- How to Make Your First Digital Sticker in Procreate (In 10 Minutes!)
- 3 Easy Outline Effects in Procreate That Make Your Stickers Pop
Procreate Tools, Ideas & Tips
- Easy Procreate Sticker Ideas
- Sticker Making Tips in Procreate
- Procreate vs Canva for Sticker Design
- How to Design Stickers
- Procreate Tools for Sticker Design: The Beginner’s Guide for Burnt-Out Moms
- Using Layers for Stickers in Procreate
- Clipping Masks For Procreate Stickers (with Less Stress and More Fun!)
- Best Canvas Size for Procreate Stickers (Beginner Guide)
- Best Procreate Brushes for Stickers (Free & Paid)
- Resizing Stickers in Procreate: The Busy Mom’s Guide to Sanity, Success, and Not Losing It
- Procreate Color Palettes for Stickers, Effortless Sticker Color Magic
- Eraser Tool Tips for Procreate Stickers (That Even Exhausted Moms Can Master)
I have also created an entire Procreate Starter Kit with a complete sticker file so you can see exactly how I made it!
Pick your favorite Pinterest Pin and be sure to save it to your Sticker Making Board for easy access.