Quick and Fun Ways to Draw A Baby Duck In Procreate (With Video!)

Drawing in Procreate can be such a fun and rewarding process, come draw a baby duck in procreate with me!
Whether you're a beginner or someone wanting to turn their artwork into stickers, this guide walks you through the process step by step.
This tutorial walks through creating, refining, and coloring while keeping things simple and enjoyable.
Plus, you’ll even learn how to add a white outline for sticker printing.
Want to know what to do after you draw a baby duck in procreate? Check out our section Stickers For A Creative Outlet for ideas from crafts to decorating planners!
Let’s jump in and start creating—no heavy experience needed, just your iPad, Procreate, and a sense of creativity.

Want to follow along with this tutorial?
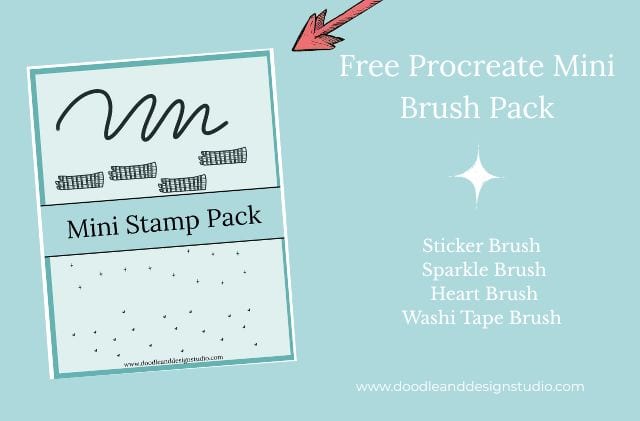
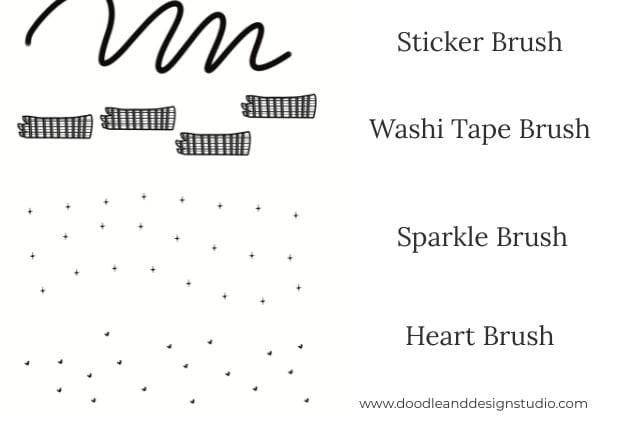
I made a free Procreate brush pack that includes a beginner-friendly sticker brush and 3 stamp brushes
Setting Up the Canvas
Choosing the right canvas size is more important if you’re considering printing your work. If you don't plan to print your work the size doesn't really matter.
For this project, I recommend setting your canvas size to 3800 pixels x 3800 pixels. This gives you plenty of room for detail and ensures a quality result when printing stickers.
Open a new canvas in Procreate by going to the plus button.
- Set the custom dimensions to 3800 pixels by 3800 pixels.
- Tap “Create” and your blank canvas will appear, ready to go.
Once your canvas is all set, you’ll want to add your reference photo. Use Pinterest (or your favorite source) to find a reference image. For this tutorial, a playful baby duck photo works perfectly.
A reference photo is optional but I like it to confirm shapes and basic colors.

Importing Your Reference Photo
Once you’ve found that ideal duck photo, it’s time to bring it into Procreate. Here’s how:
- Go to the “Actions Menu” (wrench icon), select the Canvas tab, and enable the Reference option.
- Choose to import the photo and position it beside your canvas area.
This reference will guide your sketch, making it easier to nail proportions and keep the structure accurate. Be sure to organize the image so it doesn’t overlap your drawing space.
Remember we are going for cute so don't stress if your drawing doesn't look very realistic.

Starting with Basic Sketches
Now it’s time to grab your Apple Pencil and 6B brush from the sketching menu to begin the rough sketch. Start with simple shapes:
- A circle for the head.
- A sideways teardrop for the body.
- Ovals for the wings.
- Straight lines for the legs and small triangles for webbed feet.
Keep the lines light and don’t stress about perfection—this step is just about building the foundation of your baby duck.
Here’s a fun tip: Once you finish a shape (like the circle for the head), hold your screen for a couple of seconds. Procreate will automatically smooth out the edges.
want more content like this right in your inbox?
Subscribe to our newsletter and we will send you 26 free Self Care Stickers along with fun sticker news and updates! Just Enter Your Email on the form below!
Refining Your Sketch
After you’ve got the initial outline, it’s time to refine things. Add small details like:
- Facial guides to decide where the eyes and beak will sit.
- Adjustments to the neck and body proportions for a balanced look.
- Lines to outline the wings and cute little cheeks.
Using Procreate’s Selection Tool, you can move and tweak these elements as needed. Don't be afraid to hit “Undo” or reposition sections—it’s all part of the process!
When you’re happy with the sketch, reduce the layer opacity to about 50%, add a new layer, and draw tighter lines for a cleaner result. Think of this refined sketch as the template for your line art.
Line Art: Making it Crisp
The next step is creating the final line art. On a new layer, trace over your refined sketch with more deliberate strokes. It’s helpful to use a pen-like brush for cleaner, bolder outline work.
Don’t worry if your lines aren’t perfect—this is a cartoonish, whimsical duck, not a photo-realistic one! Have fun with it, lean into the imperfections, and remember that your unique style shines through here.
If you’re refining an earlier sketch, you can easily copy and paste previous work into the new canvas. Procreate’s layers and selection tools help streamline the process.

Want to try designing your first Procreate sticker?
Grab my free Sticker Brush Mini Pack with 1 custom brush and 3 fun stamps to kick off your creative chaos.
Coloring the Duck
Now for the fun part: adding color! Start by selecting a base layer dedicated to the main colors of the duck:
- Use a soft airbrush for smooth, even coloring.
- Keep your brush pressure steady to avoid accidental shading.
Focus on filling the larger areas first—like the head and body—leaving small areas uncolored for highlights. It’s okay to experiment with lighter or darker hues, depending on the texture and depth you want to add.
For extra dimension, add a new clipping mask layer and start applying shadows and highlights. This keeps your coloring on one layer without disrupting the base layer underneath.

Adding Texture and Shadows
Creating texture in Procreate is easy once you dive into its brush library.
Test out different texture brushes, from fur to grainy styles, to give your duck that fluffy, soft appearance. It might take some trial and error here, but it’s worth exploring.
As you can see my little duckie looks like a packet of that powdered chicken noodle soup! Not what I was going for.
Tips for shadows and highlights:
- Stick to natural light direction when adding shadows.
- Use a lighter shade of your base color for highlights.
- Blend the colors with Procreate's smudge tool for a polished look.
This stage might feel tedious, but it truly makes all the difference in bringing life and dimension to your baby duck. It will also get quicker the more you practice.

Creating a White Sticker Outline
Want to turn your duck into an adorable sticker? You’ll need that classic white border. Here’s how:
Select your colored duck layer and copy-paste it onto a new one.

Apply Gaussian blur around 20–25% to soften the edges.

Use Threshold adjustment (hold your pen and swipe) to shape the border.

Once done, create a new layer, fill it with white, and position it beneath your artwork.
If you’re printing at home, having a white outline gives your stickers that professional look.
On the other hand, professional printers often add these outlines automatically so you may not need it.
I do recommend really paying attention to the proof and make sure you like it with a professional company. Some of them have the option to skip the proof, I definetly would not do that.
One caveat to printing at home, if you aren't going to be using a cutting machine you many want to add a different color than white to make a cut line.
You will be printing on white paper so your white outline will disappear. Using a different color might help you cut around your stickers easier.
Ok let's go over to the layers menu and the bottom layer should be background, turn it off to achieve a transparent backgrond.

Preparing for Printing
Exporting your design is the final step.
Go to Share > PNG and save it to your photo gallery or preferred location. That way, you’re all set to revisit or reproduce it anytime.
Professional sticker printers love PNG files since they maintain the image’s quality and transparency.
If you're opting for home printing later, consider a simple machine like a Silhouette or Cricut for cutting your designs.
If you are not ready for a cutting machine or professional printing you can still make your own stickers.
You will need to buy some quality sticker paper and I suggest some good scissors with a small profile. This way you can cut multiple stickers on one page.
I know when I tried to use regular scissors my blades kept getting stuck in the vinyl and it felt like it took forever to go through the sticker sheets.

Drawing a duck in Procreate is as much about experimenting as it is about following steps. There’s room to create your own style, test brushes, and just enjoy the process.
Whether it’s for fun or future sticker sales, the most important thing is to let yourself have fun and see where the art takes you.
If you're feeling inspired, why not try drawing another cute animal? Procreate opens up endless opportunities. You can also check out these sticker designing tutorials as well:
Don’t forget to check my YouTube channel for more step-by-step tutorials creating stickers in procreate. Share your creations online—I’d love to see how you decided to draw a baby duck in procreate.
Love and messy buns,
❤️
Cynthia McDonald
Creating stationery and sticker goods for women who crave creativity in the chaos
Ready to try your own sticker design?
Download the free Procreate brush pack made for beginners includes my starter stamps + sticker brush and a quick-start guide.
👉Fill in the form to get instant access.
Want More Procreate
Whether you’re just starting out or ready to try your next cute design, here’s a full list of tutorials, tips, and easy wins for making stickers in Procreate:
Start Here: Beginner-Friendly Guides
- Procreate Beginner Guide for Stickers
- Making Stickers in Procreate for Beginners
- How to Design Stickers in Procreate
- How Procreate Stickers Boosted My Confidence as a Creative Mom
- How Procreate Helped Me Reconnect with Creativity
- What I Learned from Trying A Daily Sticker Sketch Challenge(and Failing Sometimes Too)
Learn Cute Sticker Drawing Techniques
- Draw a Cute Blushing Star Sticker
- Designing a Cute Bunny Sticker
- How to Draw Cute Cherries
- Draw a Cloud in Procreate (Easy!)
- Design a Daffodil Sticker in Procreate
- Draw a Baby Duck in Procreate
- How to Make Your First Digital Sticker in Procreate (In 10 Minutes!)
- 3 Easy Outline Effects in Procreate That Make Your Stickers Pop
Procreate Tools, Ideas & Tips
- Easy Procreate Sticker Ideas
- Sticker Making Tips in Procreate
- Procreate vs Canva for Sticker Design
- How to Design Stickers
- Procreate Tools for Sticker Design: The Beginner’s Guide for Burnt-Out Moms
- Using Layers for Stickers in Procreate
- Clipping Masks For Procreate Stickers (with Less Stress and More Fun!)
- Best Canvas Size for Procreate Stickers (Beginner Guide)
- Best Procreate Brushes for Stickers (Free & Paid)
- Resizing Stickers in Procreate: The Busy Mom’s Guide to Sanity, Success, and Not Losing It
- Procreate Color Palettes for Stickers, Effortless Sticker Color Magic
- Eraser Tool Tips for Procreate Stickers (That Even Exhausted Moms Can Master)
I have also created an entire Procreate Starter Kit with a complete sticker file so you can see exactly how I made it!
Make sure you grab one of the pins below to add to your Sticker Making Pinterest Board!