Designing a Cute Bunny Sticker in Procreate: A Step-by-Step Guide
Have you ever wanted to create your own adorable stickers but felt like you didn’t have the time? Why don't you try designing a cute bunny sticker with me?

In this post, I’ll walk you through a quick and easy way to design a cute bunny sticker in Procreate. Perfect for busy women who want to be creative but don’t have hours to spare!
I’m always working to improve my Procreate skills through practice, and I’m here to help you do the same without having to figure it out all by yourself.
This tutorial is fun, therapeutic, and designed to fit into your busy schedule.
Follow along and create your own bunny sticker in just a few simple steps!
Would you rather watch? Check out the video below!
Setting Up Your Procreate Canvas

Let's get our Canvas set up in Procreate.
The size of your canvas is important, especially if you plan to print your design. I almost exclusively use a canvas size of 3800 pixels x 3800 pixels.
I've found that this size keeps everything looking good when I print my designs.
Keep in mind that canvas size affects how many layers you can have in your project.
So, experiment and find what works best for you! 2000 pixels x 2000 pixels works great if you just want to print stickers.
- Canvas Sizing for printing
- Canvas sizes should be larger to ensure clarity when printing stickers and other projects
- Printing companies sometimes have minimum size recommendations. So if you are going to the professionals check out their website for requirements or reach out to them.
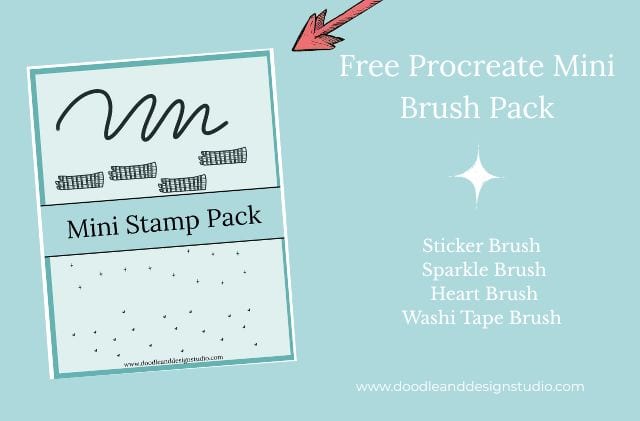
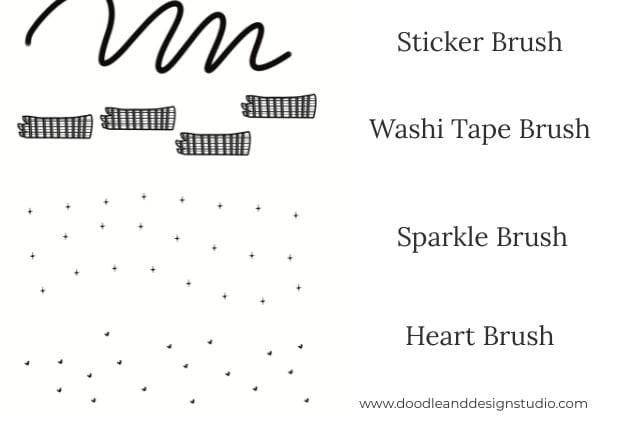
Want to follow along with this tutorial?
I made a free Procreate brush pack that includes a beginner-friendly sticker brush and 3 stamp brushes

Importing Your Reference Photo
Using a reference photo can be really helpful for inspiration. To import a reference photo into Procreate, you'll want to follow these steps:
Actions Wrench > Canvas > Toggle Reference On > Import > Select Image to Import
Pinterest is a great place to find reference images, it's not a bad idea to type in photography so you aren't getting other sketches.
You also want to make sure you are using lots of creative licensing and not making direct copies of someone's work.
We are using the reference for ideas and shapes, natural coloring. Then we are going in with our own originality and style to make it our own.

I created the original bunny without recording, so I'm just going to use it as a reference image for my new bunny.
I orignially drew this cute guy for Easter. I made it into a step by step drawing for a kids gathering I was taking part in.
The parents were thrilled to get something other than candy for the kiddos! Just keep that in mind if you need an Easter Hand Out!
Be sure to check out our Etsy shop if you are intested in the blue bunny friend!

Sketching the Basic Shapes
Now for the fun part: sketching! We're going to break down the bunny into simple shapes. Think circles, U-shapes, and lines.
Here’s how we'll start the basic sketch:
- Head: Circle and oval
- Body: U-shape
- Arms: Small shapes that curve to the body
- Legs: Straight lines with curves for the top of foot
- Ears: Lines at the top of the head and connect with another U shape

I played with Procreate's symmetry tool while designing this cute bunny sticker but I definelty need to practice with it. It can basically mirror your image and make it look the same on both sides.
Perfect for saving time. However, if you are in the habit of drawing shapes and forget to stop at the center line it will continue and you will find yourself with some wonky stuff happening.
As you can see in my face there is some unintentional over lap and some odd oval shapes. I got a bit better with the tool for the bunny's body!
To try out the symmetry tool yourself go to:
Actions > Drawing Guide On > Edit Drawing Guide >Symmetry > Options > Assisted Drawing
Want to try designing your first Procreate sticker?
Grab my free Sticker Brush Mini Pack with 1 custom brush and 3 fun stamps to kick off your creative chaos.

Adding Facial Features
When designing a cute bunny sticker we need a cute face! Let's give our bunny some personality by adding facial features.
I like to place the eyes where the face gently indents. Then, add a little nose and mouth.
Sometimes, it can be tricky to make the bunny look like a bunny and not a dog! Don't be afraid to adjust the facial features until you get the expression you want.
And if you want a starting point for your next sticker, check out this Daffodil Sticker Tutorial for more Springtime goodness.

Refining the Sketch
Before we jump into coloring our cute bunny sticker, it's important to finalize the sketch. Having a well-defined sketch makes coloring and adding details much easier.
Unless you are going for a sketchy look, if that's the case just ignore and do you!
Here are a few tips for refining your sketch:
- Adjust lines for better definition, so you can create a new layer and and basically trace the lines you want to keep.
- Experiment with different chin shapes, ears, mouths, hand placement. You can even flip the canvas to see if anything looks wonky and out of place.
Adjusting Sketch Layer Opacity
Adjusting the sketch layer's opacity can make a big difference. Set the sketch layer to “multiply.”
This helps the colors underneath show through more effectively. This basically allows you to see your line art and color in the lines underneath it.
Designing A cute Bunny Sticker: Coloring
Now that the line art is how you like it, let's color! Let's add a new layer below the sketch layer for coloring.

Applying the Base Color
Time to bring our bunny sticker to life with color! I like to use an airbrush and a soft brush for fuller coverage when applying the base color.
Here’s how to apply the base color:
- Select your desired color (I'm going with green for this bunny).
- Adjust the brush size for optimal coverage.
- Fill in the bunny's body with the base color using small circles.
I chose a brush that doesn't darken with repeated strokes. That way, if I accidentally lift my pencil, it's no big deal.
If you have a brush that darkens with every stroke, everytime you pick up your pencil the area you color in will be darker.
We just want to lay down a base coat for now, without any shadows or highlights.
Coloring these pieces is therapeutic and relaxing, so take your time and have fun! It's nice to let your mind wander or just focus on filling in the color.
It's the only mediation I can manage, hopefully it does the same for you!
Need more zen in your life?
Check out our Stickers for a Creative Outlet Section to see how you can use stickers to relax.
If journaling helps you relax we also have articles on how to start a sticker journal you should definetly check out.

Adding Texture with Brushes
Let's add some texture to our bunny's fur! Texture brushes can really enhance the visual appeal of your design.
Procreate has some great built-in texture brushes, but there are also purchased brush sets. Today, I’m using an illustration texture brush pack that I bought.
To apply texture, use a darker shade of the base color:
- Select a texture brush (e.g., illustration texture brush).
- Choose a darker green color.
- Apply texture to areas where shadows might naturally occur (bottom of belly, under neck, inside legs).
Clipping masks are great when adding additional colors to specific layers.
They keep you from coloring outside the lines. A clipping mask lets you create the coloring you want without messing up your sketch.
Adding Highlights
Highlights create contrast and bring the illustration to life.
Here’s how to add highlights:
- Create a new layer with a clipping mask.
- Select a lighter green or yellow-green color.
- Apply highlights to areas where light would naturally hit (tops of ears, tops of feet).
Experiment with different textures for your highlights. This is a great place to make the sticker your own.

Coloring Eyes and Nose
The eyes and nose are key to your character's expression.
Have fun coloring the bunny's eyes and nose. I recommend experimenting with different colors.
And remember, the undo button is your safety net if you try something new and don't like it!
Adding Cheeks and a Smile
Let's give our bunny some rosy cheeks and a sweet smile! Experiment with different smile variations until you find one you love.
A good smile is essential for a cute character. Keep adding and adjusting features until you get what you want.

Shading with Purple-Gray
Now, I'm using a purple-gray color for subtle shading.
Here’s how to apply purple-gray shading:
- Select a purple-gray color.
- Reduce the opacity of the brush or add your shadows on a new layer and reduce the opacity of the layer itself.
- Apply shading to areas where shadows would naturally occur (undersides, neck, chin, inner arm, bottom of belly, bottom of legs).
Shading helps the character pop off the page. Blend the shading for a smoother look.

Adding More Highlights
Let's add even lighter highlights for extra sparkle.
To highlight again:
- Create a new layer.
- Select a light green color or white if you really want your higlights to pop.
- Add dots for highlights on the eyes and nose.
Experiment with different highlight shapes like stars or hearts. Ear tattoos are a good way to make the design stand out.

Smudging Rough Edges
Smudging helps to soften and blend the colors. I'm smudging the rough edges of the shading with the smudge tool to blend it for a softer look.
Adding Toes
Let's add some toes to the bunny's feet! Get creative and experiment with different toe designs!

Adding Pink Details
Pink adds warmth and cuteness to the character.
To add pink details:
- Select a pink color.
- Apply pink to the knees, elbows, and top of the ears.
Blend the pink using the smudge tool.
Outlining the Bunny
Now it's time to outline the bunny. Be patient and precise when outlining.
I'm not outlining everywhere, just in select areas.
The goal is to help the character stand out and define the areas that blend too much. This process might take some time and effort, but the result is worth it.
You can check out my YouTube channel for more tips and tricks.
Choosing a Different Brush for the Lines
Choosing the right brush is key for the effect you want. Experiment with different brushes for outlining.
It can be challenging to find the right brush size and opacity, so adjust the brush settings to achieve the look you want. I find I need to experiment to find what I like.
Adding Lines Around the Belly
Adding lines around the belly helps to define the character. I'm not doing a hard outline on everything, but lines can help define the character where they blend together.
They give your character definition without having to use a solid black outline, like in a coloring page.
a Note on Layers
Keep all layers for future editing if you think you may want to change colors or add different designs to your cute bunny sticker.
Removing the Background
Removing the background is important for your sticker design.
If you are sending out to a professional company they will need your art on a transparent background, which means no background.
You’ll simply scroll to the bottom layer in your layers menu. The bottom layer should say background. Now you will simply uncheck the box and your layer should turn off.
Cropping and Resizing the Canvas
If you run out of space while creating your cute bunny sticker, you can use crop and resize to give yourself some extra roo.
To crop and resize:
Canvas > Crop and Resize > Adjust the canvas size
Dragging the canvas helps to move and better position the character in the middle of your screen if needed.

Adding a White Sticker Outline
Adding a white sticker outline makes the sticker pop!
To add a white sticker outline:
- Create a new layer without a clipping mask.
- Select a thick, smooth brush. You can use the monoline at a very large size.
- Choose white as the color.
- Draw around the bunny to create a white border.
This step is optional, especially if you're using a professional printing service.
However, controlling the white border allows for more customized sticker designs.

Cleaning Up the White Sticker outline
Sometimes all those fun texture brushes can get a little crazy and your sticker outline might need some extra attention. Be aware of overspray if you’re using texture brushes for shading.
Clean up your bunny sticker outline:
- Zoom in to see the details.
- Use the eraser tool to remove any unwanted white.
Final Touches and Exporting
Take one last look at your design for any adjustments. When you're happy with it, export the finished sticker design.
To export:
- Make sure the background is off.
- Share > Export as PNG.
- Save the image to your device or cloud storage.
And that's it! You've have finished designing a cute bunny sticker in Procreate.
Make sure to follow our YouTube Channel for more fun and easy tutorials to add creativity to your life when time is short!
Ready to try your own sticker design?
Download the free Procreate brush pack made for beginners includes my starter stamps + sticker brush and a quick-start guide.
👉Fill in the form to get instant access.
Want More Procreate
Whether you’re just starting out or ready to try your next cute design, here’s a full list of tutorials, tips, and easy wins for making stickers in Procreate:
Start Here: Beginner-Friendly Guides
- Procreate Beginner Guide for Stickers
- Making Stickers in Procreate for Beginners
- How to Design Stickers in Procreate
- How Procreate Stickers Boosted My Confidence as a Creative Mom
- How Procreate Helped Me Reconnect with Creativity
- What I Learned from Trying A Daily Sticker Sketch Challenge(and Failing Sometimes Too)
Learn Cute Sticker Drawing Techniques
- Draw a Cute Blushing Star Sticker
- Designing a Cute Bunny Sticker
- How to Draw Cute Cherries
- Draw a Cloud in Procreate (Easy!)
- Design a Daffodil Sticker in Procreate
- Draw a Baby Duck in Procreate
- How to Make Your First Digital Sticker in Procreate (In 10 Minutes!)
- 3 Easy Outline Effects in Procreate That Make Your Stickers Pop
Procreate Tools, Ideas & Tips
- Easy Procreate Sticker Ideas
- Sticker Making Tips in Procreate
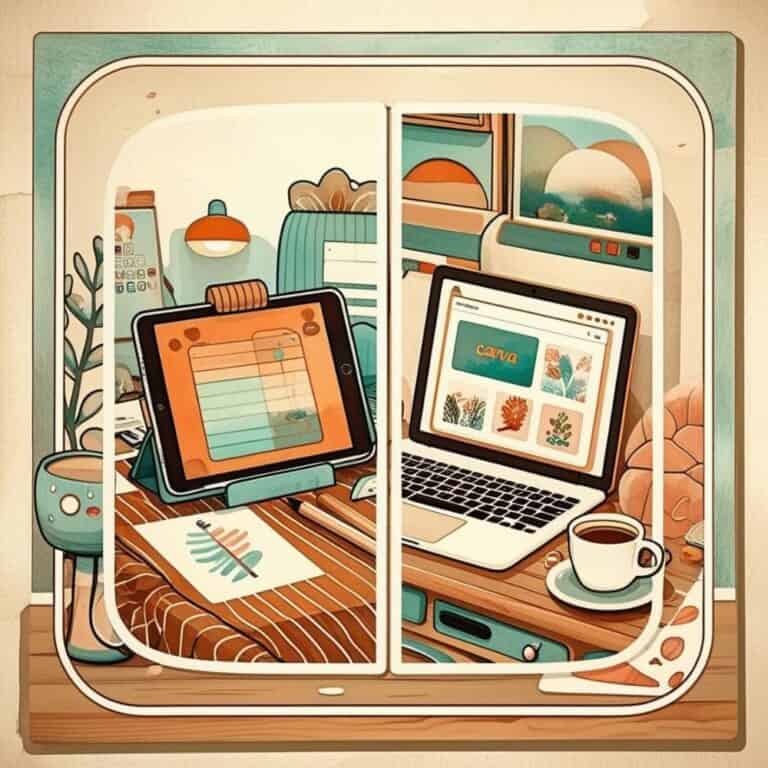
- Procreate vs Canva for Sticker Design
- How to Design Stickers
- Procreate Tools for Sticker Design: The Beginner’s Guide for Burnt-Out Moms
- Using Layers for Stickers in Procreate
- Clipping Masks For Procreate Stickers (with Less Stress and More Fun!)
- Best Canvas Size for Procreate Stickers (Beginner Guide)
- Best Procreate Brushes for Stickers (Free & Paid)
- Resizing Stickers in Procreate: The Busy Mom’s Guide to Sanity, Success, and Not Losing It
- Procreate Color Palettes for Stickers, Effortless Sticker Color Magic
- Eraser Tool Tips for Procreate Stickers (That Even Exhausted Moms Can Master)
I have also created an entire Procreate Starter Kit with a complete sticker file so you can see exactly how I made it!
Make Sure to Save One of These Pinterest Pins to Your Sticker Making Board on Pinterest!


Be sure to Subscribe to our Newsletter if you want fun sticker news in your inbox. As a Bonus you get these 26 Self Care Stickers Free!