Procreate Clipping Masks for Beginners Using One Simple Flower Example
If Procreate layers make you nervous, you're not alone. You open the Layers panel, see a stack of rectangles, and suddenly your brain wants a snack break.
Here's the good news, procreate clipping masks are one of the quickest ways to feel in control. They help you add color, texture, shading, and cute little extras without wrecking your base drawing.
Trying to figure out how a clipping mask works in Procreate without ruining your artwork?
In this post, you'll learn clipping masks using one simple example, a daisy sticker. You'll finish with a clean workflow you can repeat for icons, planner stickers, and clip art you can sell.
Table of Contents
What Procreate clipping masks actually do (in plain English)
A clipping mask is like putting a clear sheet on top of your coloring page. You can scribble all you want on the clear sheet, but the color only shows where the layer below already has pixels.
So instead of painting directly on your base color layer (and regretting it later), you add a new layer above it, turn on Clipping Mask, and experiment safely. If your shading looks muddy, you delete that clipped layer, and your base stays untouched.
That “separate layer” part is the whole point. If the word layer just broke your brain, have a peek at this post, Using Layers for Stickers in Procreate (Without Losing Your Mind)
If you've ever wondered how clipping masks compare to Alpha Lock, you'll like this guide on Procreate basics, alpha lock and clipping mask explained. It clears up the common confusion fast.
Here's a quick comparison so you don't mix them up:
| Tool | What it's for | Why it helps beginners |
|---|---|---|
| Clipping Mask | Add details on a new layer that only shows on the layer below | You can delete edits without damage |
| Alpha Lock | Paint only on existing pixels on the same layer | Quick changes, but less flexible |
| Layer Mask | Hide parts of a layer without erasing | Great for cleanup and soft fades |
Here is another take on the use of Clipping Mask
Remember: a clipping mask needs something to clip to. If the layer below is empty (no pixels), your clipped layer will look like it disappeared.
Once you get that rule into your brain, clipping masks start to feel less like a feature and more like a safety net. I love me some safety nets!
One simple example, color a daisy with clipping masks
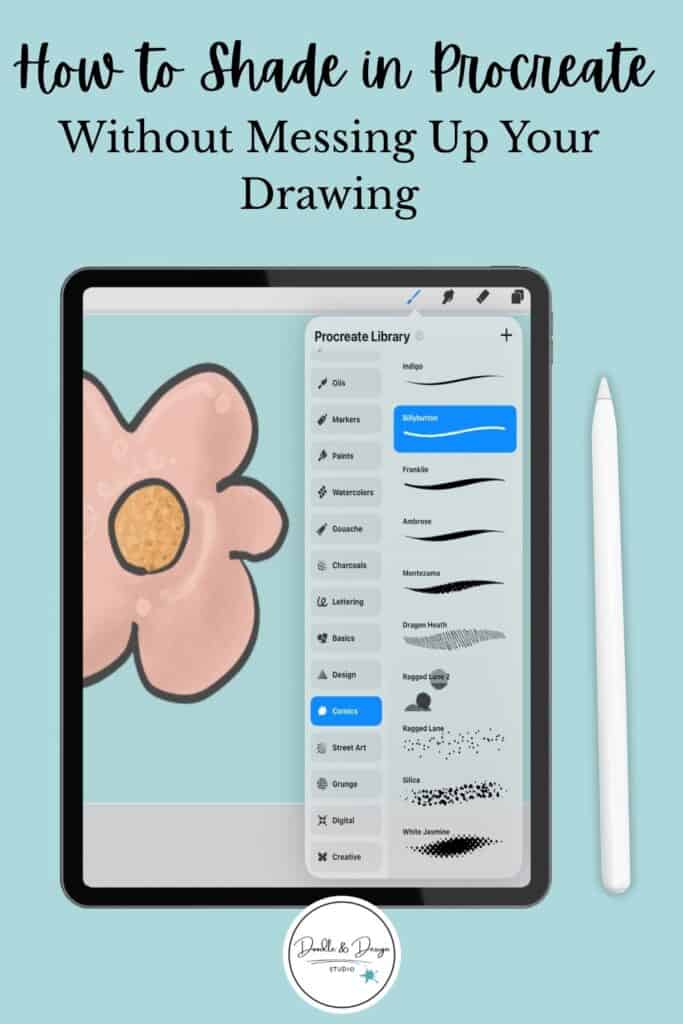
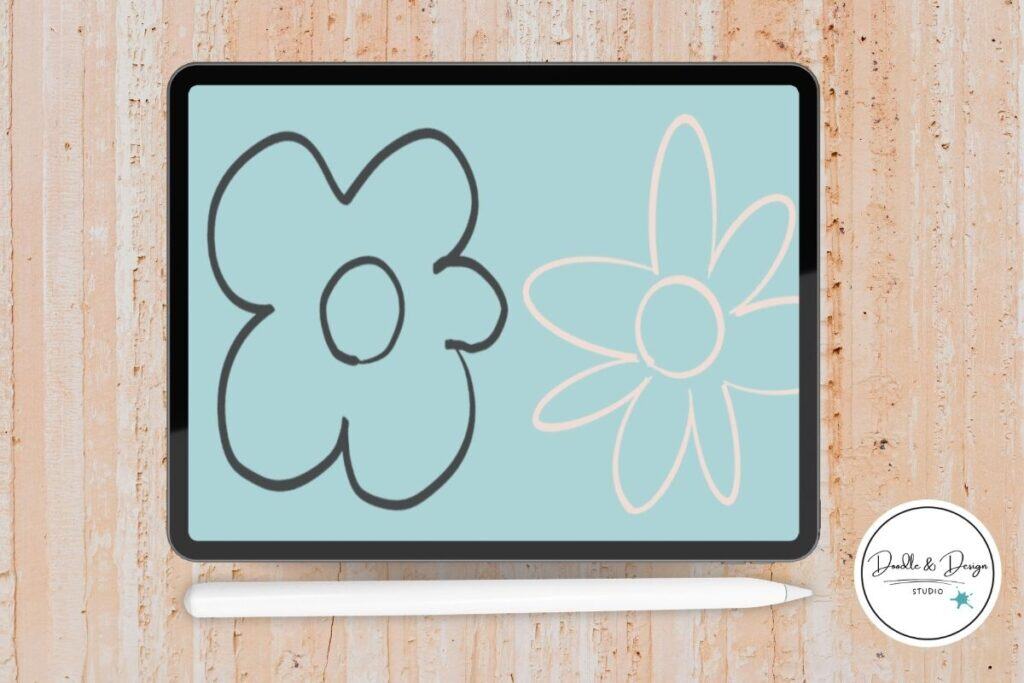
Before we start, I’m using one of my retro Daisy stamp brushes for this example so we can focus on learning clipping masks, not stressing over drawing the flower perfectly.
If you want to follow along faster, you can grab the same brush in the set here →Procreate Stamps Doodle Flowers
You're going to make a daisy that's perfect for stickers and small digital products. Keep it simple on purpose. Simple art sells because it's easy to use, and easy to match with themes.
Start with a basic sketch, then clean line art. You can use any brush you like, but stick with one brush for this practice run. Fewer choices mean more progress. Be sure to check out this Procreate Brushes post.
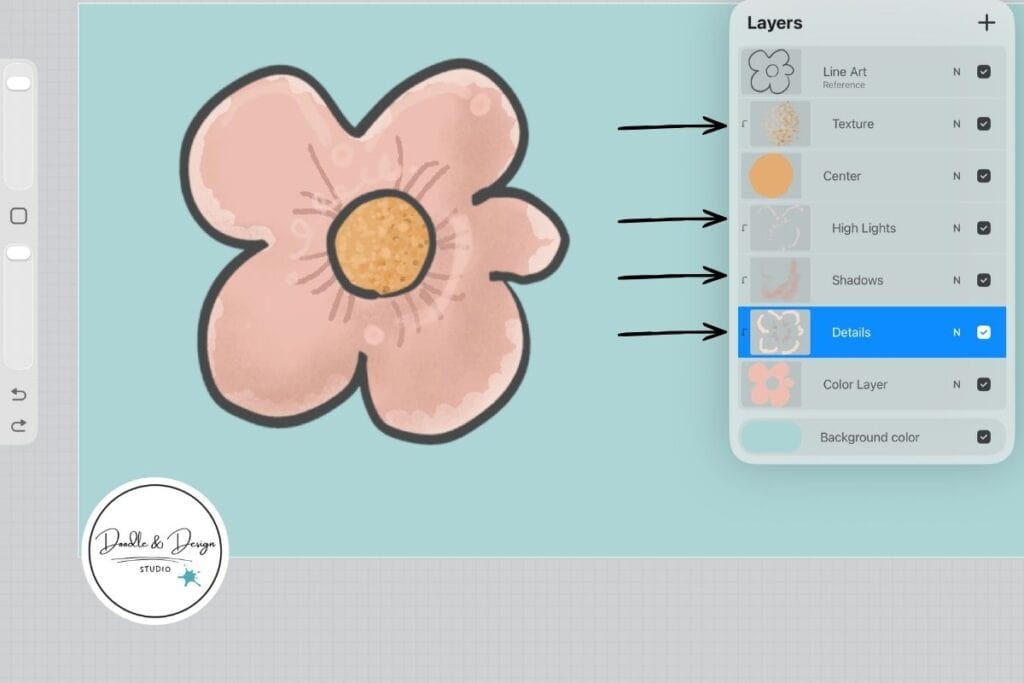
Now build your color and shading using clipping masks:
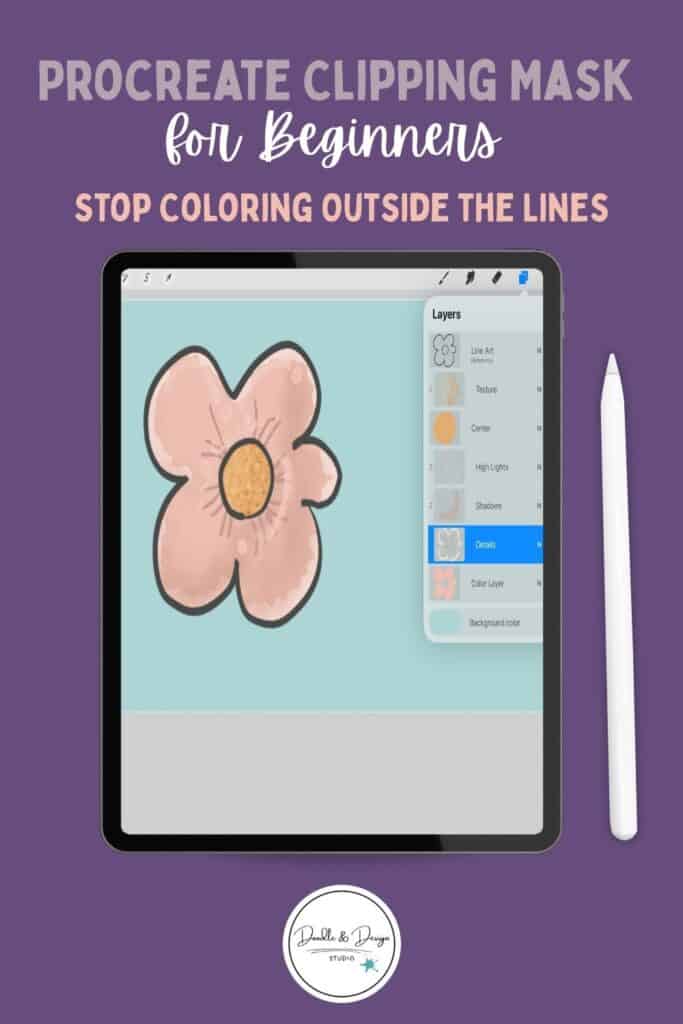
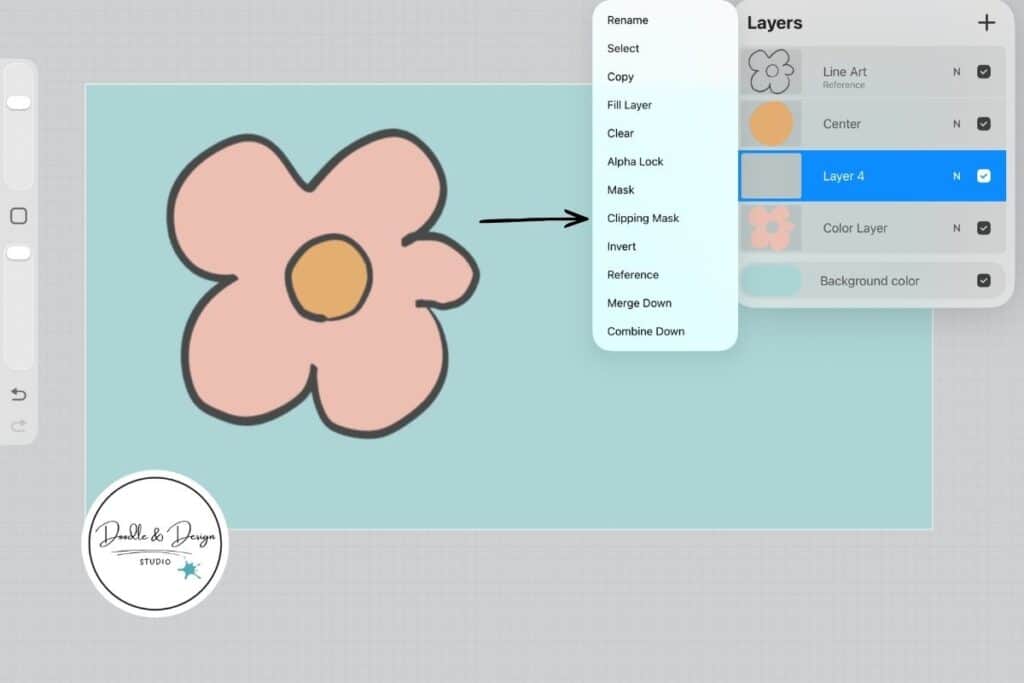
- Create your base color layer. Add a new layer under your line art. Color the petals, center, and stem with flat colors. Don't worry about depth yet.
- Make a new layer above the petal color. Tap the layer, choose Clipping Mask. Anything you paint now stays inside the petal shape.
- Add soft shadow. Pick a slightly darker version of your petal color. Use a soft brush at low opacity. Shade where petals overlap, and near the base of the flower.
- Add a highlight layer. Create another clipped layer above the shadow. Use a lighter color for small highlights. Think of it like a tiny “Golden Glow” moment for your petals, small touches, not a flood of white.
- Texture if you want it. Make one more clipped layer and tap in a subtle grain or pencil texture. Lower opacity until it feels natural.
Repeat the same idea for the flower center and stem. Each part can have its own clipped layers, or you can keep it simple with one shadow layer per base color.
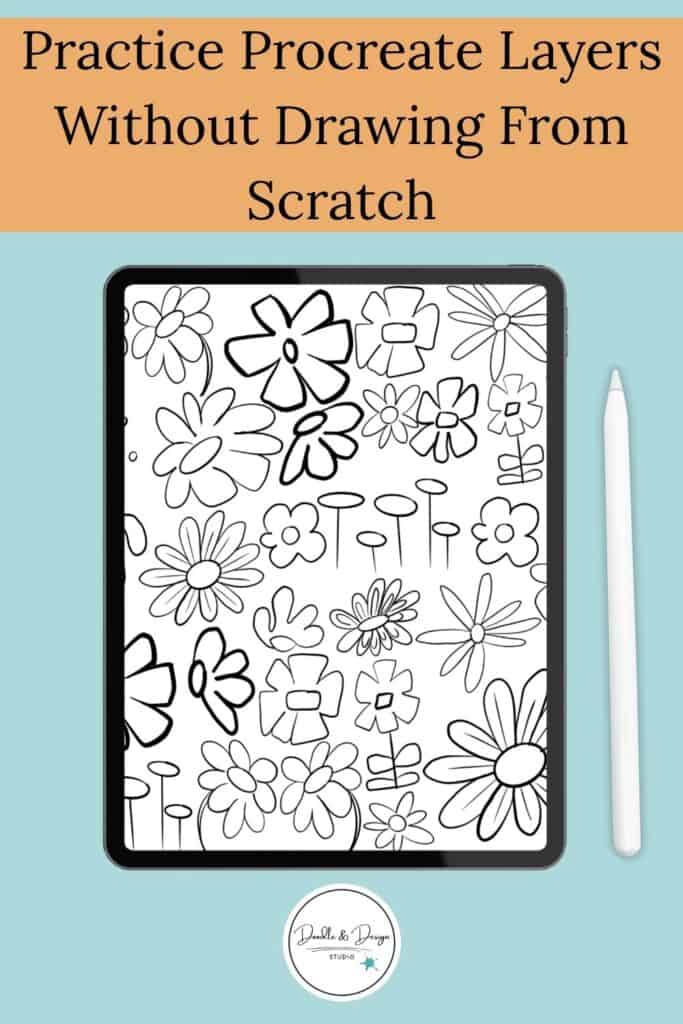
Want to practice this without drawing from scratch?
If you’re sitting there thinking,
“Okay but mine does NOT look like that…” — I got you.
You don’t need to be good at drawing yet to learn clipping masks.
You just need something to practice on.
👉 That’s exactly why I made my doodle pads and stamp brushes.
- Use the doodle pads to trace clean line art and practice staying inside shapes
- Use the flower stamp brushes to skip sketching completely and jump straight into coloring, shading, and texture
Same technique. Way less frustration.
Because the goal right now isn’t perfect art — it’s learning how layers actually work.
🌼 If you want to practice step-by-step:
Start with a doodle pad
→ trace → base color → clipping mask → shading
🎨 If you want to move faster:
Use the retro daisy stamp brushes
→ stamp → color → clipping mask → texture
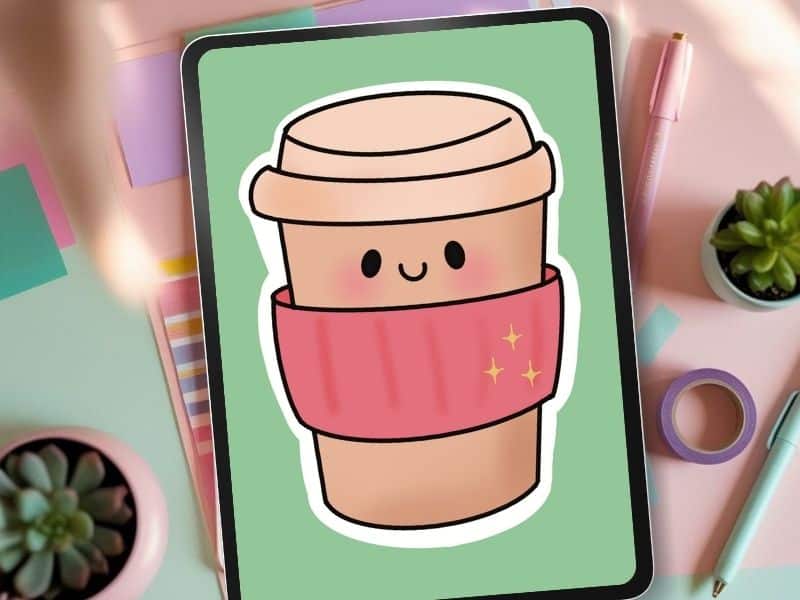
If you want another beginner friendly project where clipping masks make the shading part way less stressful, follow this hands on strawberry sticker clipping mask demo.
Make Your First Sticker in Procreate
Grab your starter file, the brushes, tips, and step-by-step cheatsheets you need to design your first cute sticker today.
Make your clipped art easier to edit, and easier to sell
Clipping masks don't just make things prettier. They make your art easier to reuse, which matters a lot when you're creating products.
Here's what that looks like in real life:
If you sell planner stickers, you'll want seasonal color options. With clipping masks, you can keep the base petals the same, then swap shadow color, texture, and highlight style without redrawing anything. That means a spring set, a fall set, and a neutral set can come from the same file.
Need more information on creating stickers in Procreate? Check out Best Canvas Size for Procreate Stickers
If you sell clip art bundles, clipping masks help you stay consistent. Your shading stays on its own layers, so every item in the pack can match.
A few quick habits make this even smoother:
- Name your layers early. “Petals base,” “Petals shadow,” “Petals highlight” saves you from guessing later.
- Keep line art separate. When the line art stays untouched, you can recolor the whole piece faster.
- Try one effect per clipped layer. Shadows on one layer, texture on another, highlights on another. It's cleaner, and easier to tweak.
When you want to speed up your workflow, pair clipping masks with a few other basics. This post on Procreate tools that help you draw faster fits perfectly with the same sticker style workflow.
have you joined the art to income: create & Sell digital products facebook group?
If you’ve ever said, “I want to draw digitally, but I have no idea where to start,” this is your sign.
We learn Procreate tricks, share designs, celebrate tiny wins, and cheer each other on as we start selling what we make.
💕Join Us on Facebook✨
Quick rule for sellable files: if you think you might want to change it later, keep it on a separate clipped layer.
🎨 Best Way to Practice Clipping Masks in Procreate
The fastest way to learn clipping masks in Procreate is by practicing on simple designs instead of starting from scratch.
Using tools like traceable doodle pads or adorable stamp brushes helps you focus on:
- layering
- shading
- texture
Instead of getting stuck on drawing. This makes it easier to build skills you can turn into stickers or digital products.
You don't need advanced skills to use Procreate clipping masks well. You just need one repeatable pattern, base color first, clipped layers for shadows, highlights, and texture after.
Try the daisy again with a different palette, then save it as a PNG. Once you feel that control, you'll start using clipping masks on everything, and your products will look more polished with less effort.
Key Takeaways
FAQS

🎨 Art to Income Membership
Turn your doodles into dollars — one simple, sellable project at a time.
If you're staring at Procreate wondering how people go from drawing frogs in sweaters to actually selling stuff — you're not alone.
This membership helps you go from “where do I even start?” to having a finished product ready to list.
Each month you’ll get:
💖 One guided project to create and list a finished product
💖 Done-for-you assets to speed things up
💖 Trend + keyword ideas so you know what people are actually buying
💖 A supportive group of artists figuring it out right alongside you
💖 Listing and promo ideas so your art doesn’t just sit in a folder
You don’t need to be techy, trained, or totally “together” — just curious enough to try.
🎥 Prefer to learn by watching?
I’ve got a YouTube channel full of quick, no-pressure tutorials made for tired, creative souls like you.
Subscribe here and catch your next creativity boost, one sticker at a time.
Love and messy buns,
❤️
Cynthia McDonald
Helping women find creativity in the chaos — with stickers, stationery, and a little bit of fun
This post may contain affiliate links. I may earn a commission if you make a purchase at no extra cost to you.
Make sure and grab your favorite Pinterest Pin and Save it to your Digital Art Pinterest Board