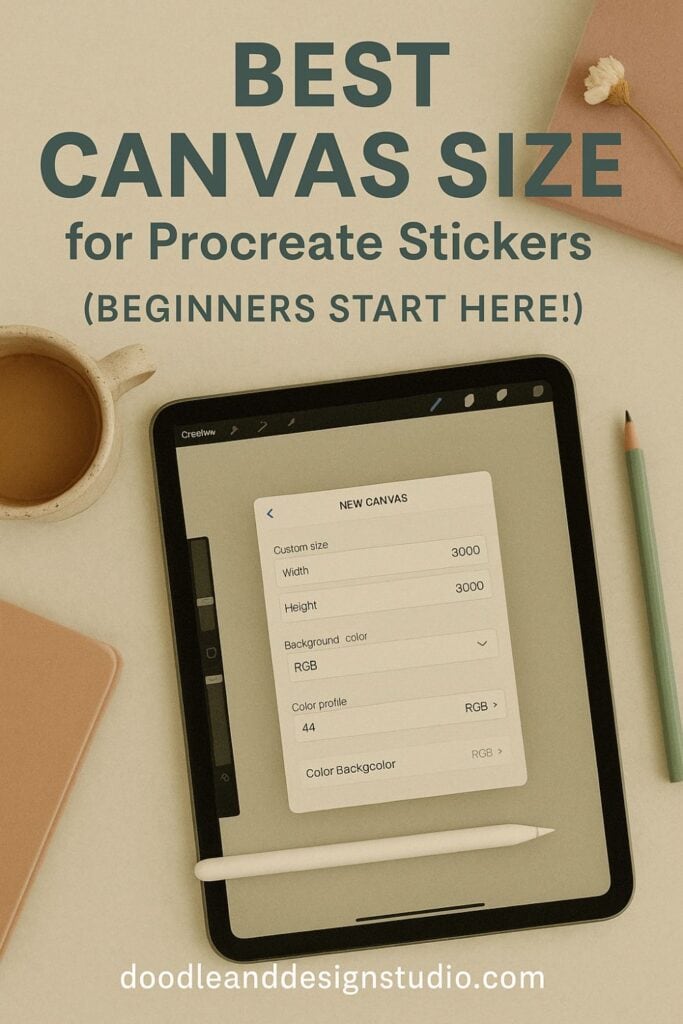
Best Canvas Size for Procreate Stickers (Beginner Guide)
Wondering what the best canvas size for Procreate stickers really is? If you're a mom juggling a thousand things and still, somehow, craving a little sparkle of creativity for yourself, I see you.
I know you want stickers that don’t turn into fuzzy blob monsters after all your effort and late-night or, like me, early-morning Procreate doodling.
The wrong canvas size? Yeah, that’s the sneaky culprit behind those blurry edges and Cricut drama.
This post lays it all out: the exact canvas sizes you need to make digital planner stickers, printable sheets for the fridge (or just to feel accomplished), and perfect outlines for your Cricut, or whichever cutting machine you have.
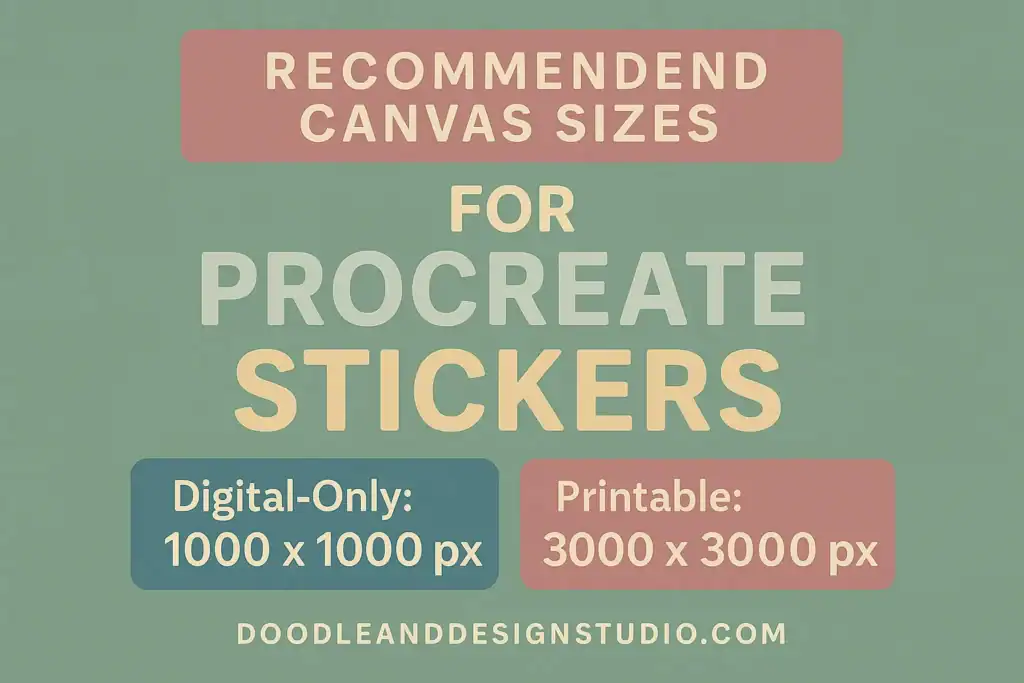
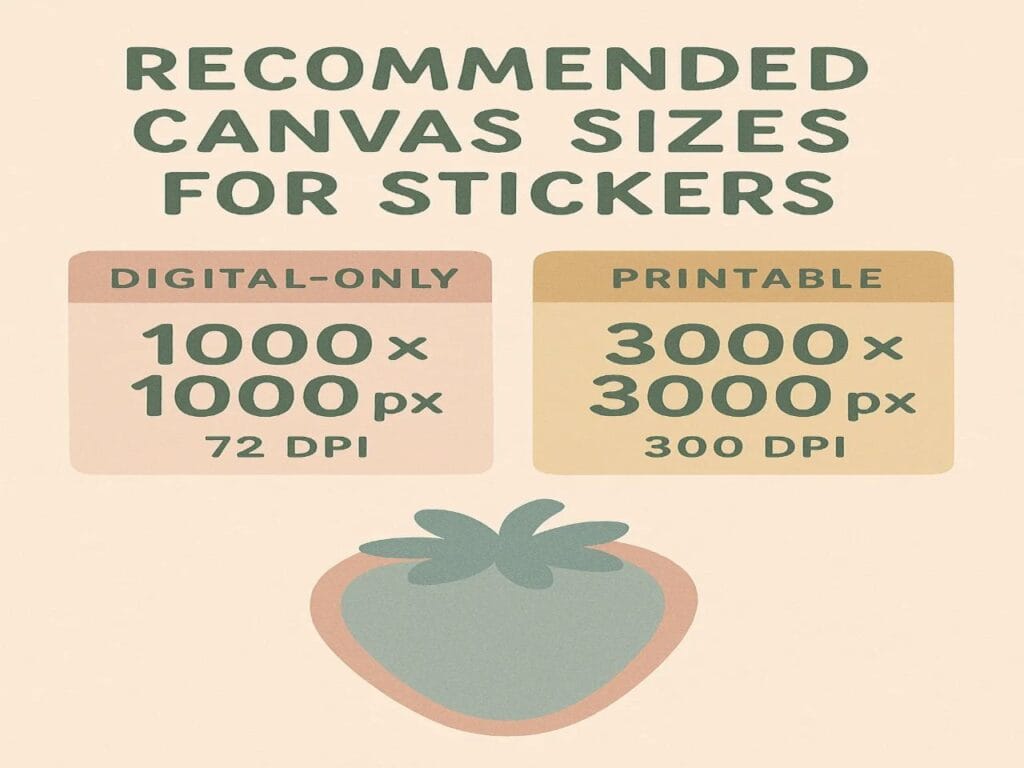
- Digital planner / digital-only stickers: 1000 × 1000 px (RGB). Great for GoodNotes/Notability style use.
- Printable stickers (home printer): 3000 × 3000 px at 300 DPI (RGB is usually fine for home printing).
- Sticker sheets: Start bigger so you can lay out multiple stickers (ex: 2550 × 3300 px at 300 DPI for an 8.5×11-style sheet).
- Cricut / cutting machines: Use 300 DPI and leave room for bleed/cut lines.
Rule of thumb: If you might print it later, start at 300 DPI so your stickers stay crisp.
Table of Contents
A chaos-friendly shortcut to cute, layered Procreate stickers — even if you’ve never opened the app before.
I created this kit because when I opened Procreate the first time, I had no clue what to tap, layer, or brush. If that’s you, you’re not behind — you’re just beginning. Let’s make it easy and fun.
Grab your starter file, brushes & layer guide. Let’s make stickers!
New to all of this? Check out my Procreate Beginner Guide for Stickers first—it’ll help everything in this post make way more sense.
Skip the confusion, save time, and, hey, impress yourself just a bit. Ready to start? Let’s get those pro-level stickers happening, one scroll at a time.

Why the Best Canvas Size for Procreate Stickers Matters
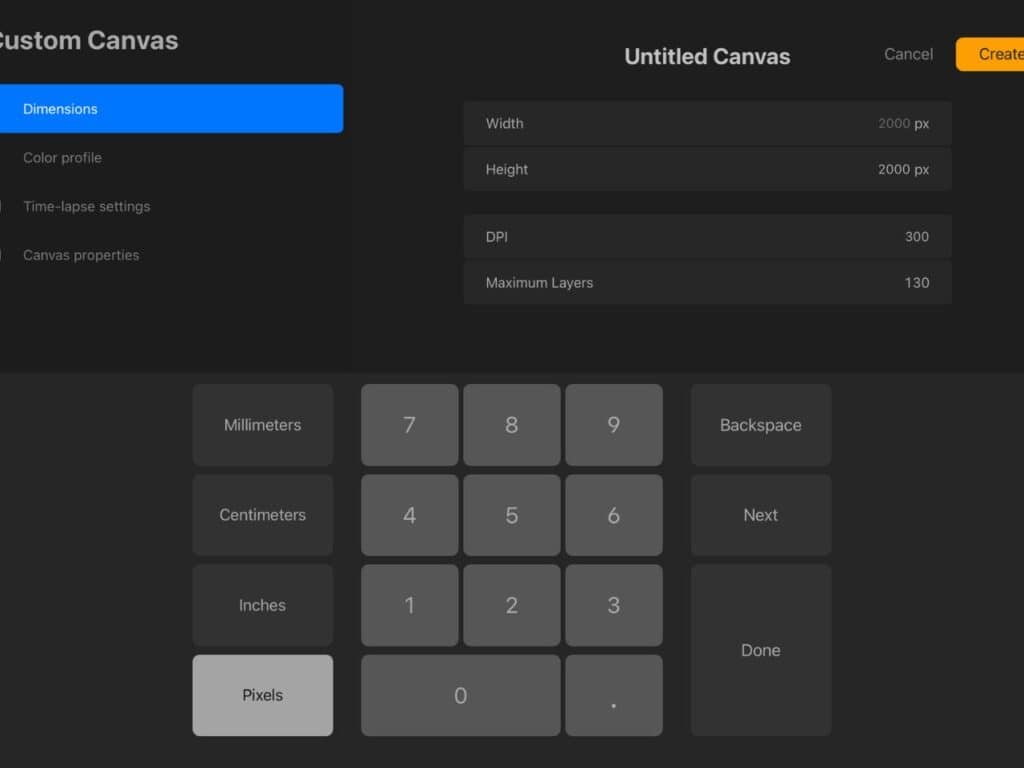
Let’s talk about the thing nobody warns you about before you jump into Procreate sticker land: the canvas size box.
I know, it looks innocent, and you just want to scribble out a cute ghost or a motivational quote for your planner.
But, pause! This one little decision can totally make or break your stickers, like, literally turn your dreams of crisp, adorable stickers into fuzzy disasters (been there, nearly cried).
But why does it matter? Here’s the real talk about what happens before you hit “New Canvas” and grab that Apple Pencil.

Key Factors Influencing Canvas Size Choice
Once you open Procreate and stare at that custom dimensions screen, the sticker anxiety hits. Here’s the deal: the right canvas size depends on how your sticker’s going to live after it leaves your iPad.
- Where is this sticker headed?
- Printing at home or sending to an Etsy customer? Go bigger and sharper. You want those outlines crisp enough to survive your inkjet and your sanity.
- Using it in a digital planner, just for you or to sell? Smaller can be smarter—nobody’s zooming in that far.
- If you’re a Cricut fan, your canvas needs to leave wiggle room for the infamous cut lines. If you ever fought with Cricut’s bleed setting, you know what I mean.
- Image clarity and “why does my sticker look blurry?”
- If you pick a tiny canvas, everything will look fine on your iPad…but the moment you print or zoom, things get pixelated. Your art turns into modern art (not the fun kind), and all those details? Poof.
- DPI (dots per inch) and what your printer will judge you for
- Print stickers deserve 300 DPI. Anything else is just asking for heartbreak. Digital stickers? You can sneak by with less, but higher DPI means your stickers look good everywhere.
- Are you making just one sticker, or a whole sticker sheet?
- If you’re planning a full, glorious sticker sheet, give yourself a big enough canvas from the start. Later resizing is the shortcut to headache city.
Need more help? My YouTube channel is loaded with beginner friendly videos that make the whole sticker thing way less overwhelming (and kinda fun, honestly).
And if you want to see sticker making from a different angle, check out my favorite tips in Sticker Making Tips in Procreate.
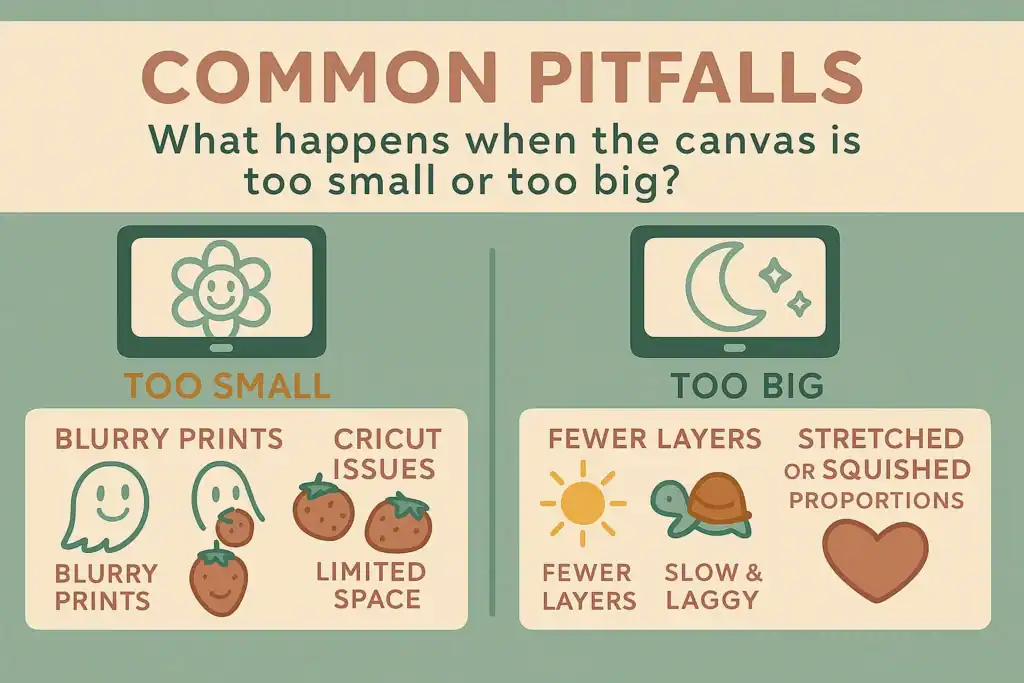
Common Pitfalls: What Happens When the Canvas Is Too Small or Too Big
Nobody wakes up hoping to print a blurry sticker or freeze their iPad. But beginner brain fog is real — especially if you’re balancing snack time, laundry, and wild sticker dreams. Here’s what to watch for:
The “tiny canvas regret”
- You poured your soul into a doodle but set the canvas to, like, 500 by 500 pixels because it sounded cute. Now printing turns your detail masterpiece into an out of focus mess. It’s like looking at your kid’s art through a foggy window, precious, but hard to appreciate.
- You upload your sticker to Cricut, and it won’t align right. Suddenly your Cricut hates you. Or maybe it hates small canvases. (Both?)
The “I set my canvas to infinity” overkill
- If you create a massive canvas, think you could wallpaper your house with it size then Procreate starts dragging. It eats your iPad storage, you lose precious layers, and maybe your kid’s YouTube video starts buffering (just me?). All for a sticker that ends up the size of a quarter. Talk about overkill.
Oddball aspect ratio drama
- If your canvas isn’t a square or at least close, your sticker might end up stretched or squished, like your favorite jeans post holidays. Printouts get cropped, or your planner sticker looks like a funhouse mirror prank.
Sticker sheet sadness
- You went with a canvas that was just right for a single sticker. Then you want to make a bunch on one sheet. Sorry, you’re out of space. Time for sticker Tetris.
Real humans make these mistakes, especially exhausted moms (hi, yes, you).
Honestly, I learned most of these the stubborn way, coffee-fueled tries, meltdowns, and eventually hiding out watching YouTube videos instead of doing laundry.
So even if you’re planning to make stickers at 11 PM when the house is finally quiet, pick the right canvas size up front.
You’ll thank yourself when your stickers actually look amazing in your planner, on your water bottle, or after the third rerun of Bluey.
Recommended Canvas Sizes for Procreate Stickers
Okay, let’s get straight to the reason you probably opened three tabs and forgot your coffee in the microwave again.
What size should your Procreate canvas be for stickers?
Maybe you want digital stickers that look sharp in GoodNotes, or you dream of printable sheets that won’t turn to soup through your Cricut.
I’ve tested all the “maybe this works” setups so you don’t have to.
Digital Only Stickers: Ideal Sizes and Settings
Making stickers just for your iPad, your phone, or to drop into a digital planner?
Breathe easy, this is the chill zone.
Digital-only stickers are way less fussy than anything you plan to print. You don’t need a massive canvas, and you can usually skip cranking up that DPI setting.
- Recommended canvas size: 1000 by 1000 pixels
- DPI: 72 is enough (yes, really) If you might print later, start at 300 DPI to avoid blur.
Why does small work? Simple: screens aren’t fancier than they look.
On most tablets, planners, and notebooks, anything around 1000 pixels wide shows up crisp and clear.
Anything bigger won’t look better (but might eat up your iPad’s memory). Lower DPI is fine since screens only show about 72 dots per inch anyway.
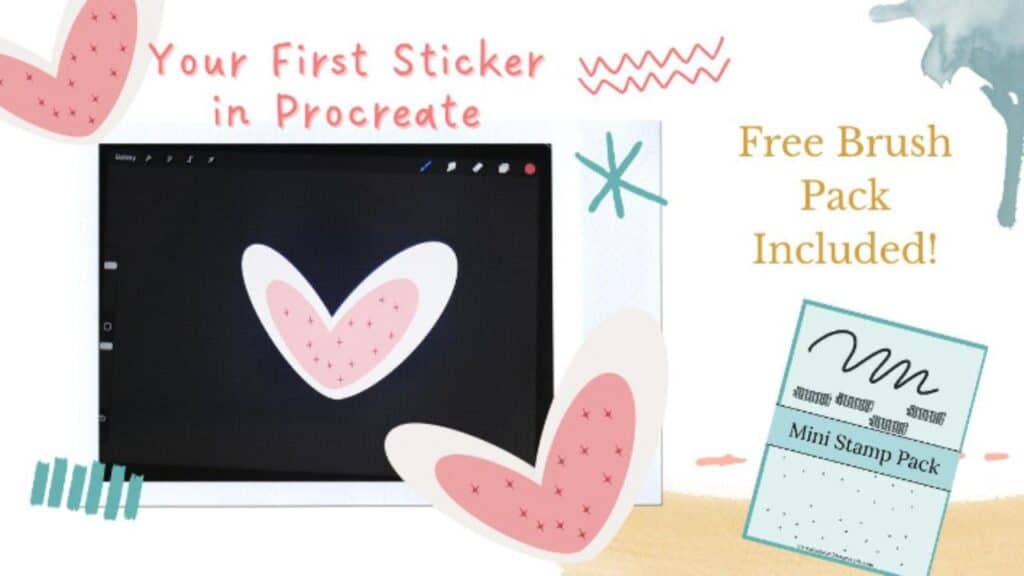
Want to test it out? Try this quick tutorial on how to make your first digital sticker in Procreate.
Here are some perks of sticking to these settings for digital only use:
- No blurry edges when you zoom, even on Retina screens
- Small files load fast — hello, less iPad lag
- You can use more layers for complex or multi sticker sheets
A 1000 by 1000 canvas at 72 DPI has saved my sanity on busy days. Want to try a test project?
Got an idea for something fruity and cute? Try the Procreate strawberry sticker tutorial for a fun example.
Printable Stickers: Ensuring Top Notch Quality
So, you want your stickers in your hands and not just your iPad? Printing is a whole different story. To avoid fuzzy prints or outlines, you need to size for sharpness.
- Recommended canvas size: 3000 by 3000 pixels
- DPI: 300 (always — even for Cricut)
Print equals pixels meeting paper in real life. You need enough detail that every edge looks pro, even with your nose pressed to the sticker sheet (no judgment).
Higher DPI tells your printer where to drop every drop of ink.
Why pick 3000 pixels?
- Larger stickers without pixel loss
- Plenty of space for arranging full sheets
- Enough bleed room so your Cricut cuts where you expect
Quick checklist for printable perfection:
- Always use 300 DPI
- Use bigger canvases if packing lots of stickers
- Watch your proportions, square is great, but some sheets need extra layout space
If you plan to sell sticker sheets on Etsy or print at home, using standard sheet sizes makes packaging, cutting, and listing much easier.
Common Sticker Sheet Canvas Sizes (Procreate Setup)
If you're creating full sticker sheets instead of single stickers, it helps to think in inches first, then set your Procreate canvas using pixels and DPI. Most printable sticker shops use a few standard sheet sizes.
| Sticker Sheet Size | Procreate Canvas (Pixels) | Best Use |
|---|---|---|
| 3 × 5 inches | 900 × 1500 px @ 300 DPI | Mini sticker sheets, freebies, small kits |
| 4 × 6 inches | 1200 × 1800 px @ 300 DPI | Most common Etsy sticker sheets |
| 8.5 × 11 inches | 2550 × 3300 px @ 300 DPI | Full printable sheets or Cricut layouts |
Beginner tip: Always design sticker sheets at 300 DPI so they print crisp and cut cleanly with Cricut or Silhouette machines.
Easy Steps to Set Up the Perfect Procreate Canvas for Stickers
You’ve got big sticker dreams. You want them crisp, cute, and easy to share, maybe for your Cricut or just to slap on your own water bottle collection.
Before your next late-night doodle binge, let’s make sure your Procreate canvas isn’t setting you up for a sticky mess.
This section breaks down the small but mighty settings that can make or break your final result.
Choosing the Right Color Profile and File Type
This is where beginners get tripped up and don’t know why their sticker prints weird or look off on screen.
Color settings might feel extra, but they’re actually essential. Sticker success sauce, if you will.
Color Profile:
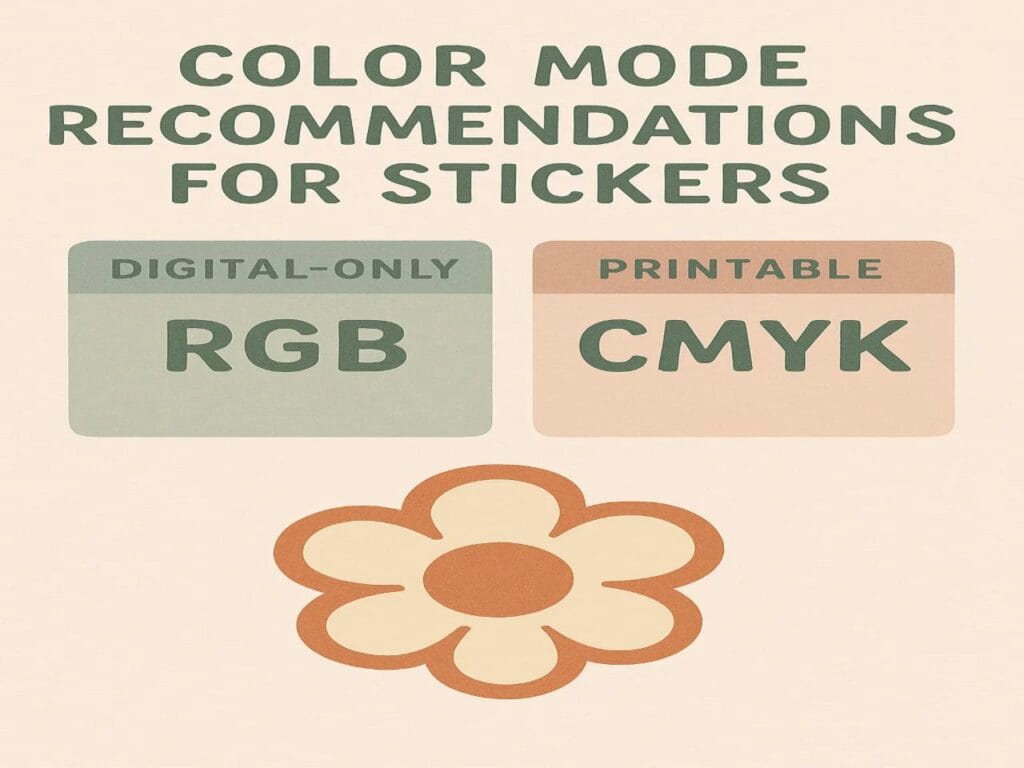
- Use RGB if your stickers are digital only or planner based
- Use CMYK if you plan to print or send to professional printers, that’s the language your printer speaks
- Not sure yet? If you are printing at home, try both. Lots of sticker community folks report they print in RGB on their home printers all day, every day, with great results.
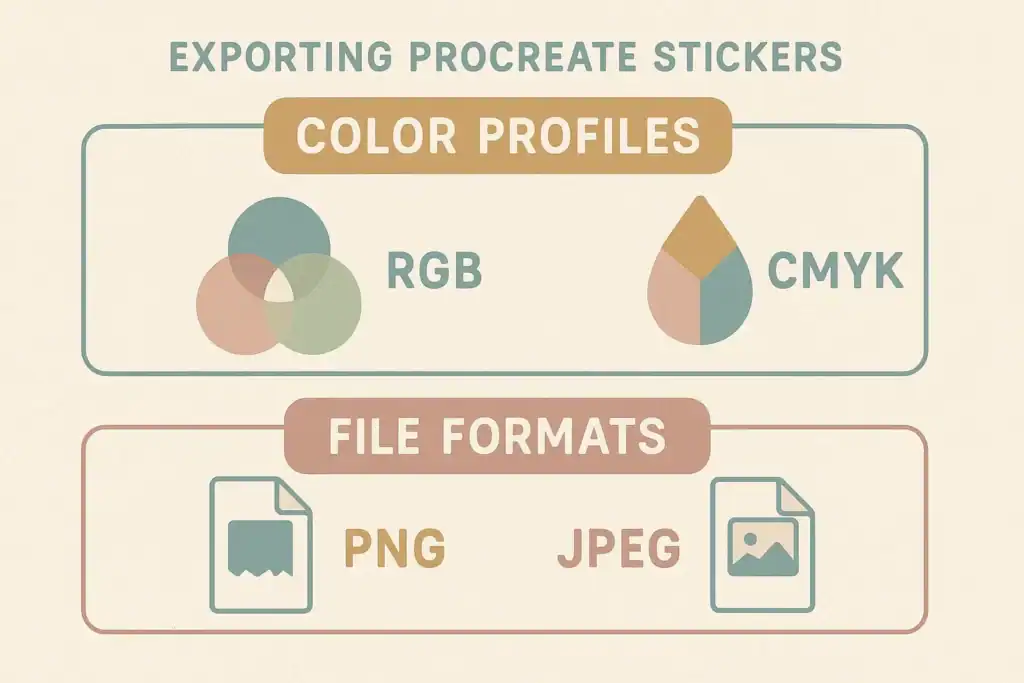
File Type for Exporting:
- Choose PNG — it supports transparent backgrounds and keeps your outlines clean
- Avoid JPEG — it compresses your design and kills transparency
- Set background layer to off in Procreate before exporting to keep it see through
Quick pro tips:
- Name your file something clear like “sticker ghost transparent” so you don’t lose it
- If exporting sticker sheets, crop close to your art to save space
- For printing, combine PNG and CMYK with 300 DPI
- For digital use, go RGB at 72 DPI — faster uploads, looks great on screen
Still unsure about the settings? The official Procreate handbook on canvas setup breaks it down with visuals and extra context.
Time Saving Tips: Presets and Layer Management
You don’t want to spend your creative time adjusting settings every time you open Procreate. Here’s how to save your brainpower for the fun part.
Canvas Presets:
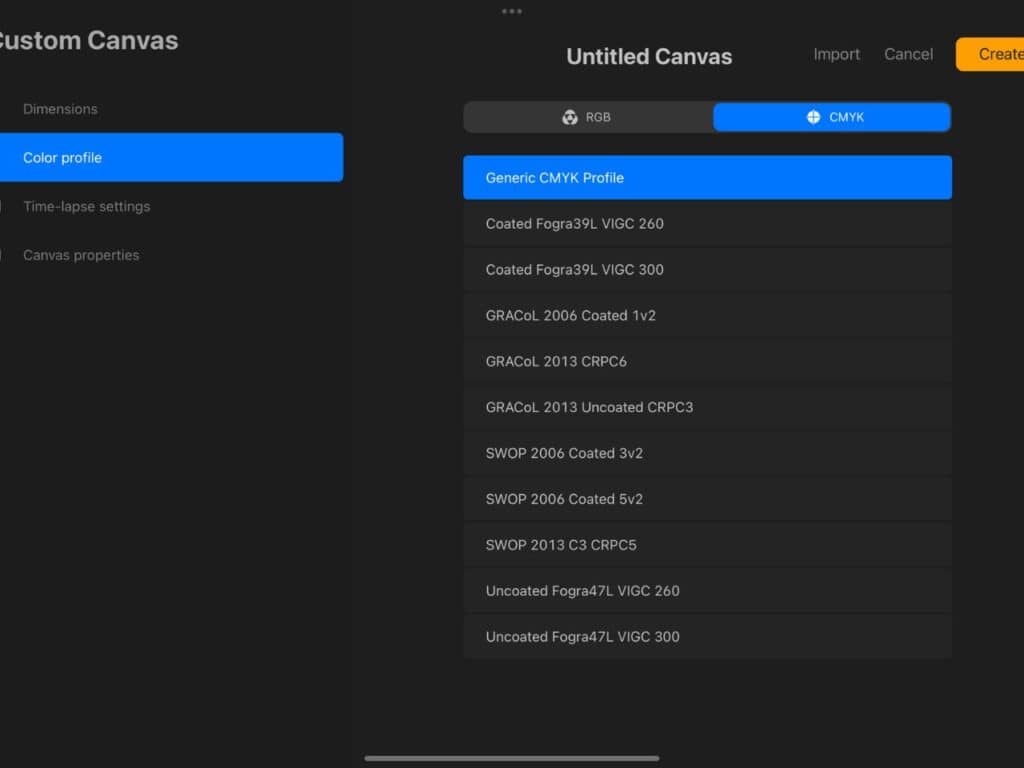
- Open Procreate → Tap “plus” → “New canvas”
- Enter your favorite size (1000 by 1000 for digital, 3000 by 3000 for print)
- Save it as a preset so you never start from scratch
- Name it something obvious like “Sticker 300 DPI” or “Planner Pack”
Layer Tips:
- Bigger canvases = fewer layers (it’s a memory thing)
- For sheets, flatten finished stickers to free up room
- Never draw everything on one layer — trust me
- Group finished stickers together for easier resizing and exporting
Once you have your canvas and export settings dialed in, making stickers becomes quick, fun, and repeatable.
You made it to the end. Look at you, sticking with it. (Get it?) Sticker dreams do not need to wait until your brain is fully rested or your to do list is finally empty.
Choose the right canvas once, set your export settings, and suddenly your stickers look sharp on every water bottle, planner, or fridge.
Honestly, the hardest part is just starting. Give yourself permission to learn as you go, and maybe laugh when your Cricut cuts your sticker’s head off the first time.
Use 300 DPI for anything you plan to print (including Cricut). For digital-only stickers, DPI matters less, but starting larger keeps your stickers crisp if you resize later.
Most of the time it’s a canvas issue: the canvas was too small, the artwork was scaled up later, or the export settings compressed the file. Start with a bigger canvas (especially for print) and export as PNG.
Use RGB for digital stickers and most home printing. Use CMYK if you’re sending files to a professional printer who requests it. (Home printers often still print great from RGB.)
If you want an 8.5×11 style sheet, start around 2550 × 3300 px at 300 DPI. Bigger is fine too—just remember larger canvases reduce available layers.
Need a jumpstart? My YouTube channel is filled with easy tutorials for late night doodlers and tired moms who just want one small win today.
🠒 Grab the free Procreate Starter Kit for beginners and start creating today.
Love and messy buns,
❤️
Cynthia McDonald
Helping women find creativity in the chaos — with stickers, stationery, and a little bit of fun
Want More Procreate
Whether you’re just starting out or ready to try your next cute design, here’s a full list of tutorials, tips, and easy wins for making stickers in Procreate:
Start Here: Beginner-Friendly Guides
- Procreate Beginner Guide for Stickers
- Making Stickers in Procreate for Beginners
- How to Design Stickers in Procreate
- How Procreate Stickers Boosted My Confidence as a Creative Mom
- How Procreate Helped Me Reconnect with Creativity
- What I Learned from Trying A Daily Sticker Sketch Challenge(and Failing Sometimes Too)
Learn Cute Sticker Drawing Techniques
- Draw a Cute Blushing Star Sticker
- Designing a Cute Bunny Sticker
- How to Draw Cute Cherries
- Draw a Cloud in Procreate (Easy!)
- Design a Daffodil Sticker in Procreate
- Draw a Baby Duck in Procreate
- How to Make Your First Digital Sticker in Procreate (In 10 Minutes!)
- 3 Easy Outline Effects in Procreate That Make Your Stickers Pop
Procreate Tools, Ideas & Tips
- Easy Procreate Sticker Ideas
- Sticker Making Tips in Procreate
- Procreate vs Canva for Sticker Design
- How to Design Stickers
- Procreate Tools for Sticker Design: The Beginner’s Guide for Burnt-Out Moms
- Using Layers for Stickers in Procreate
- Clipping Masks For Procreate Stickers (with Less Stress and More Fun!)
- Best Canvas Size for Procreate Stickers (Beginner Guide)
- Best Procreate Brushes for Stickers (Free & Paid)
- Resizing Stickers in Procreate: The Busy Mom’s Guide to Sanity, Success, and Not Losing It
- Procreate Color Palettes for Stickers, Effortless Sticker Color Magic
- Eraser Tool Tips for Procreate Stickers (That Even Exhausted Moms Can Master)
I have also created an entire Procreate Starter Kit with a complete sticker file so you can see exactly how I made it!

🎨 Art to Income Membership
Turn your doodles into dollars — one simple, sellable project at a time.
If you're staring at Procreate wondering how people go from drawing frogs in sweaters to actually selling stuff — you're not alone.
This membership helps you go from “where do I even start?” to having a finished product ready to list.
Each month you’ll get:
💖 One guided project to create and list a finished product
💖 Done-for-you assets to speed things up
💖 Trend + keyword ideas so you know what people are actually buying
💖 A supportive group of artists figuring it out right alongside you
💖 Listing and promo ideas so your art doesn’t just sit in a folder
You don’t need to be techy, trained, or totally “together” — just curious enough to try.