How to Make a Cute Strawberry Sticker in Procreate (Beginner-Friendly)
Ever stared at Procreate like it personally offended you?
Same, friend.
You see all those adorable strawberry stickers on Instagram and think,
“I want to make that… but also, how??”
If you’ve ever cracked open Procreate, immediately panicked, and closed it just as fast, I got you, sis. 💻🍓
I’m Cynthia, a self-taught digital doodler, sticker lover, and certified chaos navigator.
Today, I’m walking you through how to make a super cute strawberry sticker in Procreate, step-by-step. No pressure.
Just pure joy and squishy fruit vibes. Check out the video here if that's more your style!
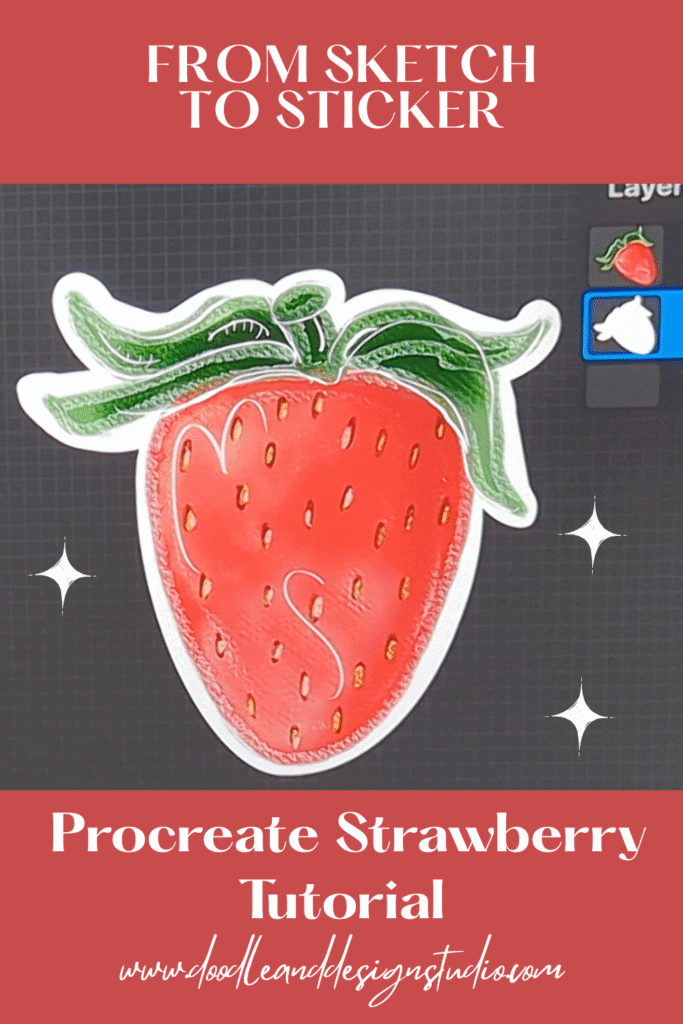
Procreate Strawberry Sticker Tutorial
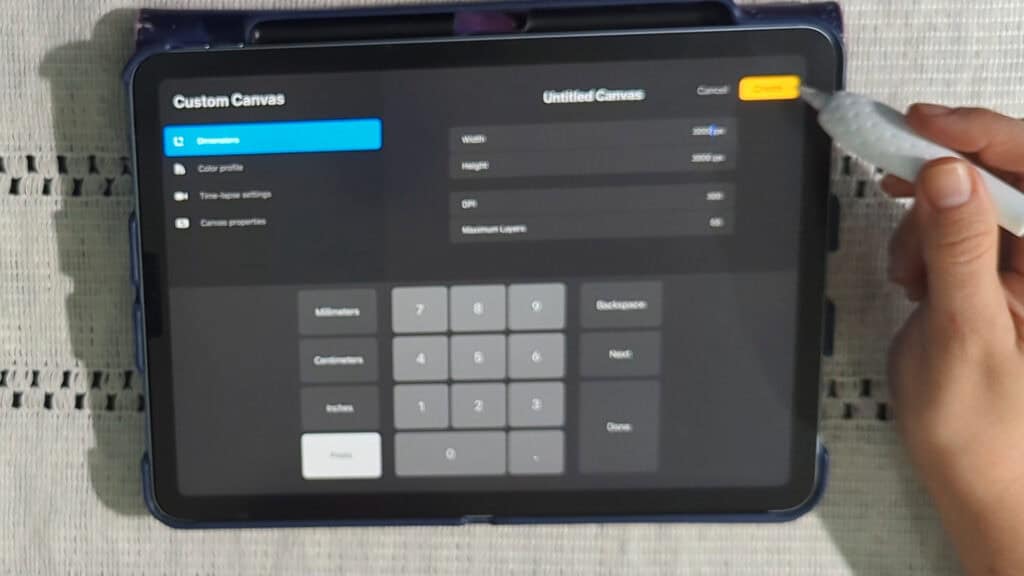
Step 1: Set Up Your Canvas (Make it Sticker-Ready)
First things first, let's get our canvas ready. I like to use a 3000 x 3000 pixel canvas at 300 DPI.
Why? Because it's perfect for printing high-quality stickers.
Plus, it gives you plenty of room to work! Just tap “create” and you're golden.
Want to follow along with this tutorial?
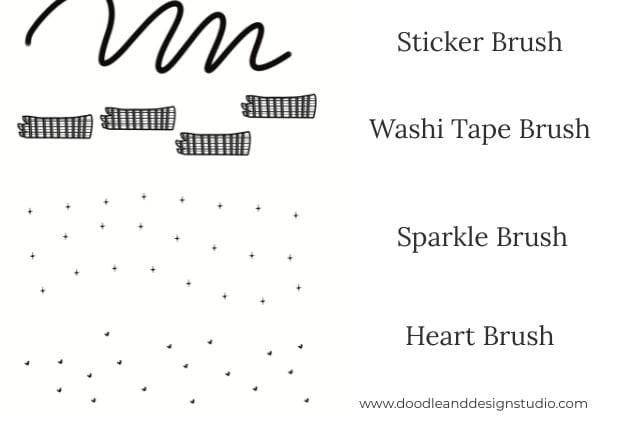
I made a free Procreate brush pack that includes a beginner-friendly sticker brush and 3 stamp brushes
Grab my free mini brush pack if you want a great sticker brush and a few fun stamp brushes to play with!
Sketching Your Strawberry: The Foundation of Cuteness
Alright, time to sketch! Grab a light grey color. Now, for the brush, I'm all about keeping things simple, especially when you're just starting out.
Procreate has tons of brushes, so I suggest using the 6B Pencil brush from the sketching tab, it's free or you can grab the sticker brush I created, it's also free, just pop in your info above!
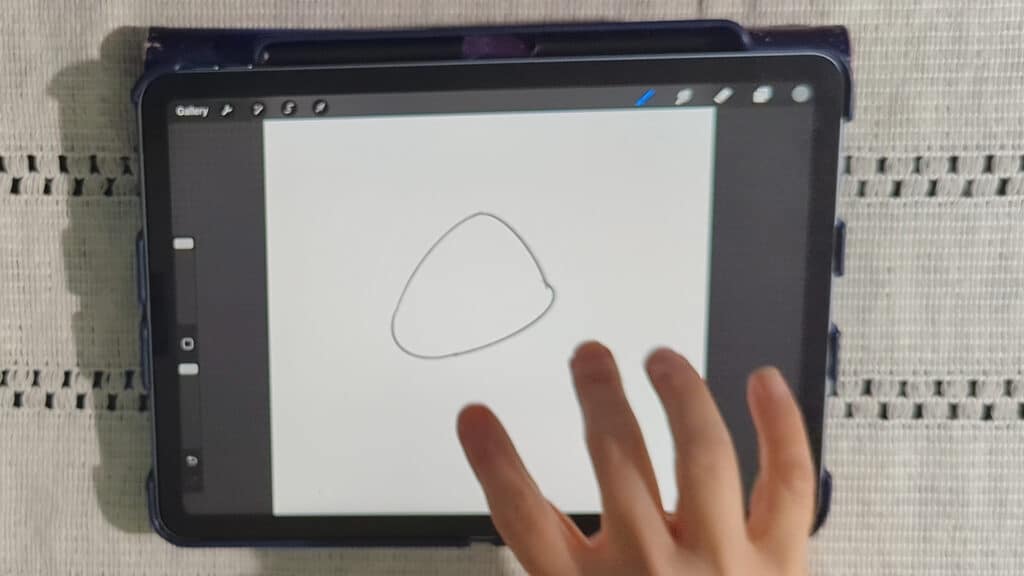
Drawing the Basic Strawberry Shape
Let's make a “squishy triangle” shape. Think cute, not perfect. A little curve here, another curve there…
If you hold down your pencil, Procreate will try to make a perfect arc.
Just remember not to go too far at a time, or it'll straighten out on you, and that's not the vibe we're going for.
Try it out and just hit the undo button if it messes up your line art.
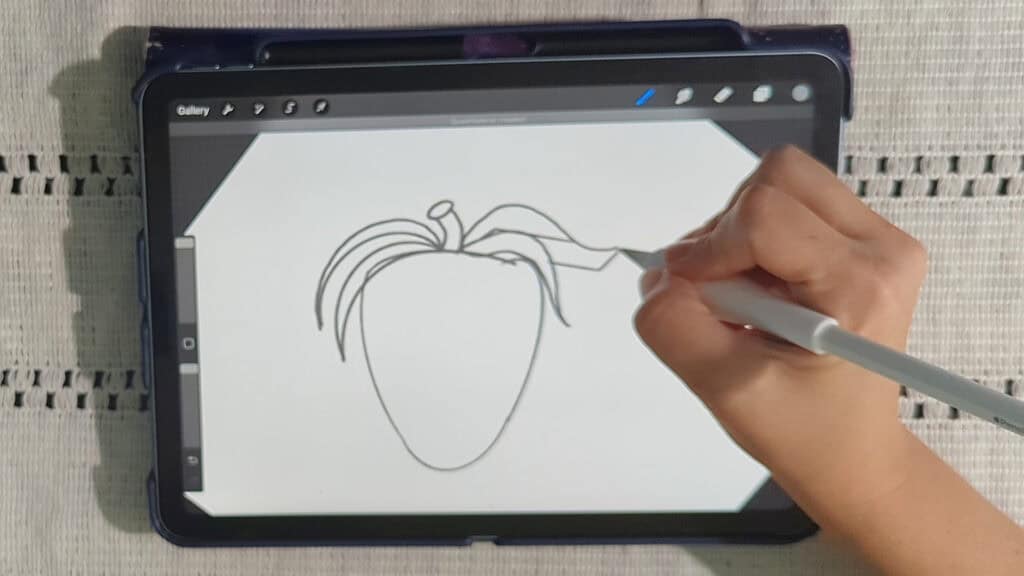
Creating the Strawberry Leaves
Strawberry leaves are kinda unique, right?
They're almost straight on the edge and curve inward. See how they kinda hug the strawberry?
Make them a little longer, maybe even a little pointy. Don't stress about making them perfect; just have fun with it!
No one is looking at the stems anyways.
Outlining and Coloring: Bringing Your Strawberry to Life
Time to make this sketch pop! First, turn your sketch layer to “multiply” and then lower the opacity.
This lets you see your lines without them being too distracting.
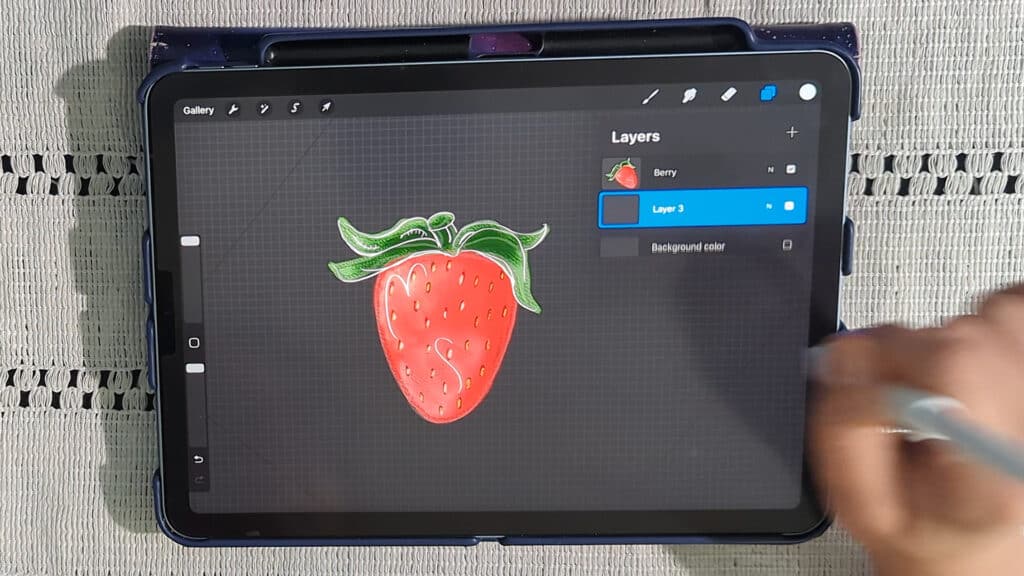
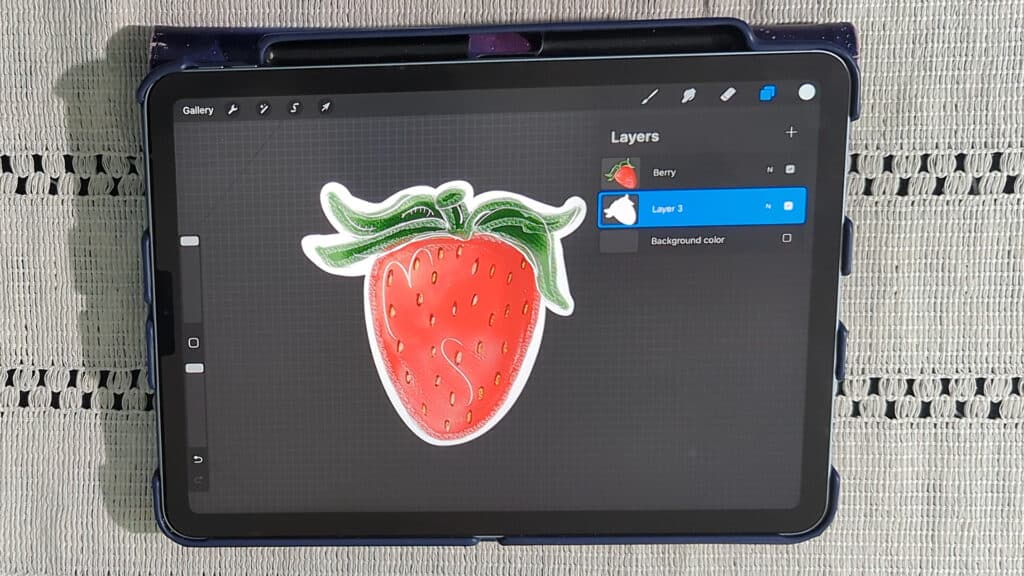
Now, create a new layer underneath the sketch layer, and rename it “berry.” Trust me on this one – renaming layers is a lifesaver!
This is coming from someone who constantly forgets and has to play a guessing game until I find my correct layer!
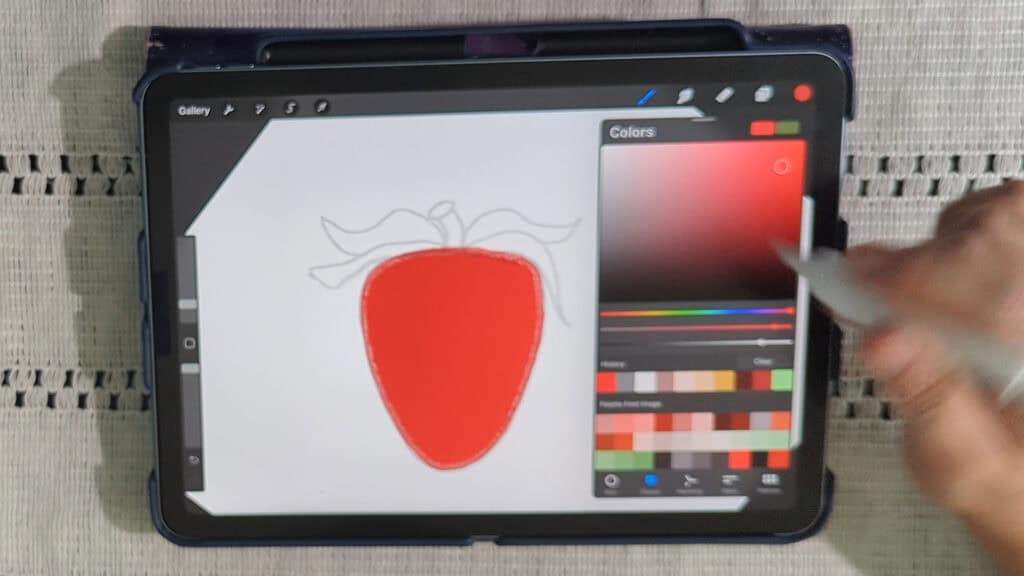
Coloring the Berry
Let's pick a bright, happy red. For a textured feel, I'm going to use the Soft Pastel brush.
Start with a brush size of around 4% and outline the strawberry.
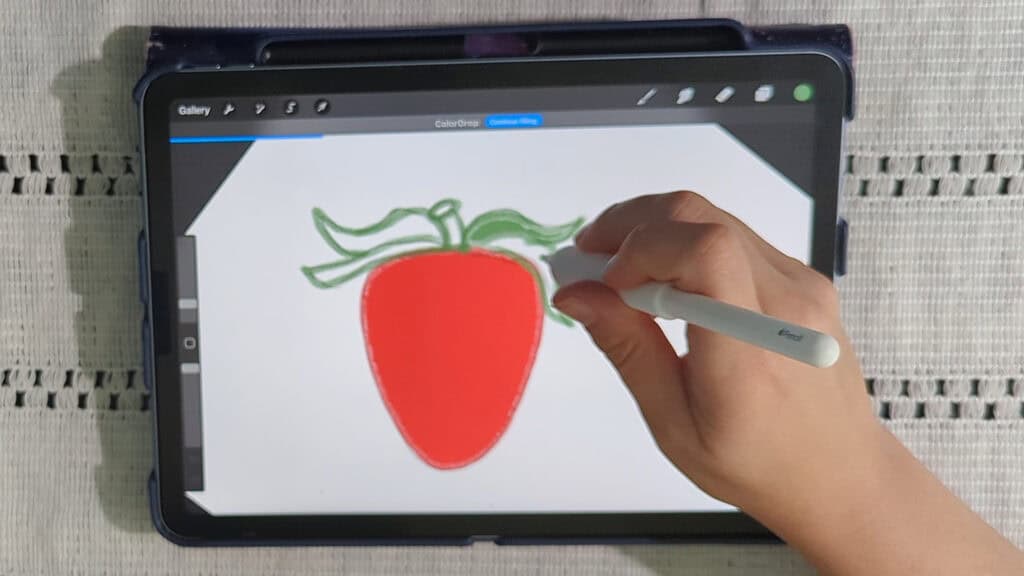
Color drop the red into the outlined shape using the color fill tool.
You just grab your color and drag it all the way to the spot you want to fill in.
You may need to lower the color threshold for a clean fill.
After you color fill, you keep your Apple pencil on the screen, and a color threshold bar will pop up; moving the pencil to the left or right will change the color threshold percentage.
A note on color fill, using a highly textured brush can mean lots of holes in your lines, so when you use color fill, you may end up with some white spaces you need to go in and manually cover.
This can occur even when you up your threshold to 100 percent.
Adding Color to the Leaves and Stem
New layer time! Name this one “leaves.” Grab a medium green and do the same thing we did for the berry: outline and fill.
It might take a little patience to color in those smaller areas, but you got this!
Want to try designing your first Procreate sticker?
Grab my free Sticker Brush Mini Pack with 1 custom brush and 3 fun stamps to kick off your creative chaos.

Adding Seeds: The Details That Matter
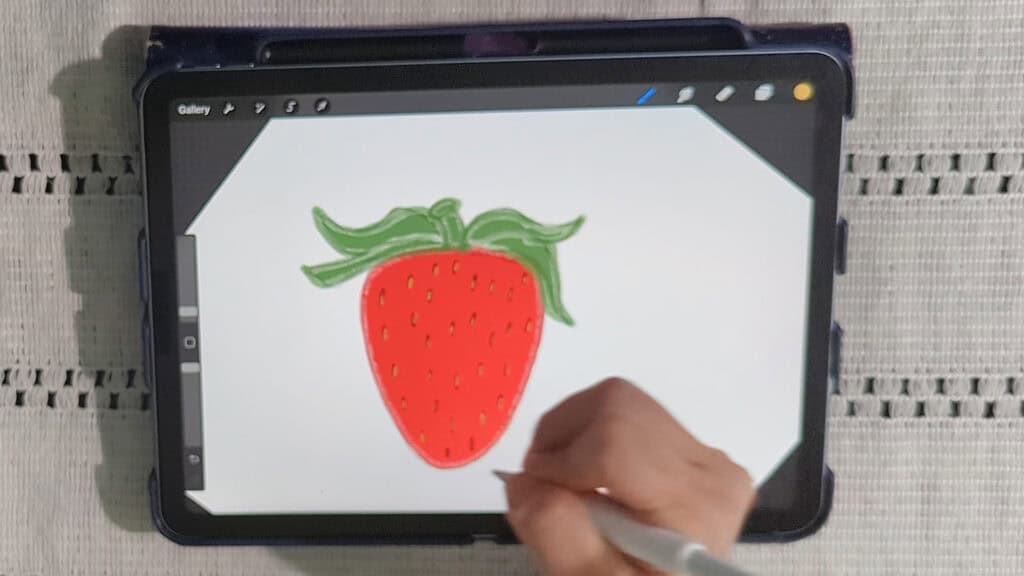
Okay, new layer – you guessed it – rename it “seeds.” Let's find a dark red and a small brush.
Now, just scribble some little seeds all over the strawberry.
You can add as many or as few as you like. There's no right or wrong here.
Adding Dimension to the Seeds
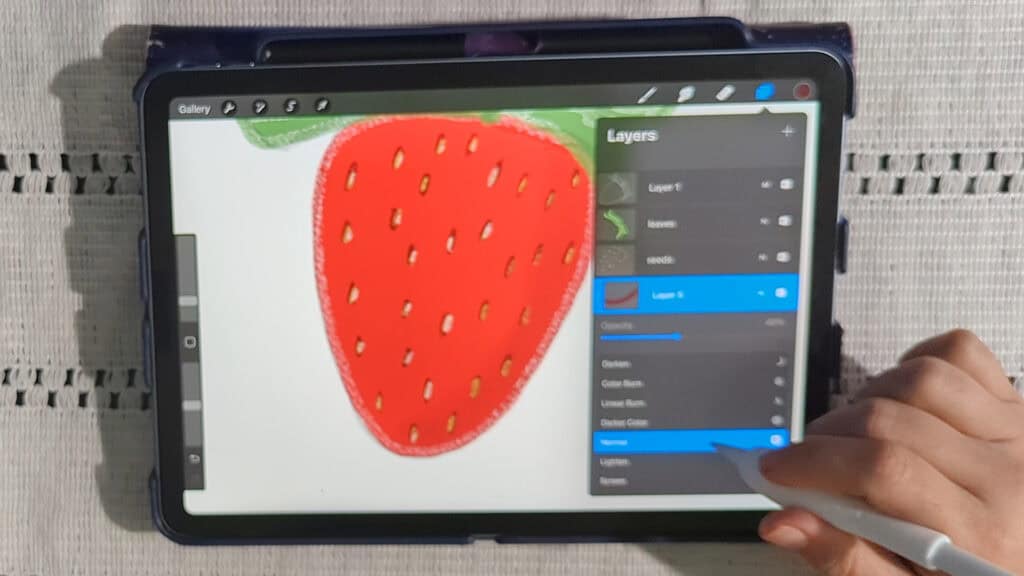
Select the seed layer and turn on “alpha lock.” Alpha lock is your bestie because it lets you color only the existing shapes on that layer.
Click the layer you are on and the option for Alpha lock will pop up.
Grab a yellowish-brown color and add small circles inside the seeds. This gives them a little dimension.
Finally, add a tiny bit of light gray to one side of some of the seeds, pretending the light is hitting them from that direction.
Creating Shadows and Highlights: Adding Depth and Dimension
Let's make this strawberry look less flat, shall we?
Adding Shadows to the Berry
Create a new layer above the berry layer and create a clipping mask.
Clipping masks are another essential tool because they confine any effects you make to the layer below it.
Select your layer, and a menu will pop up with the clipping mask option; just click it.
Choose a slightly darker shade of red and grab the Soft Airbrush. Set the layer blend mode to darken, then adjust the opacity.
This will add some subtle shadows along the edges and under the leaves.
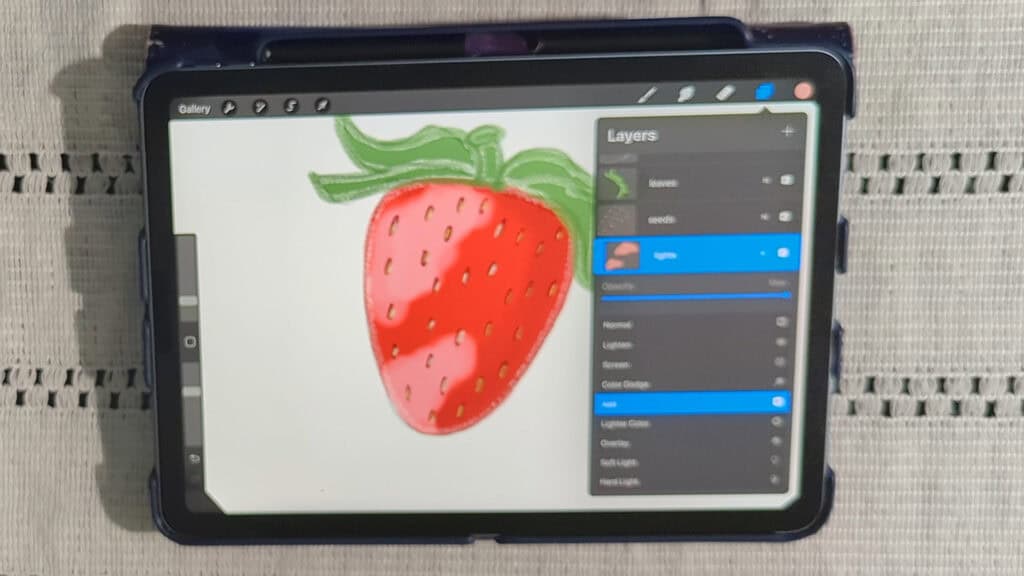
Adding Highlights to the Berry
Another new layer, another clipping mask, and let's name this one “light.”
Pick a light pink color and use the Soft Airbrush to add small blobs of color to create highlights.
For extra texture, try using a texture brush.
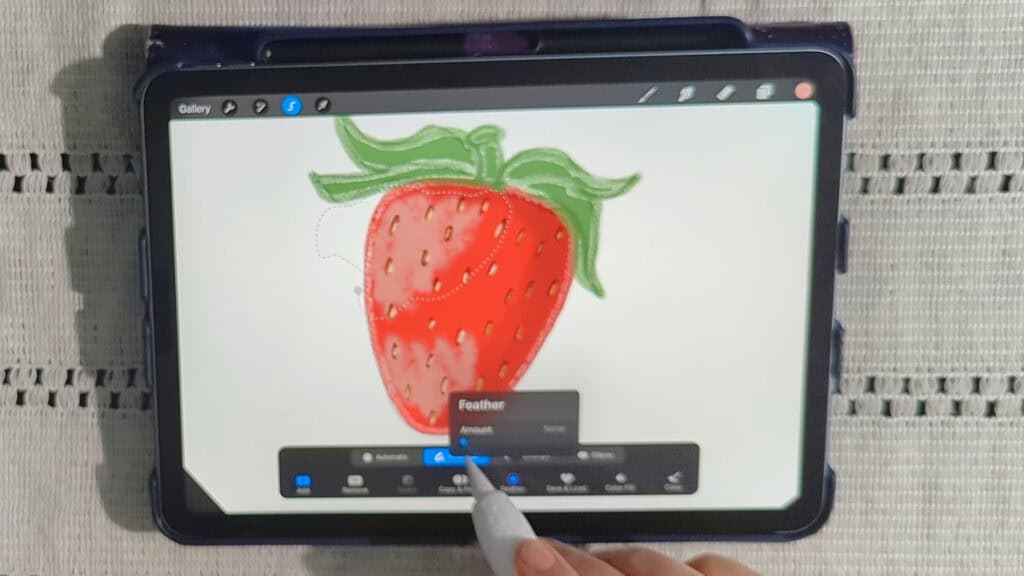
Using the Select Tool for Highlights
Use the freehand selection tool to select highlighted areas on the strawberry.
Selection > Freehand > Make Selection > Feather > 40%
Feather the selection to soften the edges.
Adjustments > Hue, Saturation, Brightness
Now, adjust the hue, saturation, and brightness to make those highlights pop!
Repeat on the shadow side of the image to enhance the shadows.
Play with the sliders until you like what you see.
Adding Shadows to the Leaves
New layer, clipping mask, dark green, soft airbrush… You know the drill!
Add some shadows to the leaves and set the layer blending mode to color burn in the layers menu.
Final Touches in Your Procreate Strawberry Sticker Tutorial, and Completing Your Sticker
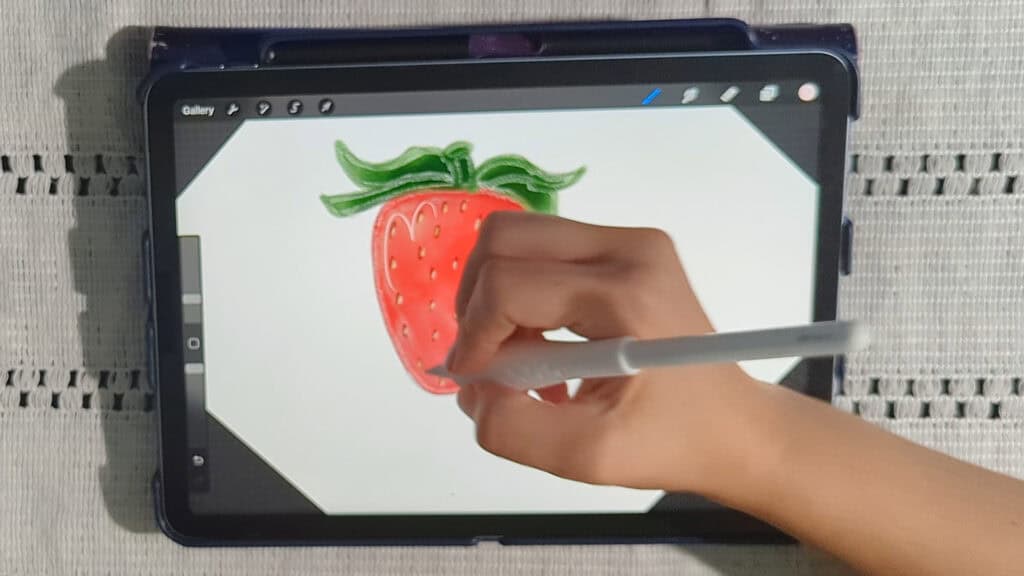
Optional Highlights
If you are feeling fancy, you can use a thin inking brush, the “Gesinski Ink” brush for some highlights.
Add some white polka dots along the strawberry. If you don't like them, just undo!
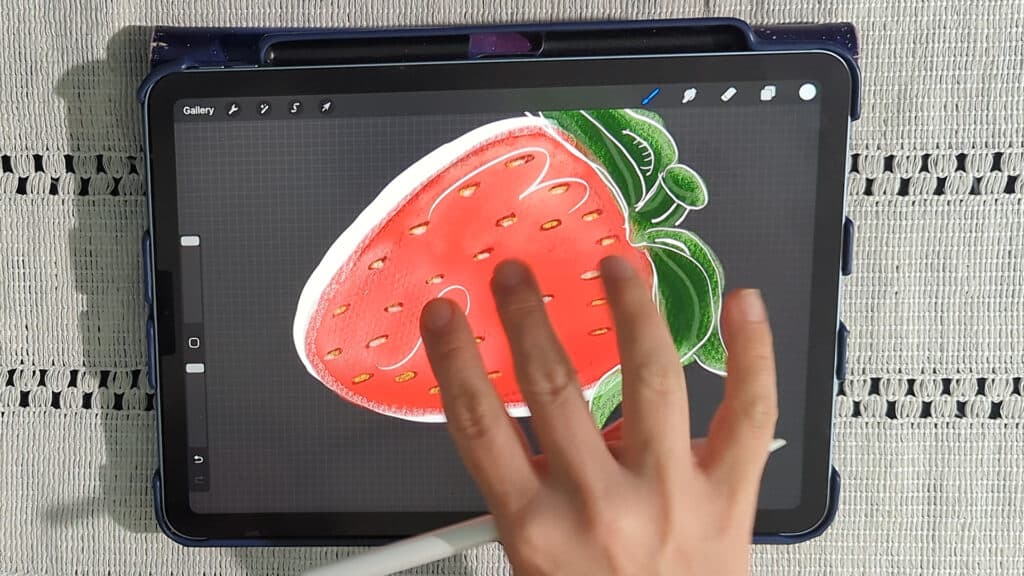
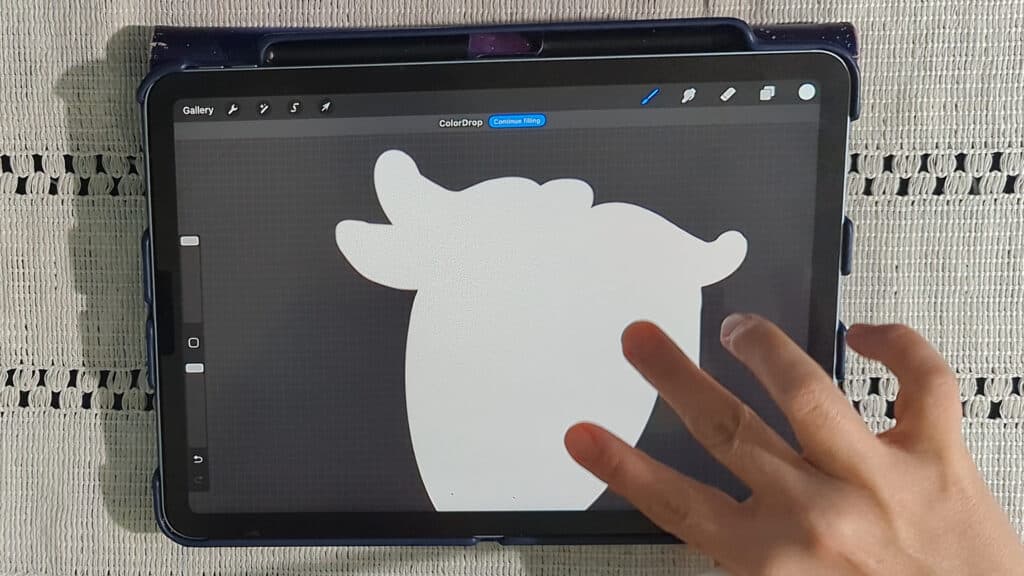
Creating the Sticker Outline: Making it Pop
- Okay, almost there! Turn off the background layer so you can see your sticker clearly.
- Now, merge your layers down if you are completely happy with your design, turning them into one layer.
- Choose the Monoline brush from the calligraphy tab, or if you grabbed my free sticker pack, use the sticker brush.
- Create a new layer underneath your strawberry. Crank up the brush size and carefully trace around the sticker.
- You can use white or any color you like! If you're printing at home, a darker outline might be easier to cut.
- Once your strawberry is traced, turn off your strawberry layer for just a moment and fill in your new tracing on your outline layer. Color fill the outline in whatever color you choose. I'm using white in the example.
To learn more, check out these helpful sticker design tips
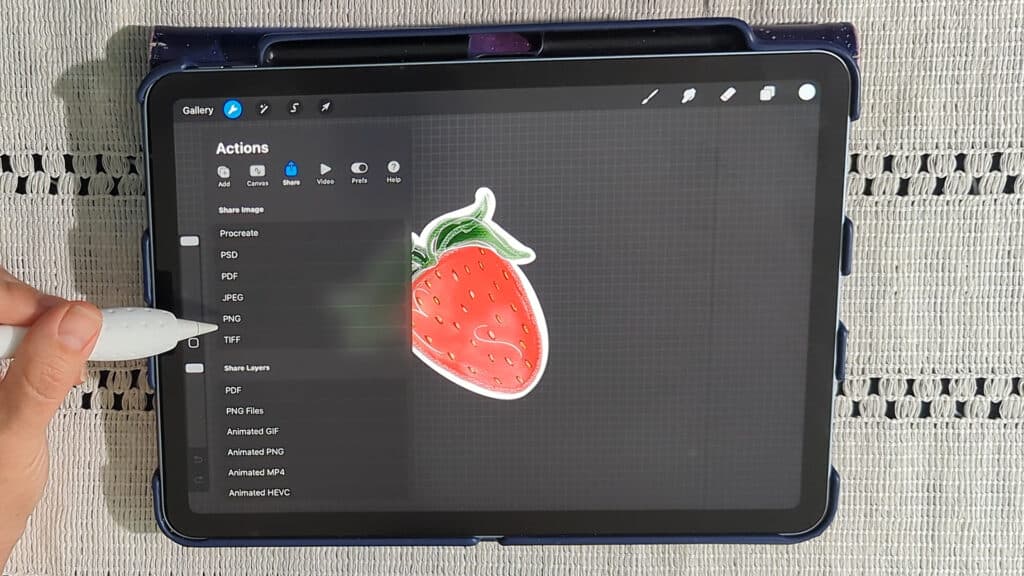
Exporting Your Sticker: Ready to Share
Okay, one last check: background layer OFF.
Go to Actions > Share > PNG. PNG is the way to go for stickers because it keeps that transparent background.
Save it to your gallery, cloud drive, wherever your heart desires.
Look at you, you made a whole dang strawberry sticker.
No stress. No meltdown. Just creative fun with a splash of chaos.
🎁 Wanna skip all the brush paralysis and start designing with ease?
👉 Grab my free Procreate Sticker Brush Pack
Love and messy buns,
❤️
Cynthia McDonald
Helping women find creativity in the chaos—with stickers, stationery, and a little bit of fun
Ready to try your own sticker design?
Download the free Procreate brush pack made for beginners includes my starter stamps + sticker brush and a quick-start guide.
👉Fill in the form to get instant access.
Want More Procreate
Whether you’re just starting out or ready to try your next cute design, here’s a full list of tutorials, tips, and easy wins for making stickers in Procreate:
Start Here: Beginner-Friendly Guides
- Procreate Beginner Guide for Stickers
- Making Stickers in Procreate for Beginners
- How to Design Stickers in Procreate
- How Procreate Stickers Boosted My Confidence as a Creative Mom
- How Procreate Helped Me Reconnect with Creativity
- What I Learned from Trying A Daily Sticker Sketch Challenge(and Failing Sometimes Too)
Learn Cute Sticker Drawing Techniques
- Draw a Cute Blushing Star Sticker
- Designing a Cute Bunny Sticker
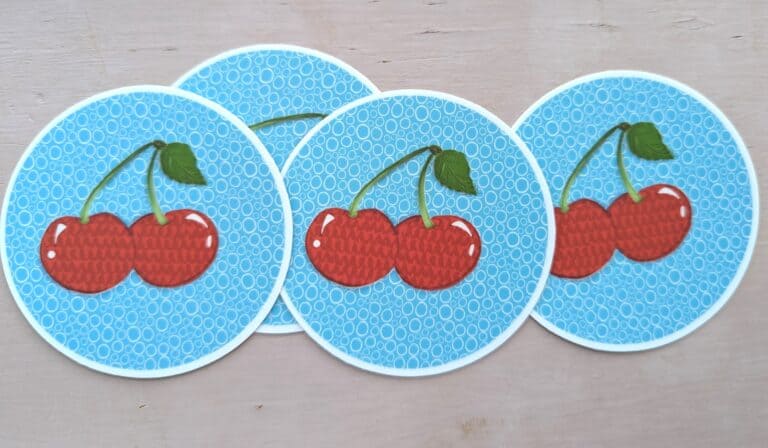
- How to Draw Cute Cherries
- Draw a Cloud in Procreate (Easy!)
- Design a Daffodil Sticker in Procreate
- Draw a Baby Duck in Procreate
- How to Make Your First Digital Sticker in Procreate (In 10 Minutes!)
- 3 Easy Outline Effects in Procreate That Make Your Stickers Pop
Procreate Tools, Ideas & Tips
- Easy Procreate Sticker Ideas
- Sticker Making Tips in Procreate
- Procreate vs Canva for Sticker Design
- How to Design Stickers
- Procreate Tools for Sticker Design: The Beginner’s Guide for Burnt-Out Moms
- Using Layers for Stickers in Procreate
- Clipping Masks For Procreate Stickers (with Less Stress and More Fun!)
- Best Canvas Size for Procreate Stickers (Beginner Guide)
- Best Procreate Brushes for Stickers (Free & Paid)
- Resizing Stickers in Procreate: The Busy Mom’s Guide to Sanity, Success, and Not Losing It
- Procreate Color Palettes for Stickers, Effortless Sticker Color Magic
- Eraser Tool Tips for Procreate Stickers (That Even Exhausted Moms Can Master)
I have also created an entire Procreate Starter Kit with a complete sticker file so you can see exactly how I made it!
Don't forget to save your favorite pin on your Sticker-making Board on Pinterest!