How to Turn Your iPad Art into Money Making Digital Prints (Easy Steps for Busy Women)
Have you ever opened Procreate on your iPad, started doodling, and quietly wondered if those old childhood dreams of selling your art could still come true?
If you have, you are not alone, and the honest answer is yes, the answer is yes. You really can monetize digital art, even if you're short on time or juggling real life.
You do not need a full studio, a giant stash of products, or a perfect plan. You just need one piece of art, your iPad, Procreate, Canva, and a simple workflow you can repeat.
In this guide, you will walk through how to take a finished iPad piece, size it for printing, move it into Canva, export print ready files, and create mockups that help your art sell in your online shop.
If you are still figuring out what to make, you can also use my pick your next digital product quiz to help you choose your next idea with less stress.
Summary
If you’ve ever wondered whether those iPad drawings could turn into real income, the answer is yes — even if you’re busy, tired, or juggling life’s chaos. This guide walks you step‑by‑step from finishing art in Procreate to sizing it for print, moving it into Canva, exporting customer‑ready files, and creating beautiful mockups that help your work sell online. You don’t need a huge product catalog or a perfect plan — just a simple, repeatable workflow and the confidence to take your first digital art print to market.
Table of Contents
Why Your Childhood Art Dream Still Counts
You might feel like life is too full for art. Maybe you are juggling work, kids, a partner, a house, and a brain that stays tired. That does not cancel out your creative side. It just means you need a setup that works with your real life.
Digital art fits busy women really well because:
- You only need an iPad and a drawing app.
- You do not have to store or ship physical items if you sell digital files.
- You can work in short pockets of time.
Many artists are shifting from only physical products to digital files because it keeps things simple, kinder to your schedule, and easier on your body and budget. If you want to see how that can look, this breakdown of turning artwork into digital products explains the real-life benefits, like less packaging and no shipping drama.
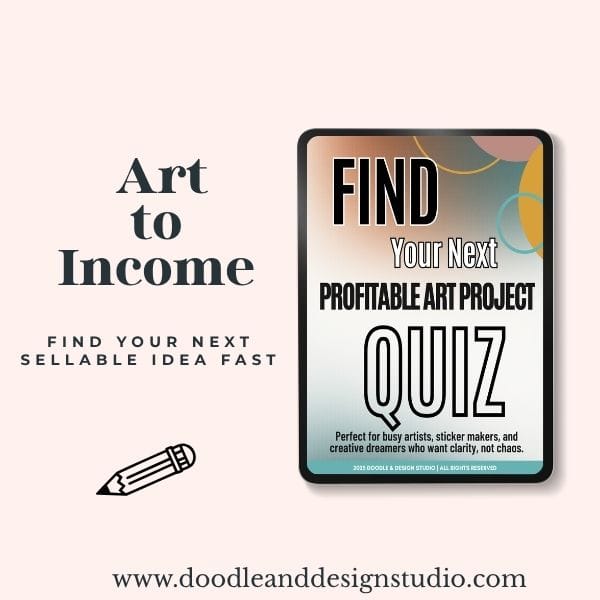
Grab the quiz and find your next art-to-income idea.
I created this quiz to help busy creatives cut through the noise, find focus fast, and feel confident about what to make next.
Picking the Best Piece to Monetize Digital Art Without Stress
You do not have to try to sell every single drawing you make. That only adds pressure. Instead, pick one piece you feel decent about that you think your audience would enjoy.
📌It doesn't have to be flawless. Your customers are not zooming in as hard as you are.
A simple way to choose:
- Most importantly, why would my audience want this?
- Would this look pretty on a wall, in a frame, or in a nursery or office?
- Does it match the mood of your shop or brand?
- Can you imagine it as a print someone would gift to a friend?
Pro tip: decide who you are drawing for before you hit that first stroke. When you keep a customer in mind, it is easier to pick which pieces are shop-ready later.
Plan Your Canvas Size Before You Draw
Print sizes matter. You can fix some things later, but you save yourself a lot of frustration when you plan your canvas before you start.
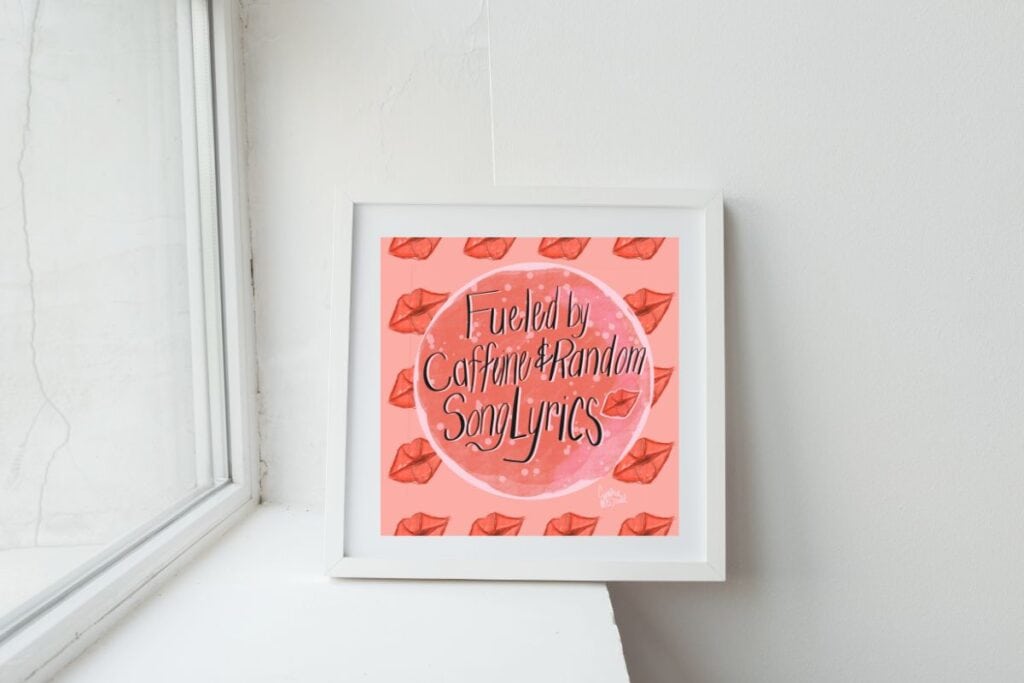
In the example, the artwork is on a 12 by 12 inch canvas. That is a square, and square frames are much easier to find now than they used to be. Still, many common frames in stores are rectangles.
It helps to think about two things:
- What frame sizes are easy for your customers to find where they live?
- What sizes are the most commonly purchased on your online shop platform?
You can create a few standard canvases in Procreate and reuse them:
- 12 by 12 inches for square art prints.
- Common rectangles like 8 by 10 or 11 by 14 inches if you plan to support those later.
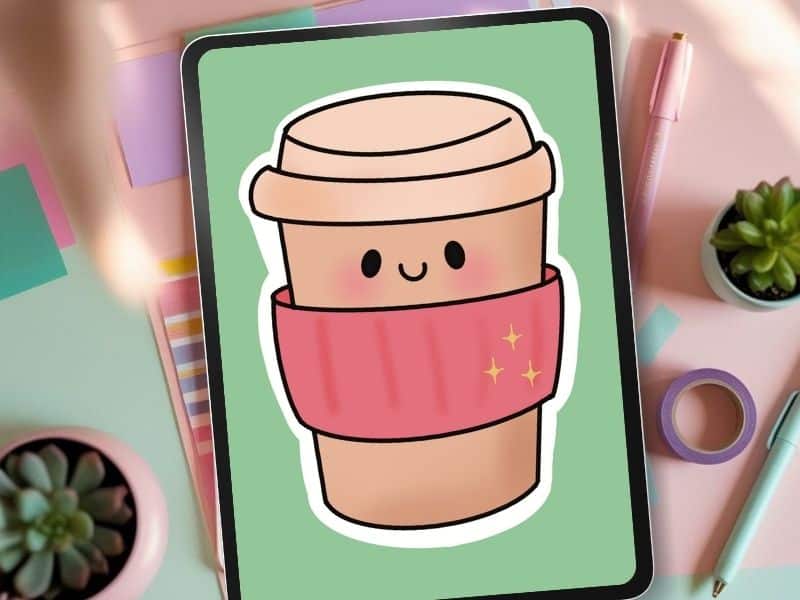
- A larger pixel based canvas like 2000 by 2000 pixels if you think about stickers or smaller art uses later.
When you set this up once, you just tap your saved canvas size and start drawing, no guessing.
Check out this article from Gelato about popular selling print sizes.
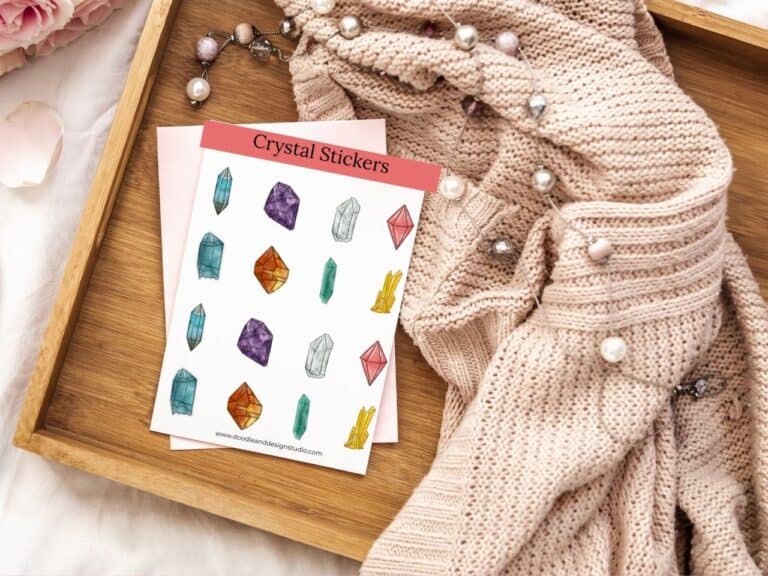
If you enjoy playing with smaller digital pieces, stickers are a fun place to start too. This Procreate sticker creation guide for beginners walks you through making a simple digital sticker, which uses the same ideas you will use for prints, like canvas size and exporting.
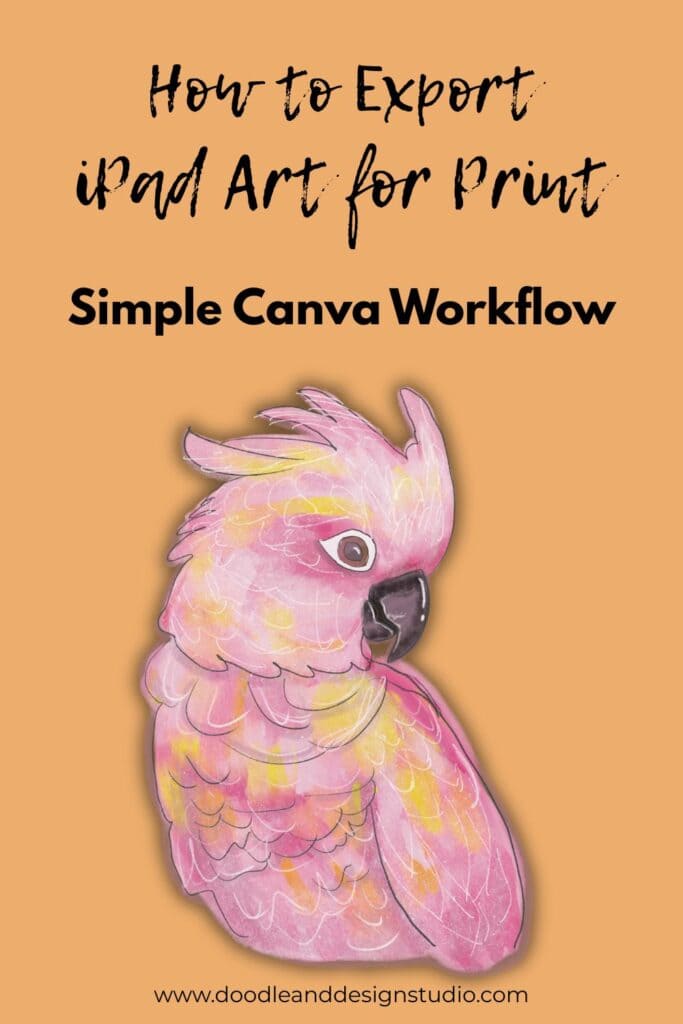
Move Your Art From Procreate to Canva
Once your artwork is finished in Procreate, you are ready to move it into Canva so you can size, export, and create mockups. You will do this right on your iPad.
Step 1, Save Your Art From Procreate
Open your artwork in Procreate, then:
- Tap the wrench icon at the top.
- Choose the Share option.
- Pick an image format to save, usually PNG at this stage.
- Save it to your Photos or Files so you can access it in the next step.
- You can also Share directly to Canva, instead of saving to photos you would pick Canva and follow the prompts
Step 2, Use Split View to Drag Your Art Into Canva
On your iPad, you can use split view to drag your art straight into Canva, which feels pretty satisfying once you have done it once.
Here is how:
- Open your Photos app or Files app where you saved the image.
- Swipe up a bit from the bottom of the screen to reveal your dock.
- Press and hold the Canva icon, then drag it to the side of the screen until it snaps into place.
You will now see both apps at once. - In Photos or Files, select your art image.
- Drag the image over into the blank Canva design area.
If you do not see split view, you can also tap the three dots at the top center of the screen and choose the option that lets you add a second app. Then pick Canva.
Now your artwork lives inside Canva, ready to resize and export.
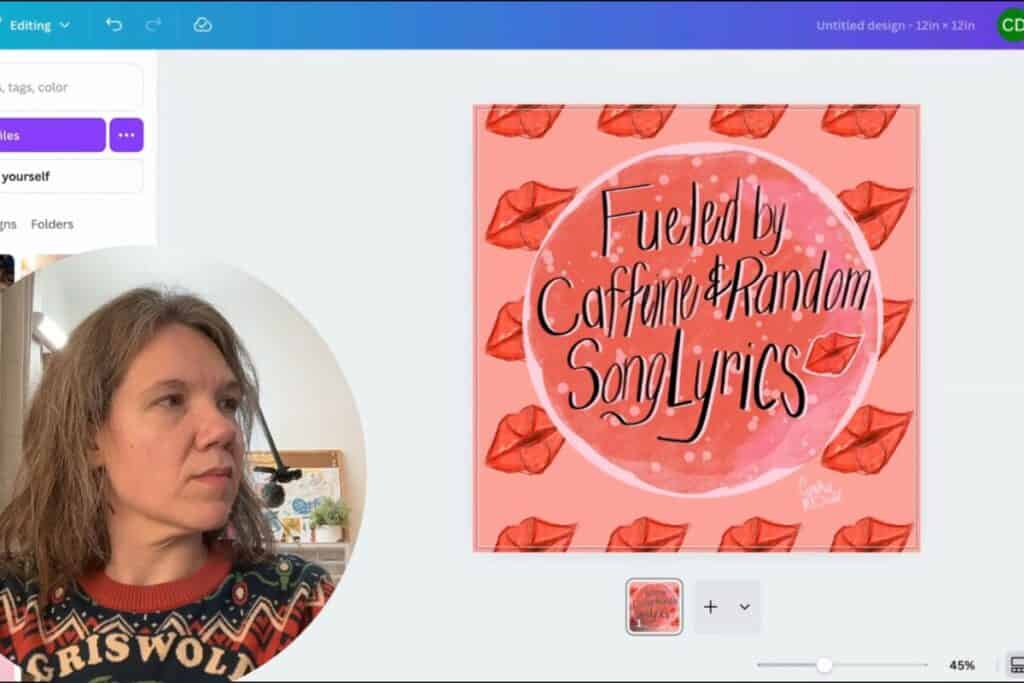
Step 3, Create a Custom Size in Canva
Next, you want your Canva canvas to match the print size you planned earlier.
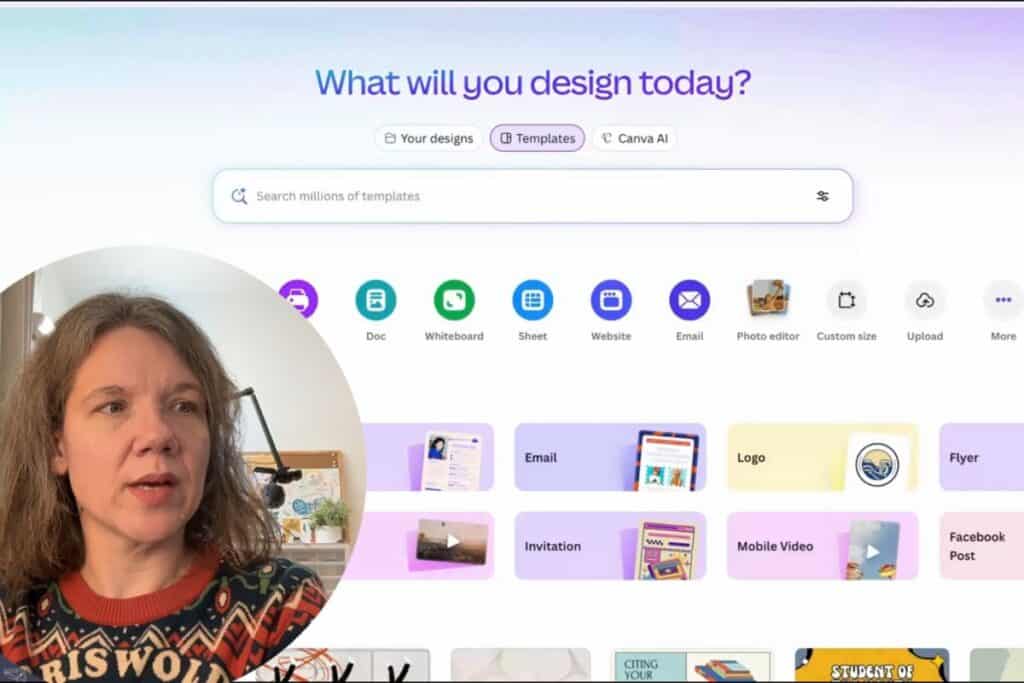
From the Canva home screen:
- Tap Create a design.
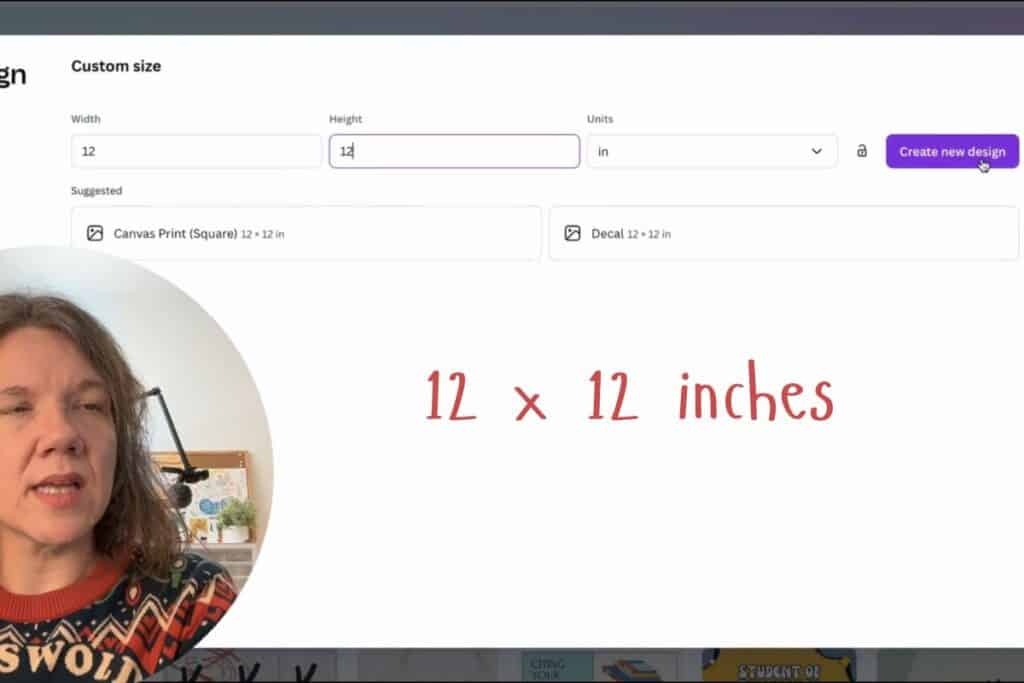
- Choose Custom size.
- Change the units to inches.
- Type in 12 for width and 12 for height if you are making a square print.
- Tap Create new design.
Once that opens, tap Uploads if you already uploaded your image, or drag it in from split view again, and resize it to fill the square.
You now have a tidy print file in Canva at 12 by 12 inches.

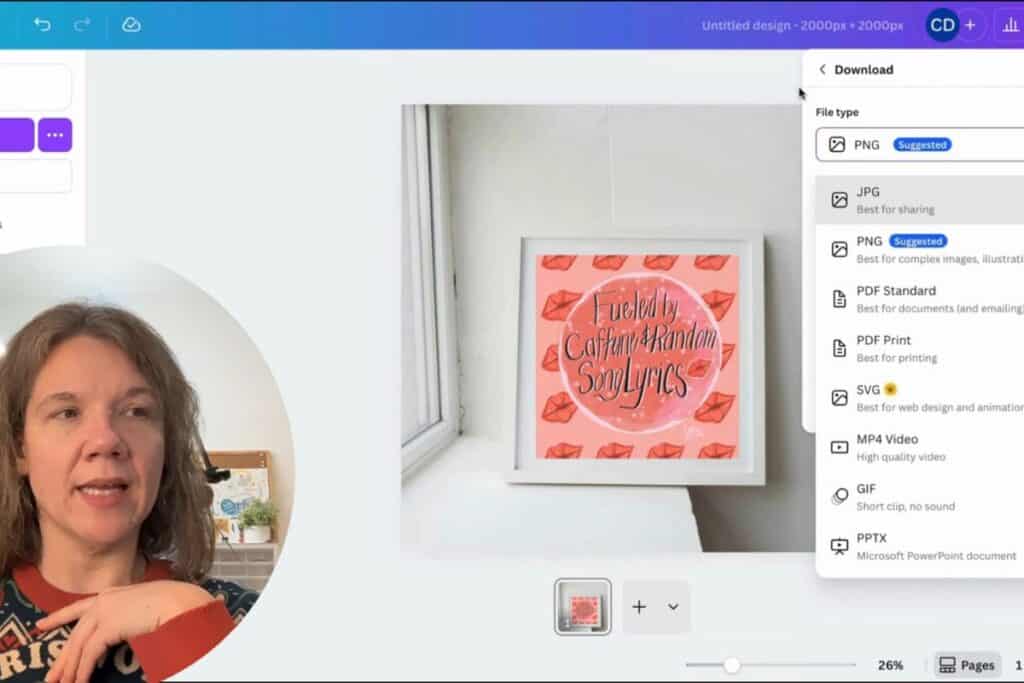
Download Print Ready Files Your Customers Will Love
Now you are ready to prepare the actual files you will send to your customers. Canva gives you several options, and it helps to understand what each one is best for.
In Canva, tap Share, then tap Download. You will see choices like PNG, JPG, and PDF.
Here is a quick guide:
| Format | Why use it | Best for |
|---|---|---|
| PNG | High quality, supports transparency | Primary art file for most customers |
| JPG | Smaller file size, common format | Customers with limited storage or older devices |
| Friendly for many commercial printers | Customers using pro print shops |
PNG is usually the best choice for digital art prints because it keeps details clear.
💡 If you're curious about file types and how they impact print quality, this Creative Market guide to digital print file types gives a helpful overview. It explains the pros and cons of PNG, JPG, and PDF in a non-techy way.
Now Download your file
You can:
- Download a PNG version at the highest quality Canva offers.
- Download a JPG version if you want a slightly smaller file.
- Download a PDF version for customers who use commercial printers (check printer requirements).
Rename each file with a clear name so your customer can find it later, for example:
- Floral wall art, 12×12, PNG
- Floral wall art, 12×12, JPG
- Floral wall art, 12×12, PDF
📌Keep your original Procreate file safe as well. That is your master file in case you ever need to adjust color, add contrast, or change the size.
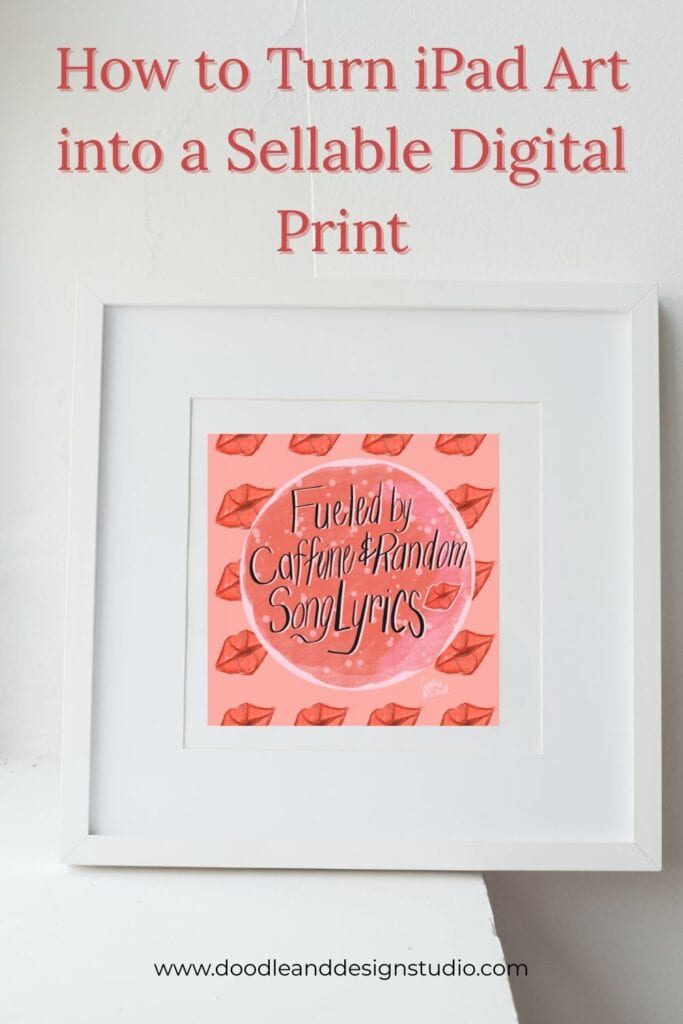
Create Simple Wall Art Mockups in Canva
You have your art file ready. Now you want your product listing to look inviting. This is where mockups help. A mockup is just a styled photo where your art appears inside a frame or on a wall, so customers can picture it in their home.
Here is a simple path:
- In Canva, create a new design and this time choose a size in pixels that matches the image size your shop prefers.
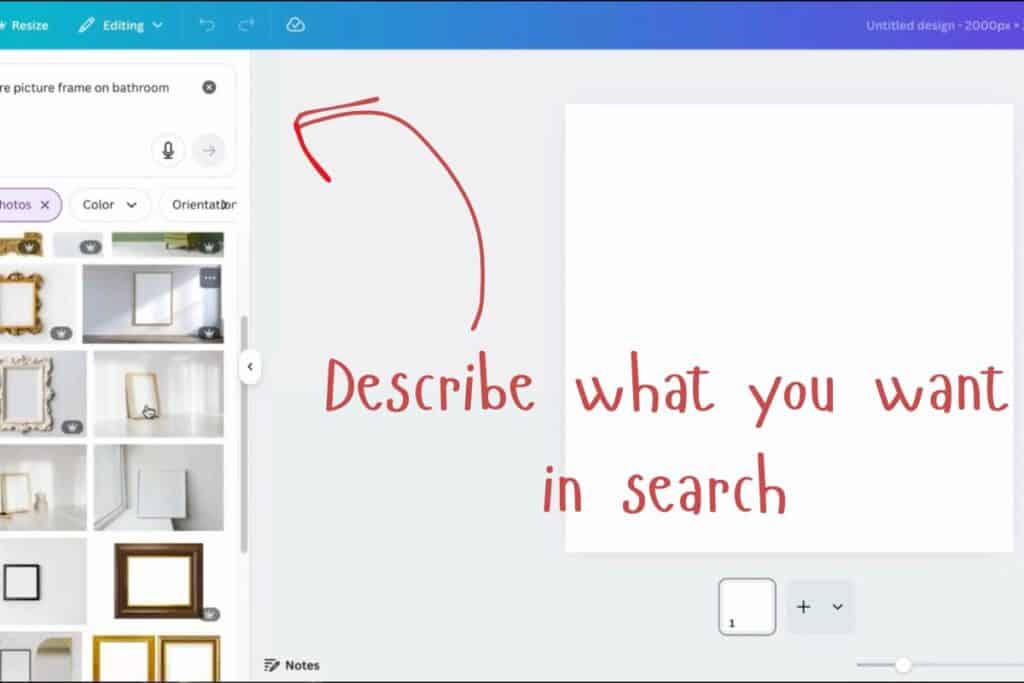
For example, you might type in something like 2000 by 2000 pixels, but always check your shop guidelines. Many shops, like Etsy, also have preferred image sizes for listing images, so check those before you export a bunch of files so everything looks sharp on your product page. - With the new canvas open, use the search bar inside Canva and type something like square wall art mockup.
- Turn on the Free filter so you only see mockups that do not require extra payment.
- Pick a mockup that looks close to what you want, for example a simple frame on a wall. Try to pick a square frame if your art is square.
- Add the mockup to your canvas.
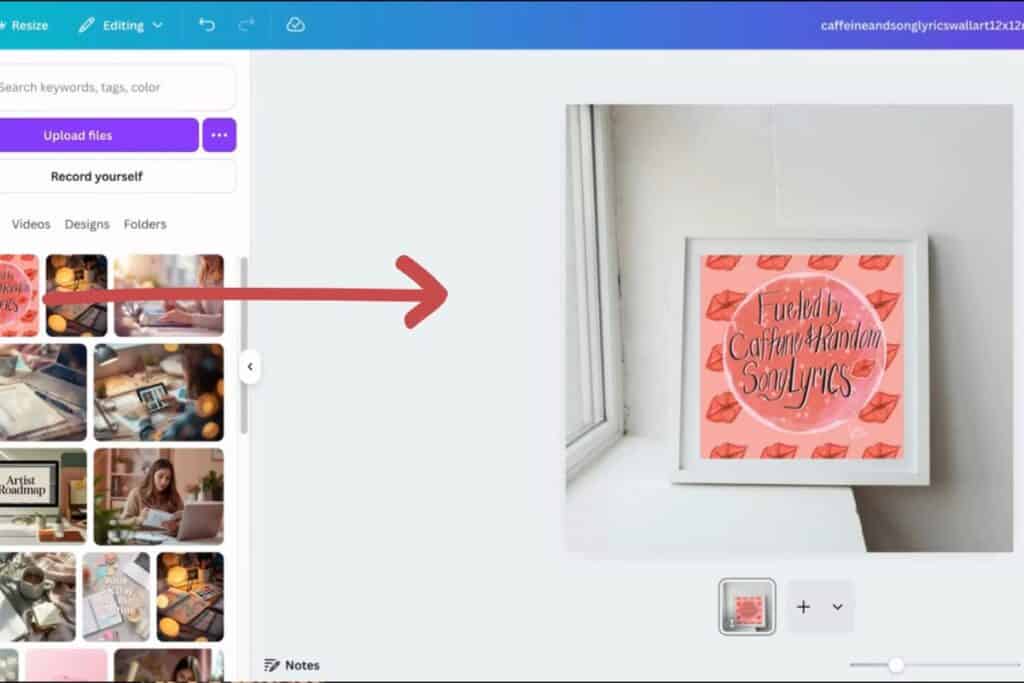
Many Canva mockups have frames you can drop an image into. When you click the frame, then drag your artwork from Uploads into it, Canva snaps the art into place.
You can:
- Resize your art inside the frame so the border or mat looks balanced.
- Move the art a bit if the frame has a mat and you want less white space.
- Make sure the art is centered so it does not look crooked.
Trust your eye here. If it feels like your art is getting lost, try a different mockup or resize your art inside the frame.
Always read the licensing on any Canva image you use. Many are safe for commercial use, but you want to be sure you are using them correctly, especially if you sell products.
Once you have one mockup you like, you can download it and repeat the process with a few more, so your shop listing has several styled views of the same art.
Upload Your Files and Start Listing
At this point, you have:
- A clean print file in at least one format, usually PNG.
- Optional files in JPG and PDF.
- One or more mockup images that show your art in a frame on a wall.
Your next steps are simple:
- Upload your print files as the digital download your customer receives.
- Upload your mockups as the main product photos.
- Use as many image slots as your platform allows, filling them with different mockups or detail views.
That's it you did it! Many artists are shifting from physical to digital products because it keeps things simple, kinder to your schedule, and easier on your body and budget.
Digital product selling workflows like the ones on Shopify’s Digital Products Guide show how creators set up delivery, price files, and manage storefronts in ways that fit their schedule if you are still unsure and want to do some more reading!
have you joined the art to income: create & Sell digital products facebook group?
If you’ve ever said, “I want to draw digitally, but I have no idea where to start,” this is your sign.
We learn Procreate tricks, share designs, celebrate tiny wins, and cheer each other on as we start selling what we make.
💕Join Us on Facebook✨
💖 FAQs: Selling iPad Art as Digital Prints
- 💖 Do I need expensive tools to sell digital prints? No — your iPad, Procreate, and Canva are all you need to start.
- 💖 What file format should I export for customers? PNG is high quality, JPG is smaller, and PDF works well for commercial printers — offer options if possible.
- 💖 How do mockups help sales? Mockups let buyers *visualize* the print in a real space (on a wall, frame, desk), boosting buyer confidence.
- 💖 What sizes should I create? Common print sizes like 12×12, 8×10, and 11×14 are easy for customers to frame and popular in shops.
- 💖 Can I sell these on Etsy or my own site? Yes — both Etsy and personal stores (Shopify, PayHip, Gumroad) work great for digital prints.
- 💖 What if I’m scared no one will buy? Start small, learn from one listing, tweak mockups/titles, and try again — you’ll get better with each product.
💖 Key Takeaways: Turn iPad Art into Print Income
- 💖 Digital prints can be a simple income stream — no physical inventory or shipping needed.
- 💖 Planning your canvas size ahead saves time and future headaches.
- 💖 Moving art from Procreate into Canva makes exports and mockups easy.
- 💖 Offer multiple file formats (PNG, JPG, PDF) for customer flexibility.
- 💖 Good mockups help buyers visualize the art in real life — which boosts sales.
- 💖 Start with one piece and repeat the workflow to create more prints fast.
You started with a quiet question about whether your art could really turn into income, and now you have a simple path from iPad drawing to a sellable digital print.
You know how to plan your canvas size, move your work into Canva, export customer friendly files, and dress everything up with mockups that help your shop shine.
You do not need a warehouse, a giant budget, or perfect confidence. You just need to keep taking small, repeatable steps and learn as you go.
If you are curious about expanding into more digital art products, like stickers or planners, or want to hear more about the why behind digital products, you are already in the right place to explore and play with new ideas.
Take your next tiny step today, even if it is just opening Procreate and starting a new canvas, and let your art support the life you actually live.

🎨 Art to Income Membership
Turn your doodles into dollars — one simple, sellable project at a time.
If you're staring at Procreate wondering how people go from drawing frogs in sweaters to actually selling stuff — you're not alone.
This membership helps you go from “where do I even start?” to having a finished product ready to list.
Each month you’ll get:
💖 One guided project to create and list a finished product
💖 Done-for-you assets to speed things up
💖 Trend + keyword ideas so you know what people are actually buying
💖 A supportive group of artists figuring it out right alongside you
💖 Listing and promo ideas so your art doesn’t just sit in a folder
You don’t need to be techy, trained, or totally “together” — just curious enough to try.
🧩 Want Help Putting All the Pieces Together?
If you're figuring out how to turn your art into income and wish there was a big-picture roadmap to follow — good news, there is.
👉 Read the Ultimate Guide to Making Money with Digital Art🎥 Prefer to learn by watching?
I’ve got a YouTube channel full of quick, no-pressure tutorials made for tired, creative souls like you.
Subscribe here and catch your next creativity boost, one sticker at a time.
Love and messy buns,
❤️
Cynthia McDonald
Helping women find creativity in the chaos — with stickers, stationery, and a little bit of fun
This post may contain affiliate links. I may earn a commission if you make a purchase at no extra cost to you.
Make sure and grab your favorite Pinterest Pin and Save it to your Digital Art Pinterest Board