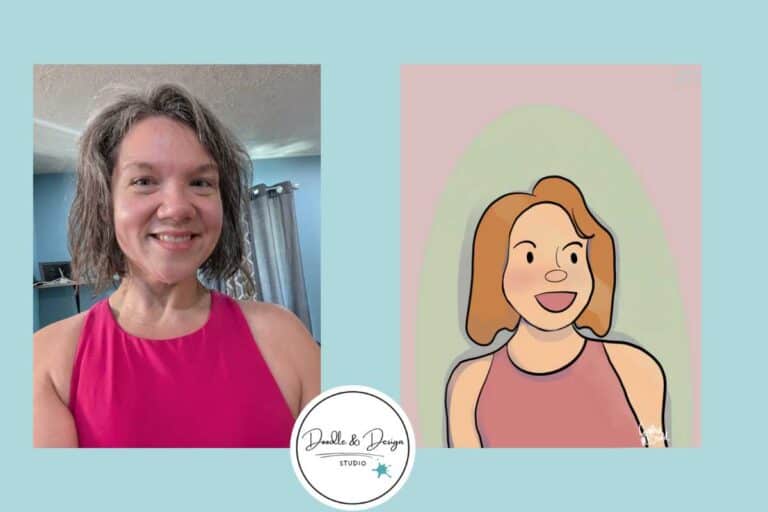
What to Do Before You Start Selling Digital Art (So You Don’t Hear Crickets)

You finally have cute digital art you’re proud of and you’re ready to list your first product. You upload it, hit publish, refresh a few times, and then… nothing. Crickets. Selling digital art might not be as easy as you thought!
That silence is usually not about your digital art, it is about your setup.
Before you post that next or first listing, there are three simple things that quietly decide whether your shop feels professional or kind of like a chaotic junk drawer. The good news is, these steps should take you less than an hour when you get the hang of them, and they make every future product easier.
If you are a woman who loves to draw digitally or wants to learn how, and you want to turn that art into passive income, you are in the right place.
Quick Start Summary
Not ready to read the whole post? Here’s your TLDR-style cheat sheet:
- Pick a niche — Choose one digital product type and one audience.
- Organize your files — Use consistent folder names and file naming rules.
- Create mockups — Help buyers visualize how to use your product.
- Test your workflow — Have someone try the product before you launch.
- Use the free quiz — Get a beginner-friendly product idea and GPT help.
Prefer to watch instead?
Table of Contents
Why These 3 Steps Matter Before You List Your First Product
Most new sellers skip straight to “upload file, write a title, pray ” when selling digital art. The problem is, if you do not have a niche, any kind of system, or solid mockups, your listing is easy to scroll right past in your online store.
Here is what usually happens when you skip these while selling art online:
- You feel pulled in ten directions and keep hopping between random product ideas.
- Files live in 47 places with 19 different names and you cannot find anything when you need it.
- Your mockups do not show what the product even is, so shoppers keep scrolling.
These three steps are not glamorous, but they quietly fix all of that. They make it easier for people to recognize you, easier for you to stay consistent, and easier for shoppers to see why your digital products are worth paying for amid ecommerce challenges.
Grab the quiz and find your next art-to-income idea.
I created this quiz to help busy creatives cut through the noise, find focus fast, and feel confident about what to make next.
We are going to walk through each step with low-pressure examples, a quick Etsy research trick, and some “ask me how I know” organization tips.
Step 1: Pick a Digital Product Niche to Stand Out
Why Go Narrow Instead of Broad?
Your digital art can be broad. Your products should be narrow.
If you tell people, “I sell printable wall art,” you are now one of about 500,000 people. If you say, “I sell printable wall art for dog lovers,” suddenly you are in a smaller corner of the internet where you can better reach your target audience. People can actually remember you because of your unique style.
A few quick examples:
| Broad idea | Niche version |
|---|---|
| Printable wall art | Printable wall art for dog lovers |
| Digital stickers | Digital planner stickers for busy moms |
| Procreate brushes | Texture Procreate brushes for kawaii-style characters |
| Coloring pages | Printable floral coloring pages for relaxing self care |
| NFTs Hand-drawn | NFTs for sci-fi art collectors |
| Game assets | Pixel art game assets for indie developers |
See how the second column feels more like a real online store and less like a bucket of random files?
Pick one simple product and focus on it from start to finish. Then, make at least 10 additional versions of that same product. Ten dog prints. Ten planner sticker sets. Ten simple brush packs.
Repetition is your friend here. When you make that many versions:
- You learn faster.
- You find shortcuts.
- You stop overthinking every tiny decision.
It is way easier to focus on one project than juggling 10 unfinished ones. Trust me, your girl has made all the mistakes. Bouncing from “wall art” to “stickers” to “fonts” every week is a great way to stay busy and never actually feel like you know what you are doing.
Start with one clear lane, then you can branch out once you feel steady.
Check out 7 Digital Products Artists Can Sell That Actually Make Money (Without Losing Your Mind) and Simple Art Styles That Actually Sell: Your Guide to Profitable Digital Products (With Half the Effort)
Quick Action Step: Do a 10 Minute Etsy Research Session
Let us turn your “vibe” into an actual product idea that people already buy.
Spend 10 minutes doing this:
- Go to Etsy, a popular online marketplace.
- Type in your product idea, like “dog wall art printable” or “boho nursery print.”
- Watch what autopopulates in the search bar as you type. Those phrases are things people search for a lot.
- Open a few listings that have the little “Bestseller” tag.
- Skim the titles, photos, and descriptions in the categories that feel good to you.
Those bestseller tags show you what is already working and what customers are actually looking for. You can also browse the top selling printables on Etsy to see what kinds of digital items are hot right now.
The Amazing Aquita, made this awesome Etsy Best Seller Scout tool that puts in the Etsy work for you, and gives you links for best sellers in your target categories if you want to skip some of the grunt work, and check it out!
You are not copying anyone. You are just collecting data questions like:
- What style keeps showing up?
- Are these sets or single items?
- Are they simple or super detailed?
Jot down a few notes or grab screenshots so future you is not starting from zero every time you sit down to create.
If you want even more inspo, the list of top selling digital products on Etsy can give you ideas for product types you might not have thought of yet, like checklists, templates, or planners, sets of illustrations, or print-on-demand options.
Once you have your niche and a product type, you are ready for the part nobody wants to talk about but everyone needs.

Step 2: Set Up Your Filing and Organization System Early
This is the part we all think we will “do later” and then one day your Downloads folder is a horror film.
You do not need a perfect system, just something simple that you actually use.
Create Simple Folders From the Start
When you start making digital products, you suddenly have:
- Digital Art files
- Exported files
- Customer instruction PDFs
- Mockup images
- Thumbnails
- Delivery docs
- Random test versions
If you just throw everything into one giant folder, you will hit chaos fast.
Here is a simple setup that works:
- Make one main folder per product. (For example:
DogWallArt_Set01.) - Inside that folder, create subfolders like:
- Work in progress
- Source files
- Exports
- Customer instructions
- Delivery documents
- Thank you docs
- Mockups
- Final product
You can do this on your computer, and if you want a backup or to save space on your computer, use something like Google Drive or Dropbox. Cloud storage helps if your laptop decides to stop working on launch day, which has never happened to me, absolutely not, do not look at me. My birthday gift this year may have been extra storage on my computer! Thanks, hubby, I love you for knowing how to do that!
I am still dreaming of the perfect system, it is a work in progress, but even a “good enough” folder structure makes your life calmer.

Decide on a File Naming System You Will Actually Use
Here is where many people lose time. You think you will remember what final_FINAL_edit2.PSD is. You will not.
Set a simple rule for yourself and stick to it.
- Include the product name, version, and type.
DogWallArt_Beagle_v1_WIP.procreateDogWallArt_Beagle_v2_FINAL_PNG.zip
- For mockups:
DogWallArt_Beagle_mockup1_livingroom.jpg
- For instructions:
DogWallArt_instructions_printing.pdf
The format does not matter as much as being consistent.
Write it down somewhere. A tiny note in your planner, a sticky note on your desk, a doc called “File Naming Rules.” When you are tired or rushing, you will be glad you do not have to remember what system you decided on.
The benefit is simple. When a customer asks a question or you want to update a product, you will be able to search by name and find what you need instead of clicking through 48 mystery files and trying to guess which one is safe to edit. I'm a work in progress!
This step will make your life so much easier. I have had to use the search bar too many times, trying to guess what I named a file!
Once your folders and filenames are under control, you can move into the fun, visual part.
Step 3: Create Mockups and Messaging That Sell
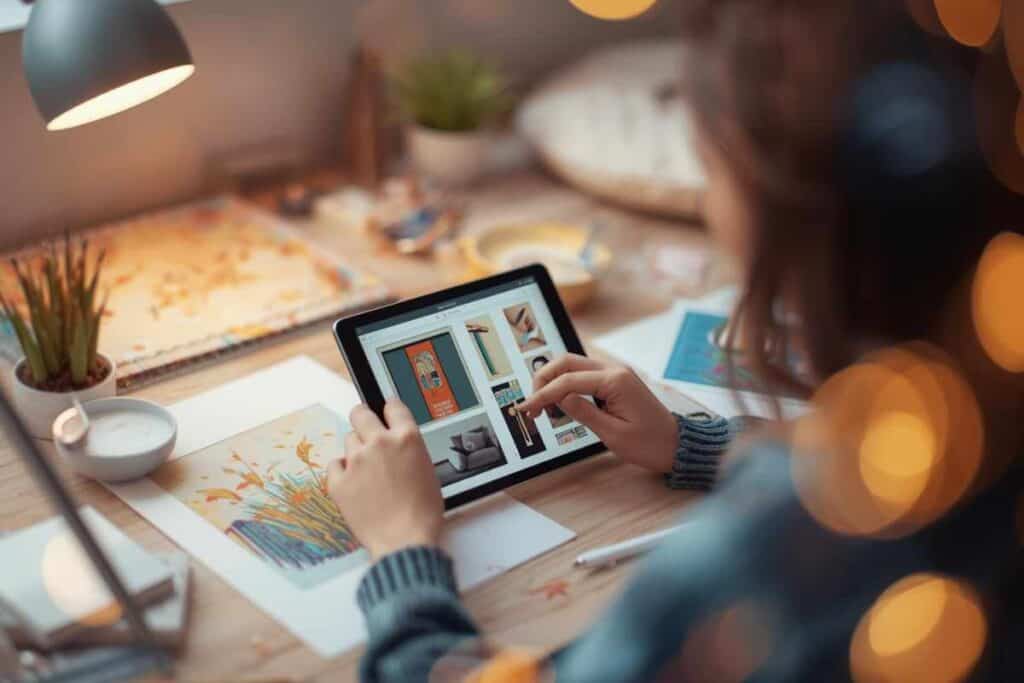
You might know your product is cute and useful. A stranger on Etsy does not. They only see some tiny images and a few lines of text.Your job is to make those images and words do the heavy lifting for you.
Why Mockups Matter for Digital Products
Your item might be a digital product, but your shopper is visual. They want to imagine it in their life, not on your hard drive.
Before you even think about listing, plan to create 3 to 5 high-quality product images for each item. If you have more image slots that is more advertising space. These are not just “here is the file.” You want each image to highlight at least one of these:
- Who the product is for.
- What the product is going to do for them.
- How it is different from other options.
A few examples:
- Selling digital art like a cute labradoodle illustration for print-on-demand framed wall art. Show it in a frame on a wall in a cozy living room.
- Selling digital planner stickers for moms. Show them on a tablet screen inside a digital planner layout.
- Selling printable affirmation cards. Show a few cards printed, cut, and styled on a desk.
You want your buyer to think, “Oh, that is for me.”
Unlike selling physical products, where shoppers can see and touch the item, you can use mockup photos you already own, create your own staged scenes, or buy mockup files, but keep the focus on helping people quickly understand the product.
If this sounds like foreign language to you Jess over at Elevated Operations is an expert in teaching you how to turn customers into buyers. If your creativity dries up the moment you think about selling you should check her out!

Brainstorm Simple Visual Advertising Ideas
Think of your product images as visual content mini billboards for your shop, optimized for easy sharing on social media.
Here are a few easy ways to make them work harder:
- Show real use. If it is printable, show it printed and styled. If it is for digital planners, show it on a tablet. Action beats a flat JPEG on a white background.
- Highlight benefits, not just features. For example, instead of only showing “12 dog prints,” add small text on an image that says “Instant wall decor for dog lovers” or “Print-on-demand easy printable gifts for pet families that justify your pricing.”
- Call out what makes it different. Is it hand drawn, beginner friendly, print at home, sized for IKEA frames. Use small, clear phrases on your images like “Hand drawn,” “Print at home,” or “Sized for 8×10 frames.”
You do not have to cram everything into one image. Spread the info across your 3 to 5 images so people can skim their way through the details without reading a long paragraph.
Sometimes people won't read the product listing at all so if you give it in the product description and the visual images, you increase the chances of connecting with your customers.
If this feels like a lot, keep it simple for your first product. One main mockup that shows the product in context, one image that shows what is included, and one image with quick benefit callouts is a solid start.
have you joined the art to income: create & Sell digital products facebook group?
If you’ve ever said, “I want to draw digitally, but I have no idea where to start,” this is your sign.
We learn Procreate tricks, share designs, celebrate tiny wins, and cheer each other on as we start selling what we make.
💕Join Us on Facebook✨
Bonus Tip: Test Your Workflow Before You Launch
Digital products can be a little sneaky. Everything might look perfect on your screen, but your buyer downloads it and suddenly the file does not open, the link is broken, or the instructions are confusing.
A quick test run can save your sanity.
Here is a simple way to test:
- Package your product exactly how you plan to deliver it. Zip file, PDF, download link, whatever you are using.
- Email it to a friend or family member who is not super techy.
- Ask them to open it on their device and tell you:
- Could they open everything?
- Were the instructions clear?
- Did anything feel confusing or missing?
Have them read your delivery documents like a real customer. If they get stuck, that is a good sign you need to tweak a sentence or add a screenshot.
Launching is not about being perfect, get it out there. The goal is not zero mistakes. The goal is to fix the obvious problems before you have a line of confused customers in your inbox.
Once someone else has tested the flow, hit publish. You can always improve the product later, but it cannot help anyone sitting in your “someday” folder.
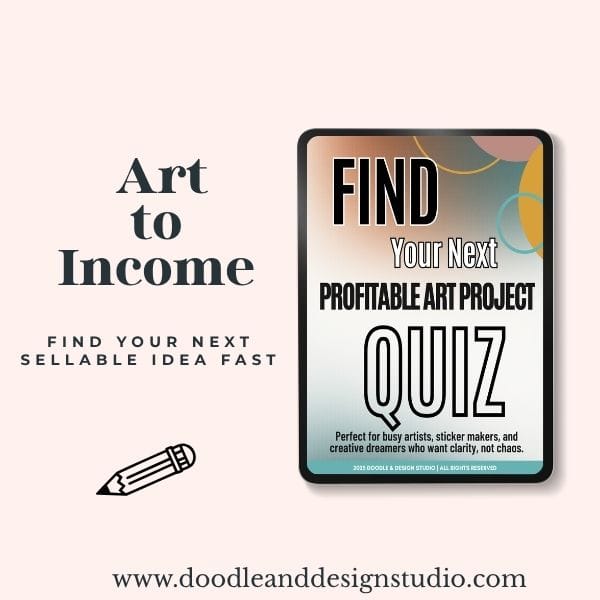
Free Resource: Quiz to Pick Your First or Next Digital Product
If your brain is currently doing the “I could make stickers or wall art or planners or brushes or literally anything” spiral, I made something to help.
I created a free quick quiz that takes just a couple of minutes. At the end, you get a beginner friendly product idea that fits your tools, time, and style.
Inside that result, you will also get a GPT prompt that helps you plan the actual product details. It suggests themes, colors, and other choices so you are not staring at a blank screen trying to make 37 decisions before you even start.
You can take the Pick Your First Product Quiz to get a clear starting point and stop playing “spin the bottle” with your product ideas.

FAQ: What to Do Before You Start Selling Digital Art
- Q: Do I really need to niche down for digital art? A: Yes — starting narrow helps you get seen, grow faster, and stand out with a memorable product line.
- Q: Can’t I just post and organize later? A: You can, but it leads to file chaos, missed edits, and slow updates. A system saves your brain.
- Q: What tools do I need for mockups? A: Free or paid mockup files from places like Canva, Placeit, you can even make mockups in Procreate or Photoshop, or your own styled photos work great.
- Q: Why test the product before launch? A: It catches delivery problems early and builds confidence. One quick test saves tons of customer confusion.
Key Takeaways
- You don’t need a massive shop to get started—just one product, done well.
- Focused prep makes you look pro, even if it’s your first listing.
- Systems beat hustle. Organized files, clear mockups, and niche ideas save time later.
- Testing with one non-techy friend can help you avoid inbox disasters.
- The Profitable Project Quiz gives you clarity and a creative head start.
Done Is Better Than Perfect
Before you list that first digital art product, remember these three things to set up your shop right for passive income:
- Pick a specific niche so people know what you are about.
- Set up a simple folder and naming system, plus a basic licensing agreement, so you do not lose your own work.
- Create mockups and messaging that show who your product is for with print-on-demand previews or products in action, that show who your product is for, what it does, and pricing that explains why it is special.
Then give your workflow a tiny test, fix any obvious issues, and launch. You can tweak, improve, and expand once your product is actually out inthe online store and helping real people.
If you want a little nudge on what to create first, start with the quiz, pick your product, and commit to making at least ten versions of it. Your future shop, your future income, and your future less-stressed self will all be very happy you did.

🎨 Art to Income Membership
Turn your doodles into dollars — one simple, sellable project at a time.
If you're staring at Procreate wondering how people go from drawing frogs in sweaters to actually selling stuff — you're not alone.
This membership helps you go from “where do I even start?” to having a finished product ready to list.
Each month you’ll get:
💖 One guided project to create and list a finished product
💖 Done-for-you assets to speed things up
💖 Trend + keyword ideas so you know what people are actually buying
💖 A supportive group of artists figuring it out right alongside you
💖 Listing and promo ideas so your art doesn’t just sit in a folder
You don’t need to be techy, trained, or totally “together” — just curious enough to try.
🧩 Want Help Putting All the Pieces Together?
If you're figuring out how to turn your art into income and wish there was a big-picture roadmap to follow — good news, there is.
👉 Read the Ultimate Guide to Making Money with Digital Art🎥 Prefer to learn by watching?
I’ve got a YouTube channel full of quick, no-pressure tutorials made for tired, creative souls like you.
Subscribe here and catch your next creativity boost, one sticker at a time.
Love and messy buns,
❤️
Cynthia McDonald
Helping women find creativity in the chaos — with stickers, stationery, and a little bit of fun
This post may contain affiliate links. I may earn a commission if you make a purchase at no extra cost to you.
Make sure and grab your favorite Pinterest Pin and Save it to your Digital Art Pinterest Board