Make Your Own Fall Composition Notebook Covers: The No-Perfection-Needed DIY
Everyone is obsessed with the viral trend of decorating back-to-school composition notebooks, and honestly, it's such a cute way to turn basic supplies into mood-boosting, totally-you statement pieces.

If you’ve ever scrolled through endless Pinterest boards stacked with hand-doodled covers and thought, “Could my artwork look that good slapped on a notebook?”
This is your nudge. I jumped in, grabbed some favorite designs, and gave the trend a go.
With some hand-drawn art, a stack of sticker paper, and zero plans for perfection, magic happens. (Or, at worst, chaos. But cute chaos.)
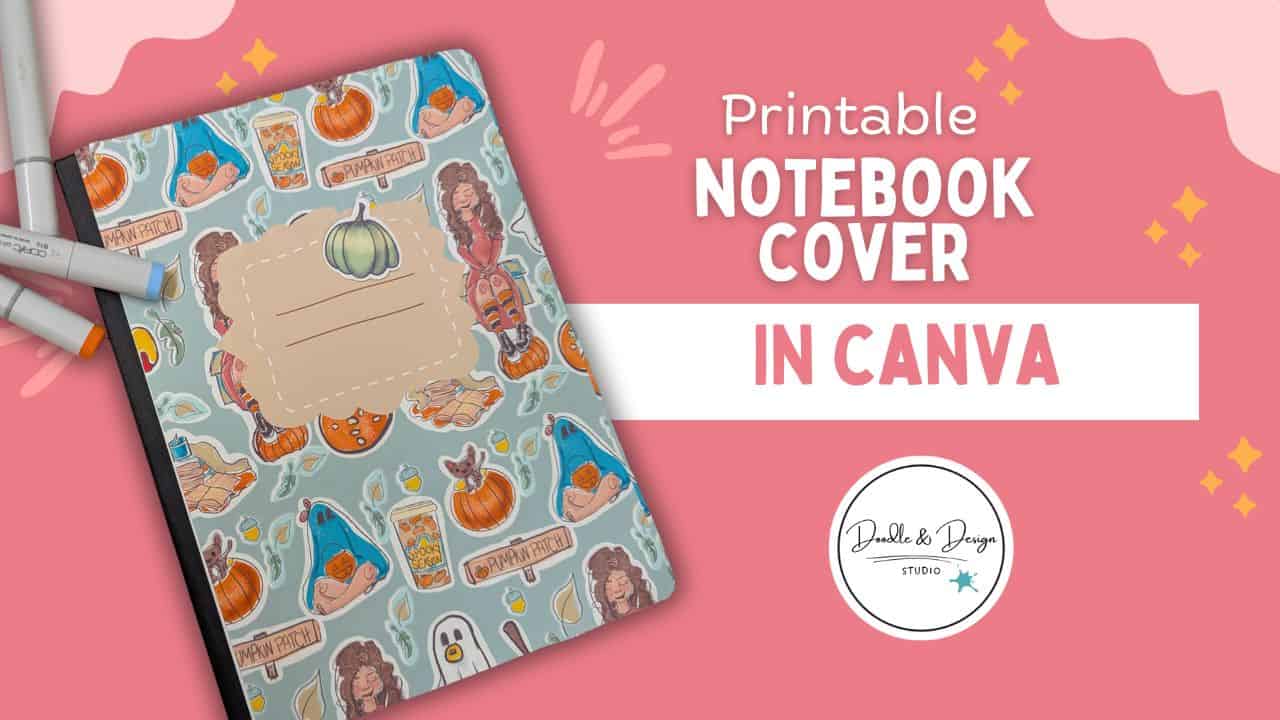
Table of Contents
Setting Up Your Design in Canva (aka The Organized Chaos Step)
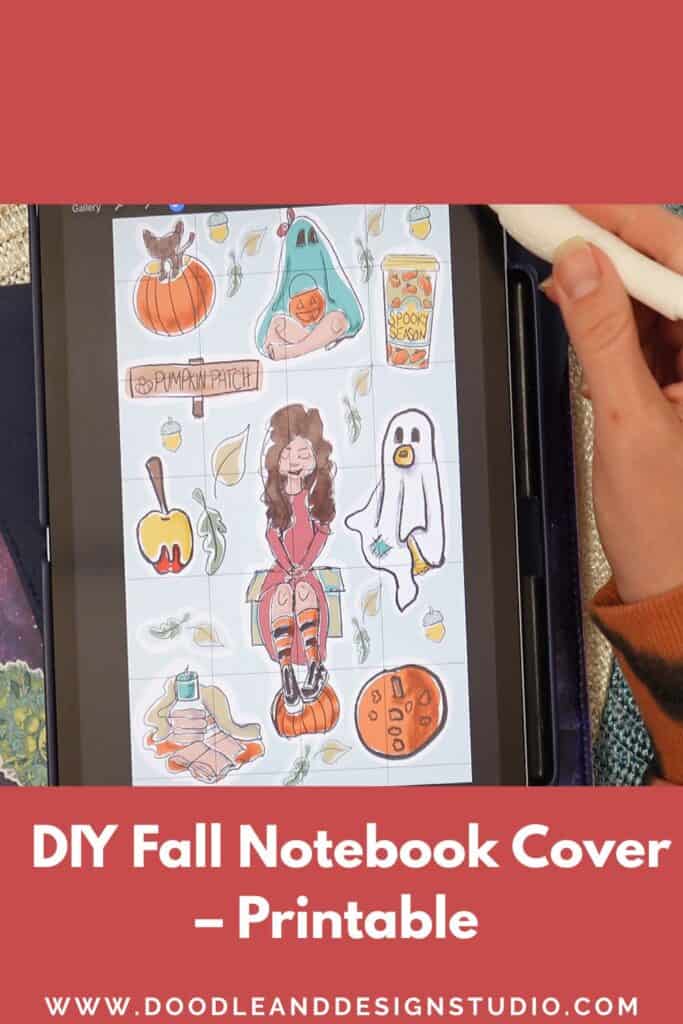
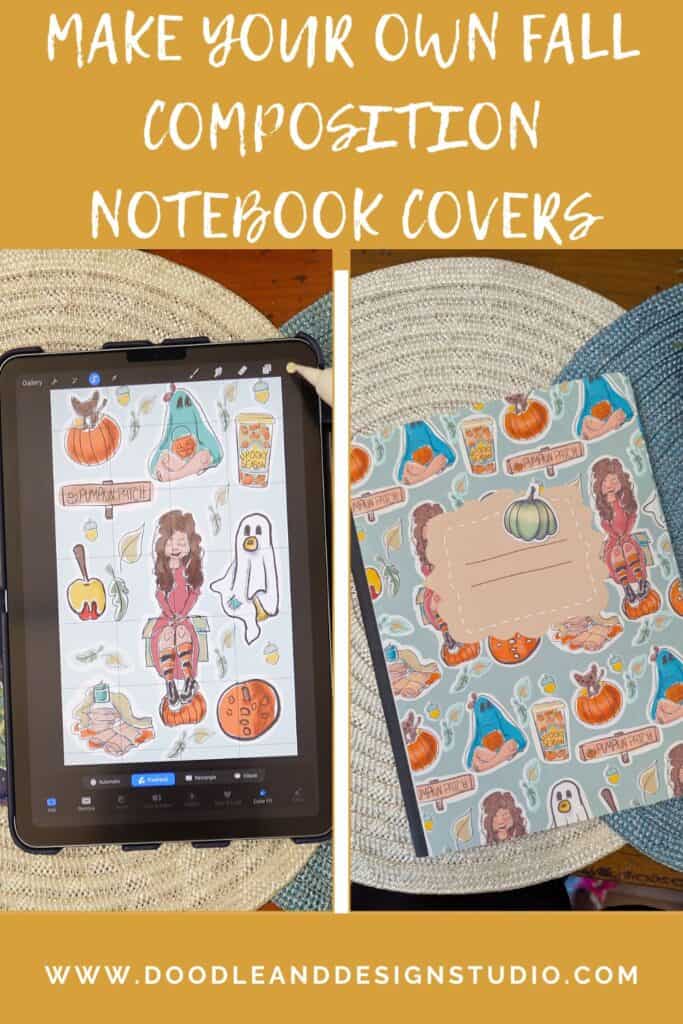
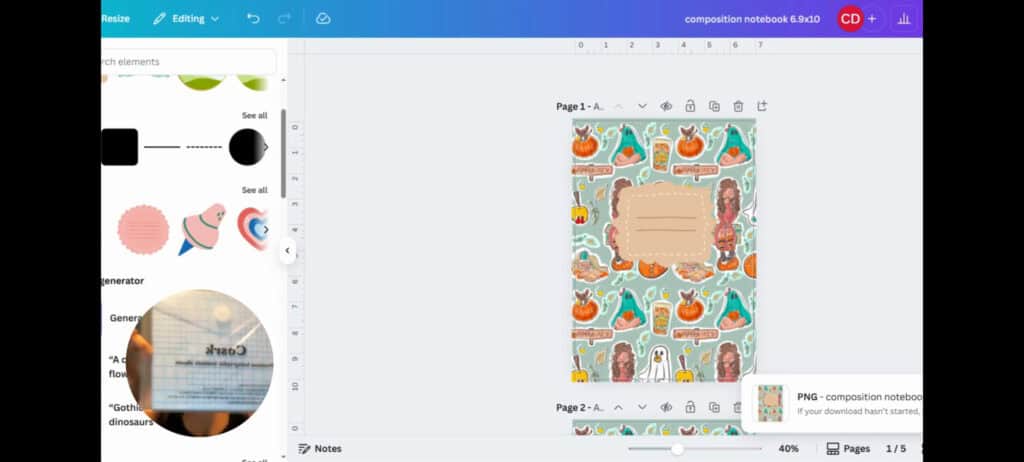
You’ll start in Canva. Go for a custom design.
- Click “Create a Design.”
- Select “Custom Size.”
- Switch pixels to inches.
- Type in 6.9 by 10 inches.
- Hit that create button and watch your blank canvas appear.
Uploading Your Hand-Drawn Art
Time to bring your art in. Drag in those PNG or JPEG files of your hand-drawn masterpieces. If you’re like me and have a million uploads, it might take a minute.
Pro tip: transparent PNGs are great, especially if you’re into sticker sheets or want your backgrounds to shine.
Getting Those Designs onto the Notebook Template
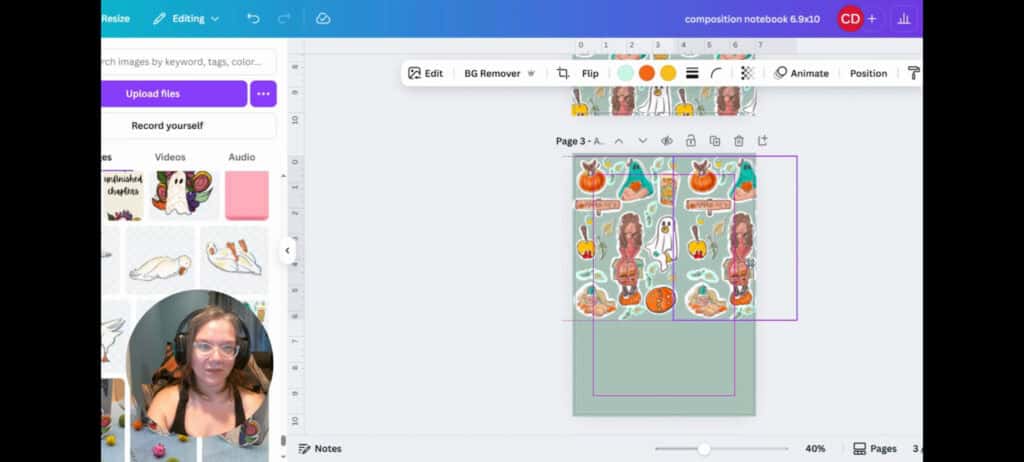
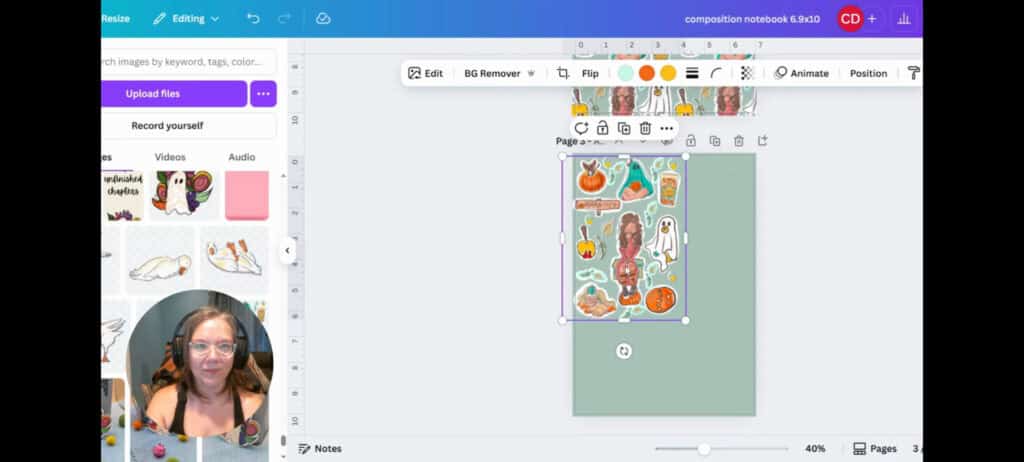
Let’s make it less blank. Add a background color (or not, live your life), copy over your illustrations and start placing them wherever your heart wants.
No fancy “seamless pattern files” needed here. Just copy-paste, nudge them around, and group stuff together till it looks right to you. I copied and pasted so my images didn't get distorted from dragging them around.
Grouping = sanity saver. If you find leaves trying to touch each other in awkward ways, adjust until it feels less like a plant wrestling match.
Once you group your items, you can move them all at the same time! It's a great time saver.
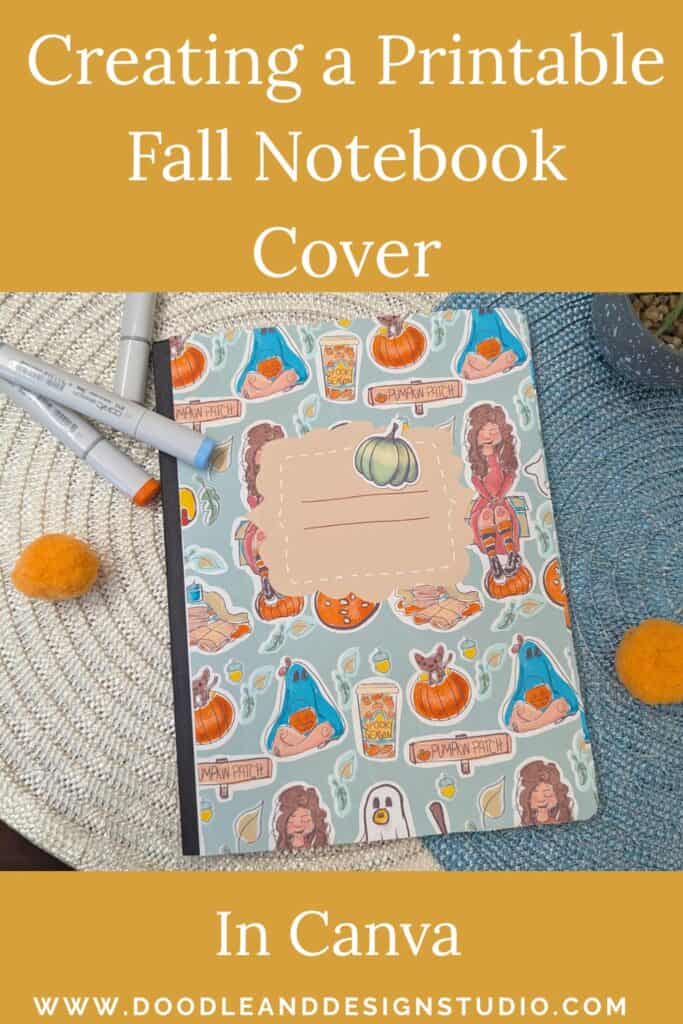
Adding That Classic Notebook Label
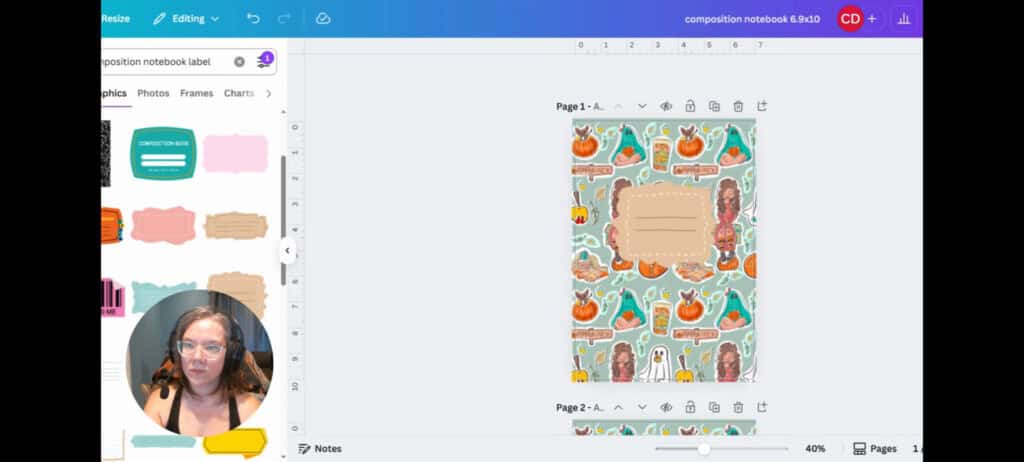
Give your cover that official vibe by searching Canva’s elements for “composition notebook label.”
Filter for free labels only; copyright drama is for someone else.
I tried generating one with the embedded AI tool and, honestly, could’ve grown a pumpkin before it loaded. The pre-made label won, and I have zero regrets.
Always check those Canva terms and try to avoid anything labeled “pro” to save yourself headache later.
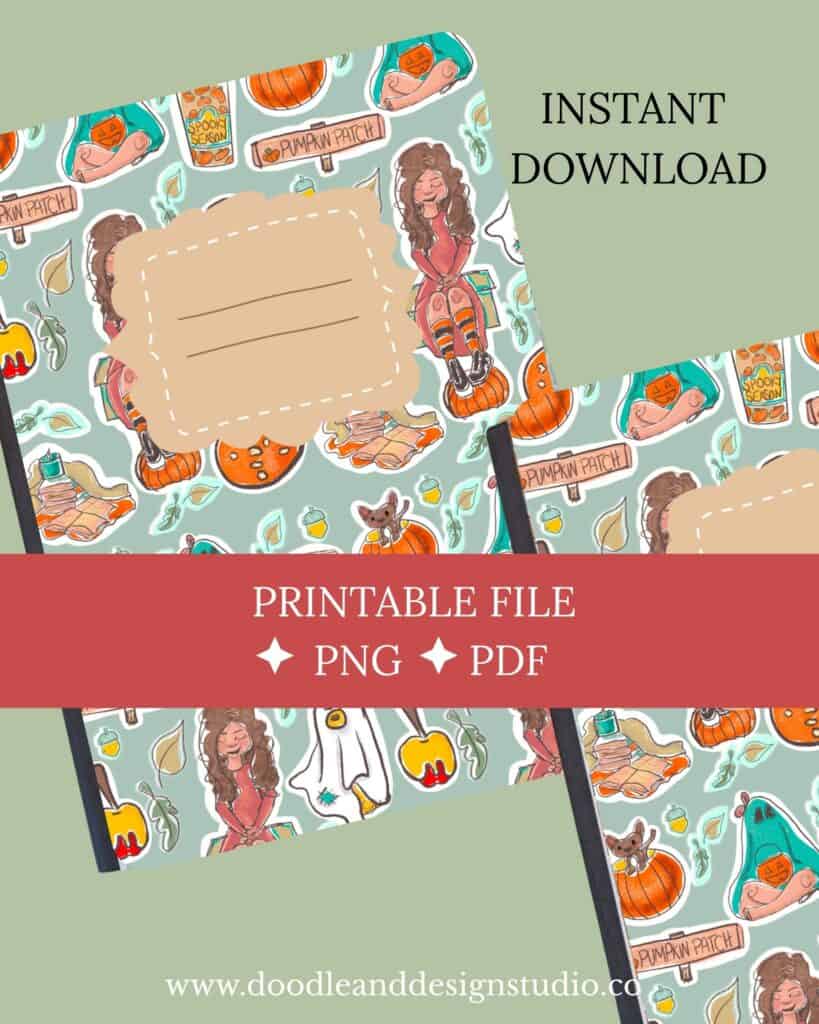
Inspiration: Sample Notebook Cover Designs

Feeling stuck? Here’s what I used for my trial-and-error parade:
- A fall harvest sticker sheet (hello pumpkins and leaves)
- A witch season print because, duh, spooky season
- Ducks that are about to waddle into the shop
- Adorable crabs that started as bookmark sketches
All these started as hand-drawn elements, then got multiplied and moved around to make their own “pattern.” Imperfect? Obviously. But charming.
If you are wondering how to start drawing and creating in Procreate head on over to Procreate Beginner Guide for Stickers That Slap. Yes, it is about stickers, but drawing in Procreate will be the same across the articles!
Speaking of imperfect, since we aren't using a seamless pattern in this quick tutorial, you need to zoom in and check for those pesky seams!
I didn't zoom far enough, and sadly, my little crabby crabs didn't make it out unscathed.
Does anyone else now have the song from the Ms.Rachel episode stuck in their head?
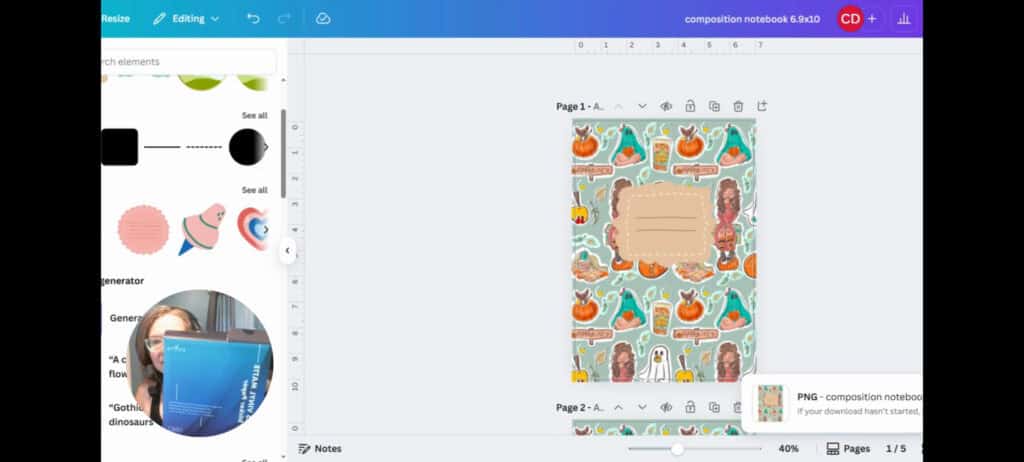
Download Your Notebook Cover the Right Way
When you’re done arranging, click “Share,” then download as PNG. Keep the default quality settings, don’t let your finger wander to any weird sliders.
You can also download as a Pdf print if your printer decides not to play nice with PNGs.
Downloaded files usually drop straight in your computer’s downloads folder. If Canva gives you a zipped file, right click to extract. Easy.
Printing: Let’s Talk Files and Paper
Here’s where it gets real. My Canva PNG gave me grief, so I switched to a PDF for more accurate printing.
Matte sticker paper rocks, but regular paper and a glue stick are fine in a pinch. You might have some transparency issues though, you will have to try it out and see.
Before printing, tick these off:
- Don’t print “fit to page” or “fit to screen.”
- Select best quality or 300 dpi in printer settings.
- Print on the correct side of sticker paper.
- Double check your paper type setting.
If your printer is being a diva, test both PNG and PDF just to see what works best with your setup.
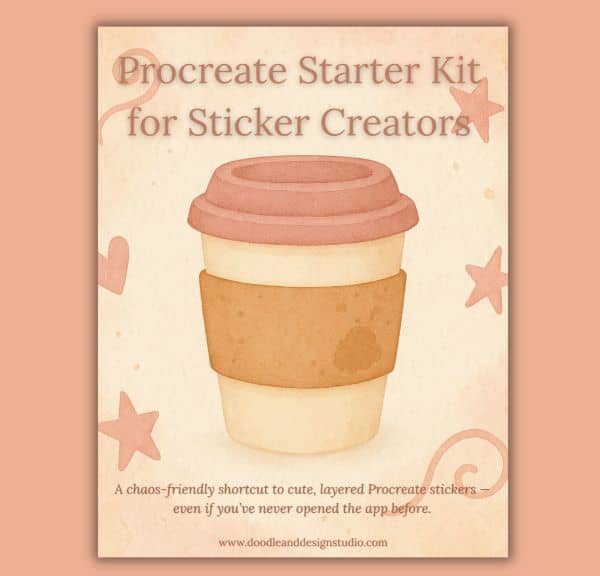
A chaos-friendly shortcut to cute, layered Procreate stickers — even if you’ve never opened the app before.
I created this kit because when I opened Procreate the first time, I had no clue what to tap, layer, or brush. If that’s you, you’re not behind — you’re just beginning. Let’s make it easy and fun.
Grab your starter file, brushes & layer guide. Let’s make stickers!
Troubleshooting
Listen, if you haven’t printed on the wrong side of sticker paper, are you even DIY-ing? I’ve lost count of how many times I checked, double checked, then still printed on the back of the sticker paper…like how?
Also, sometimes custom sizes just won’t print unless you use PDF.
If your design overhangs the notebook, trim it after. Not ideal, but it happens.
Biggest mistakes:
- Printing on the wrong side = sad stickers, messy hands.
- Choosing the wrong file type = things come out weirdly sized.
- Forgetting to adjust printer settings = wonky printouts.
The Don’t-Skip Steps for Cutting and Sticking
Here’s the thing: do not peel the backing until you’ve cut the sticker down to size. If you ignore this advice, enjoy endless frustration.
Grab an Xacto knife and some tweezers for any tiny pieces. Measure twice, cut once. Or, if you’re like me, cut seventeen times and hope for the best.
Remember: cut first, peel after. Or you will end up with a sticky mess you are trying to cut through!
To Laminate or Not:
You can use glossy or matte laminate sheets to protect your cover. I prefer matte for that low-key, muted vibe and no glare in class.
One tip: if you want to write on your cover, DO IT BEFORE you laminate. Markers won’t work on laminate sheets.
Test Prints and Adjustments: Messy is Normal
Don’t expect the first try to be perfect. My first was off by a smidge, my second had overlap, my third…well, you get it.
Use your first print as a mock-up. Mess it up with no guilt. Adjust as needed. That’s progress.
Test before committing. No one gets it right immediately, and that’s fine. Don't be like me, buy a few extra notebooks!
How to Use Your Printable Covers (Besides Just Looking Cute)
- Spruce up your kids’ school stuff
- Personalize homeschool materials
- Make and sell printables on Etsy for a little side hustle
- Teachers, make subject-specific covers for your classroom
- Just make yourself smile every time you pull out your notebook
Picking the Best Supplies: Real Life Tips
- Matte sticker paper: Smooth, no glare, easy to write on, pretty forgiving
- Glossy sticker paper: Shiny, not ideal for writing, can look pro if that’s your style
- Card stock: Try it out and let me know
- Laminating sheets: Optional, protects from water, definitely use if it’s for a kid who spills
- x-acto knife for those easy to cut edgjes
- cutting mat, so you don't ruin your counters with that x-acto knife
Permission to Be You: You Don’t Need Perfection
It’s not about getting it right the first (or fifth) time.
The trick is to roll with the mess, laugh at yourself, and try again.
Your art deserves to be seen, even if it isn’t flawless. Keep at it.
Where to Get Designs & Freebies
Want to snag some of my hand-drawn covers for instant download?
Check out the printable composition notebook cover on Etsy — fall vibes included. If you want to see what else is available in this cutie pattern, check out Fall Harvest Sticker Design: Behind the Scenes + Inspiration
If you want to try making your own designs, the Procreate Starter Kit Essentials is free and sweet for beginners.
Seriously, download it and play around if you want your doodles to become digital art in no time.
Making your own notebook covers is about having fun, not chasing perfect results. Whether you want something personal or plan to turn your art into digital products (psst, learn about that journey in Why I Chose Digital Art) you’ll find it’s worth jumping in, even when things feel messy or overwhelming.
Creativity is allowed to be chaotic. Messy even. But that’s what makes your work yours. Go make something that makes you grin every time you see it on your desk.
🎥 Prefer to learn by watching?
I’ve got a YouTube channel full of quick, no-pressure tutorials made for tired, creative souls like you.
Subscribe here and catch your next creativity boost, one sticker at a time.
Love and messy buns,
❤️
Cynthia McDonald
Helping women find creativity in the chaos — with stickers, stationery, and a little bit of fun
Make sure and grab your favorite Pinterest Pin and Save it to your Digital Art Pinterest Board