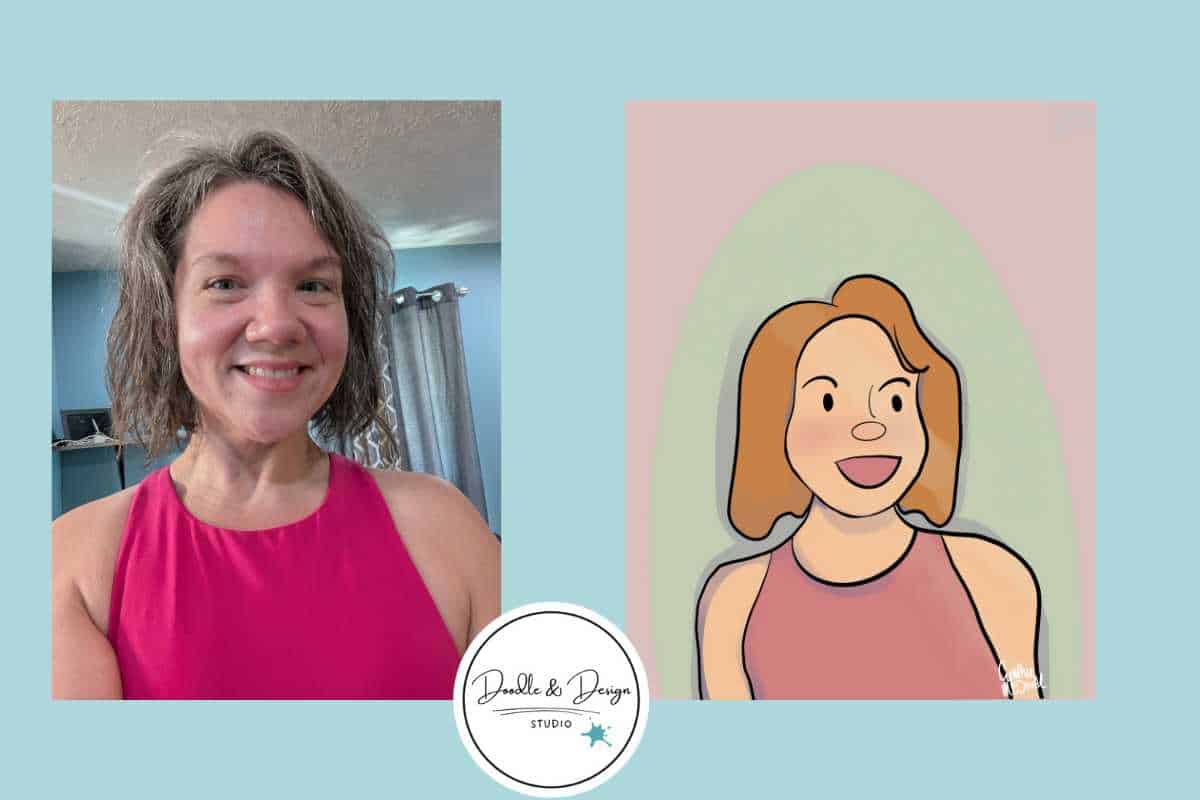
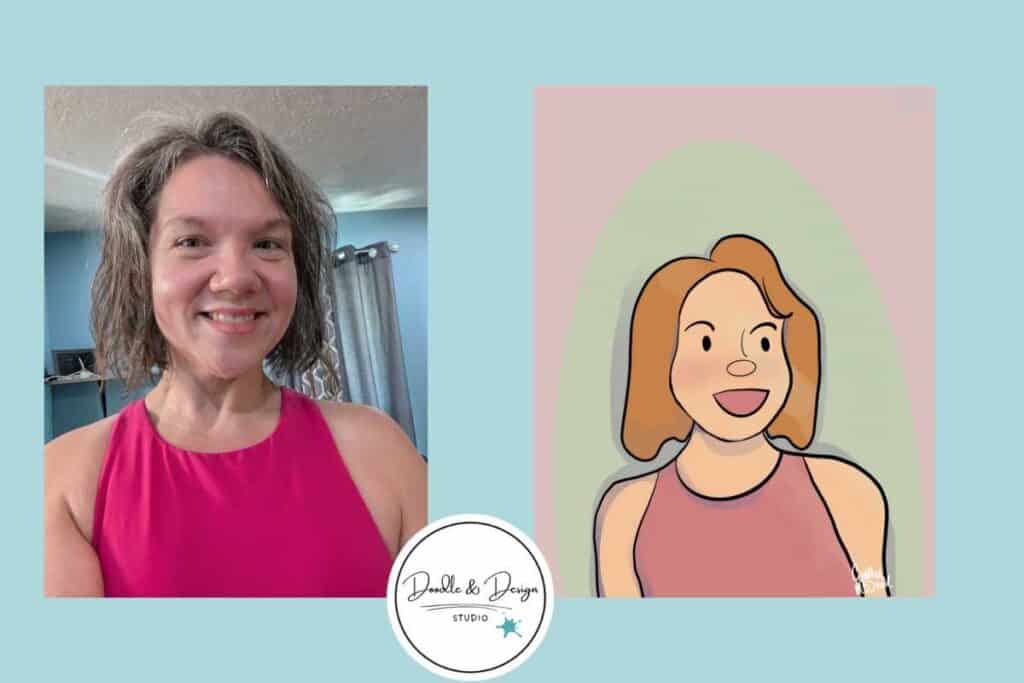
Photo to Cartoon Glow Up, Turn Your Selfie Into a Sellable Portrait
Want to turn selfies into sellable cartoon portraits — fast? Whether you're an artist building your Etsy shop or just exploring digital products, this tutorial shows you how to create clean, cute cartoon art in under 20 minutes using Procreate (or any drawing app with layers). No advanced skills needed.
One of the biggest hurdles for beginner artists is figuring out how to turn art into income, especially when you’re starting from scratch.
If you want to dip your toes into digital products, commissions, or sellable cartoon portraits without getting overwhelmed, you’re in the right place.
Let’s go from selfie to cartoon glow-up, one cute portrait at a time.
🎥 Watch the full tutorial here: Photo to Cartoon Glow-Up
Helpful Resources Before You Start
- 🖌️ Download the Free Procreate Starter Kit (brushes + layered sticker file)
- 💡 Read: Digital Products Artists Can Sell for Income
- 🎁 Psst — A new membership for artists is coming Black Friday. Keep your eyes here for early bird access!
Table of Contents
Getting Started with Your Tools and Canvas
Why Procreate Works for This, and Alternatives
Procreate with Apple Pencil is the setup here, but any app with layers will do, like Photoshop, Clip Studio, or Krita.
The secret is layers. Keep them organized, and you make clean edits fast.
Choosing the Right Canvas Size
This really is a personal choice. 8×10 is a common portrait size. In this project I went a bit bigger and used an 11 by 14 inch canvas.
It is big enough for sharp large prints. You can go bigger or smaller. Make sure you always select 300 DPI for hight quality.
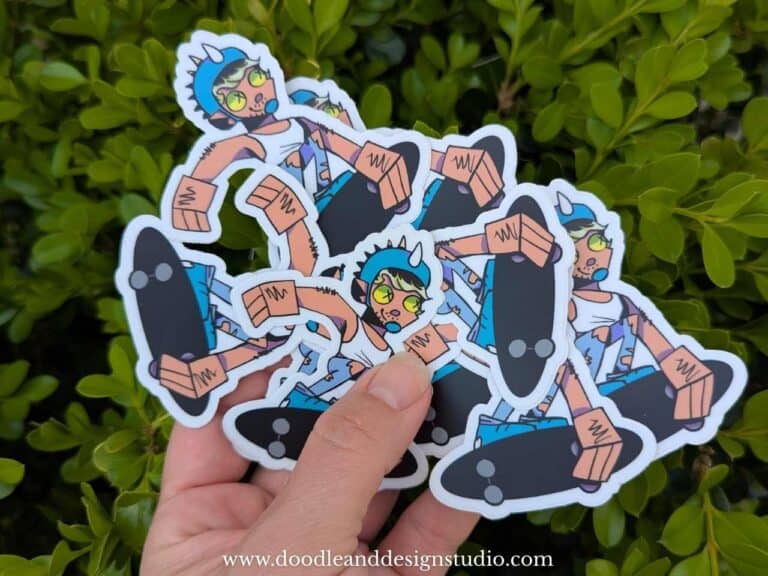
If you are interested in turning your portraits into stickers, check out this post for Best Canvas Size for Procreate Stickers (Beginner Guide).
Some things to condiser when choosing canvas size:
- how much can your iPad handle
- what is the plan for the portraits end use (card, frame, will it live online forever?)
- Consider adding custom size requests add on to your price list
Preparing Your Selfie for Import

What to Ask Clients for Photos
Ask clients for a headshot that includes the head and shoulders. You can crop just under the shoulders or include the shoulders in full. Keeping the frame tight makes the style clean.
Group shots should be mostly front facing and you can crop them at the shoulders/bust area after you receive them.
If you are going to offer animal cartoon portraits just ask them to do the best they can, those little critters don't like to sit real still!
Importing and Resizing the Photo
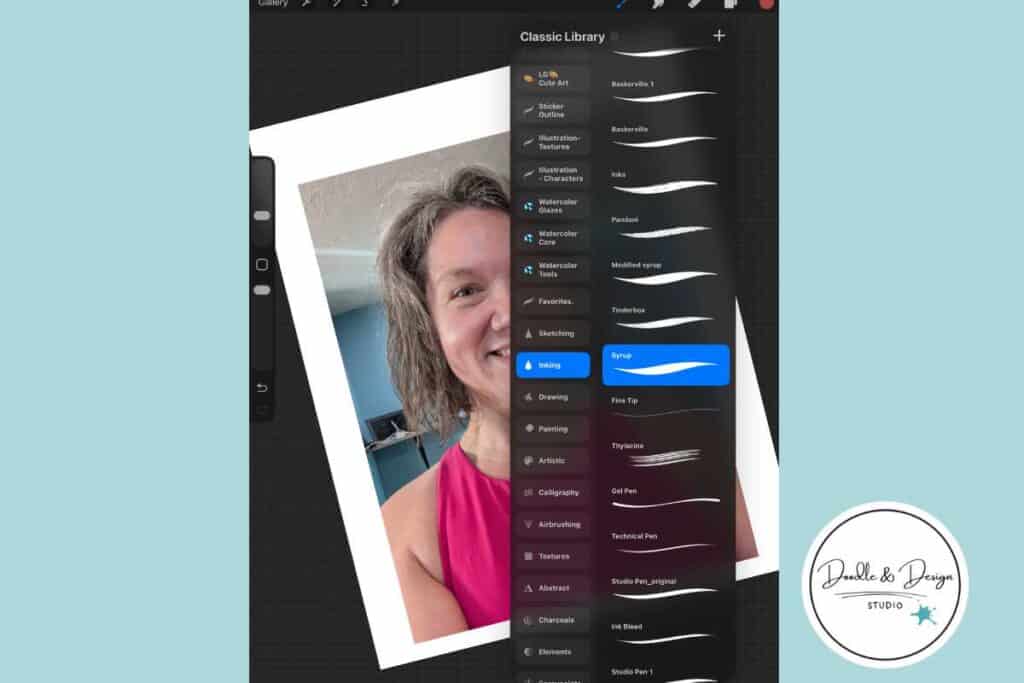
In Procreate, tap the wrench icon, Add, Insert a photo from Files or Photos. Zoom out, scale the image to fill the canvas for the best quality later.
This means your image takes up the majority of the space. No huge canvas, with tiny people later!
Resizing Stickers in Procreate: The Busy Mom’s Guide to Sanity, Success, and Not Losing It is a great read for learning how to use the transform, select tool and keep your artwork from getting blurry.
It is geared at stickers but the same principals apply for any artwork you are creating in Procreate.
Setting Up Layers for Tracing

Adjusting Photo Layer Settings
Set the photo layer to Multiply. Lower the opacity so you can see it, start out with 40 % and adjust from there.
Softening the Background for Better Color Work
Change the canvas background to a soft color other than white. Bright white lies about color.
Bright white can make your tones look wrong. So to save yourself some headache just start with another color. This will keep you from forgetting to add in of your whites as well!
Creating Your Sketch Layer
Picking the Right Brush for Quick Sketching
Add a new layer above the photo. Use an inking brush like Syrup so you skip messy sketch cleanup later.
Pick a bright color for visibility, but avoid matching colors in the photo. If the shirt is hot pink, maybe do your sketch in red or purple.
Building a Simple Color Palette
Make a tiny palette with only what you need. Think three to five skin tones that you regular rotate through , two base outfit colors per person in potrait, one shadow color, and one highlight.
Keep it simple so you work fast. Try purple for shadows, light yellow for highlights, a mid skin tone, and a natural hair color.
- Skin tone range, three to five
- Outfit base, two per person
- Shadow color, one
- Highlight color, one
- Hair color, one
Sketching the Basic Shapes

Blocking Out the Head and Body
Trace with intention and a bit of exaggeration. Start with the head, then the neck and shoulders, lock the clothing shape, then hair.
Use a larger brush for the big shapes. The simpler and more basic the shapes the more cute and cartoony your portrait will look.
Adding Facial Features with Style
Switch to a smaller brush for features. Brows should follow the person's natural brow bone. Dot eyes are clean and cute. Test styles, keep what works. I tried other eyes and still liked dots best.
Refining to Clean Line Art

Creating the Outline Layer
Add a new layer for line art. Turn off the photo, lower the sketch opacity, you can start at 40% again.
Now you make a stylistic choice for your outlines. Bold black? Do you want them to blend in with the portrait?
I used bold black with the Syrup brush for my final lines. Remember to connect every edge so color drops behave and make your work quicker. We are aiming for a streamlined process so efficiency matters.

Varying Line Weight and Cleaning Up
Decide if you want consistent or varied line weight. Aim for smooth strokes.
Zoom in and clean up overlaps. Use a smaller brush for face details. Turn off the sketch and check your edges.
- Remove extra marks
- Connect edges for clean fills
- Smooth wobbly curves, unless its part of your style of course

Filling in Base Colors
Set your line art to Reference. Add a new layer under it for color fills. Dropping in Flat Colors Quickly.
Drop in skin, hair, and outfit colors from your palette.
Use a soft brush to add cheeks if that fits your vibe. That is a choice, and yes, it can be adorable.
Adding Shadows for Depth

Add a layer under your flats for shadows. Pick the hard airbrush. Choose a light direction and stick to it.
Applying Simple Shadows
Add shadows under the chin, at the hair base, and along the shoulder edge.
Grayish-Purple works well for soft cartoon shadows. Adjust layer opacity to control contrast.
Common Shadow Areas
- Under chin
- Hairline and hair base
- Shoulder and collar edges

Grab the quiz and find your next art-to-income idea.
I created this quiz to help busy creatives cut through the noise, find focus fast, and feel confident about what to make next.
Highlighting for a Glow Effect
Add a new layer above the color flats. Pick a light yellow or your favorite highlight color.
Placing Highlights Thoughtfully
Paint where light would land. Top of the head, cheeks, and a few hair streaks. Build slowly. This color builds up nicely.
Blending and Adjusting Layers

Testing Blend Modes
Test blend modes on shadows and highlights. Playing with the different layer blend modes can lead to some really fun effects!
Pay attention as you scroll some modes will completely wipe out shadows/highlights.
Smudging for Natural Look
Use Smudge with low opacity, small circles, and very gentle pressure. Over smudging can take away all your design choices so take it easy.
Lightly soften harsh lines where they look odd or super digital. Gentle blending makes it natural, unless you want hard edges.
Sharpening Edges with Eraser
You can use the hard airbrush eraser to bring back a clean edge on the neck, shoulder, or shirt. Light, simple, done. Want to learn even more about the eraser tool be sure and read Eraser Tool Tips for Procreate Stickers (That Even Exhausted Moms Can Master) .

🎨 Art to Income Membership
Turn your doodles into dollars — one simple, sellable project at a time.
If you're staring at Procreate wondering how people go from drawing frogs in sweaters to actually selling stuff — you're not alone.
This membership helps you go from “where do I even start?” to having a finished product ready to list.
Each month you’ll get:
💖 One guided project to create and list a finished product
💖 Done-for-you assets to speed things up
💖 Trend + keyword ideas so you know what people are actually buying
💖 A supportive group of artists figuring it out right alongside you
💖 Listing and promo ideas so your art doesn’t just sit in a folder
You don’t need to be techy, trained, or totally “together” — just curious enough to try.
Resizing and Final Positioning
Scaling Down the Portrait
Select your line, color, shadow, and highlight layers. Basically, select all the layers you are still using.
You can group them together so you can easily use the transform tool to move everything around. Scale down slightly to give your art breathing room.
You can also use this feature if you need to add multiple people, pets, and background objects.
Adding a Simple Background

Add a layer under the group. Draw a simple shape that frames the figure. Circles, squares, abstract shapes are all great choices. Set it as a reference if you plan to fill parts. Color in your background.
Enhancing Background with Blend Modes
Try Lighten, Hard Light, Vivid, or Hue. Hue looked nice in my custom cartoon portrait. Normal is always safe but you can definetly find some fun effects!
- Hue, gentle color shift that keeps detail
- Hard Light, bold if you want punch
- Avoid modes that wipe out shadows
Optional Enhancements for Sellable Style

Adding Outlines or Textures
Add a thicker outer outline if the figure blends into the background. Test a texture stamp or a soft pattern layer. If it fights the portrait, skip it.
- Texture stamps
- Pattern on the shirt
- Subtle grain
Incorporating Accessories or Limits
Offer small add ons like glasses or earrings. Maybe a banner with the family's last name. Limit choices to keep your workflow calm. Pick a signature style and own it.
Wrapping Up Your Workflow

Export Tips
Your 11 by 14 setup is already print friendly. Export high quality PNG or JPG.
Making It Sellable
Batch this process. Time yourself. Aim for 20 minutes per person. This may take awhile but once you get a process down aim for 20 minutes each! Sell on Etsy, Instagram, or your site. For more ideas on what to sell, read Digital Products Artists Can Sell for Income.
You have got this. Keep it simple, keep it cute, keep it repeatable. Try it tonight, one selfie, one clean cartoon, and share your sellable portrait wins in the comments.
have you joined the art to income: create & Sell digital products facebook group?
If you’ve ever said, “I want to draw digitally, but I have no idea where to start,” this is your sign.
We learn Procreate tricks, share designs, celebrate tiny wins, and cheer each other on as we start selling what we make.
💕Join Us on Facebook✨
🧩 Want Help Putting All the Pieces Together?
If you're figuring out how to turn your art into income and wish there was a big-picture roadmap to follow — good news, there is.
👉 Read the Ultimate Guide to Making Money with Digital Art🎥 Prefer to learn by watching?
I’ve got a YouTube channel full of quick, no-pressure tutorials made for tired, creative souls like you.
Subscribe here and catch your next creativity boost, one sticker at a time.
Love and messy buns,
❤️
Cynthia McDonald
Helping women find creativity in the chaos — with stickers, stationery, and a little bit of fun