How to Create Stunning Bookmarks with Stickers for Fun and Personal Flair

There’s something so satisfying about making something that’s truly your own, isn’t there?
Custom bookmarks with stickers are the perfect DIY project for anyone who loves to add a personal touch to their hobbies or their reading time.
This fun and approachable craft offers endless creative possibilities.
Whether you’re designing bookmarks for yourself, surprising a friend with a thoughtful gift, or involving kids in a hands-on activity, this project is sure to inspire.
Table of Contents

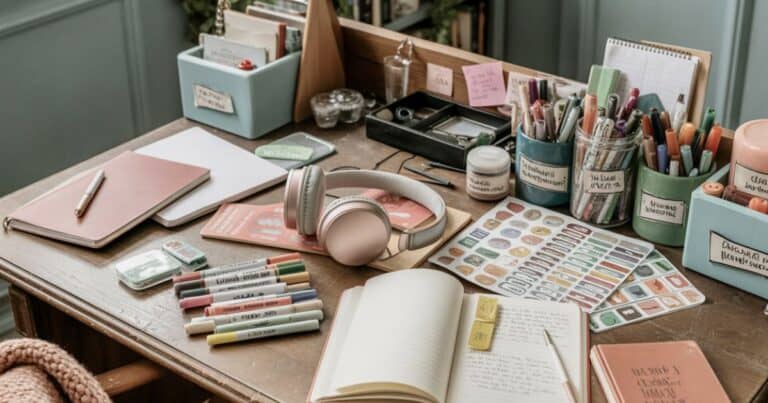
Materials You'll Need to Make Bookmarks with Stickers
Before diving into crafting your own bookmarks with stickers, you'll want to gather the right materials.
Having the right tools and supplies on hand not only keeps things organized but also ensures a smooth and enjoyable crafting experience.
This section will guide you through everything you need for this fun DIY project.
Essential Supplies for Your Base
The base of your bookmark is what holds it all together. You’ll need sturdy yet flexible materials to ensure long-lasting bookmarks. Here are some great choices:
- Cardstock or Scrapbook Paper: These are excellent options for a sturdy yet lightweight base. They come in various colors and patterns, so you can easily match your stickers to the theme.
- Craft Foam: Want a slightly thicker bookmark? Craft foam is durable and adds a tactile layer to your project.
- Laminate Sheets or Contact Paper: These are optional but fantastic for protecting your bookmark and giving it a polished, professional look.
Must-Have Tools and Adhesives
You don’t need a ton of complicated tools for this project, but a few essentials will make your process much smoother:
- Scissors or a Utility Knife: For precise cutting of your bookmark base and trimming stickers.
- Glue Stick: A simple, mess-free option for securing paper layers.
- Ruler: To ensure straight edges and consistent measurements.
- Hole Punch (Optional): If you plan to add tassels or ribbon details, a single-hole punch is a useful tool.
Having these on hand means you’re prepared to create a neat, polished bookmark with minimal frustration.
If you need some extra ideas, my YouTube channel offers plenty of inspiration to spark your creativity!
If you are interested in more information on sticker collections, be sure and check out our sticker collections article.

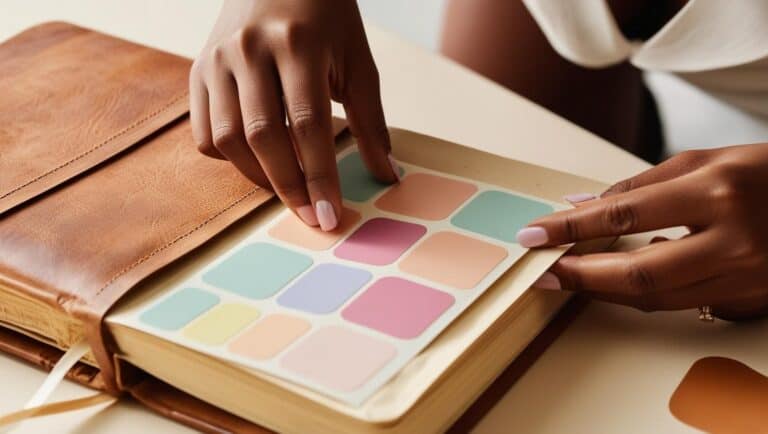
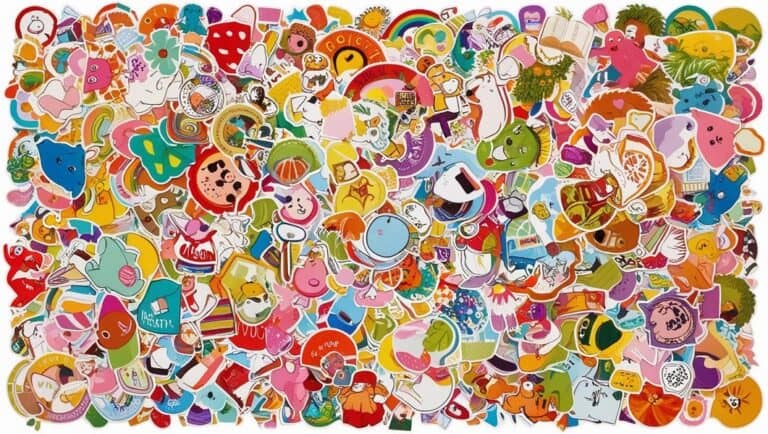
Stickers (The Star of the Show!)
Of course, stickers are the highlight of this project. The possibilities are endless! Pick stickers that match your style or the purpose of the bookmark. Here are some ideas:
- Nature Themes: Think flowers, leaves, and butterflies. These work great as thoughtful gifts for readers who enjoy the outdoors.
- Pop Culture Icons: Movies, TV, or book-themed stickers add a personal touch and make excellent conversation starters.
- Washi Stickers: These semi-transparent designs are incredibly versatile and create a layered, textured effect.
Be sure and check out our Doodle and Design Shop if you need some cute and unique stickers to decorate your bookmark!
Optional Details to Elevate Your Bookmarks
Small details can make your bookmarks feel extra special. Here’s what you can include:
- Ribbon or Tassels: Looped through a punched hole, these add charm and a functional way to mark your page.
- Glitter or Rhinestones: Perfect for anyone who loves a little sparkle.
- Fabric Scraps: Adding fabric elements can make your bookmark unique and add texture.
- Clear Coating Spray: For protection and a glossy finish, clear spray adhesive works wonders.
And if you’re feeling adventurous, try using a Cricut machine to design intricate shapes or cutouts for your bookmarks.
Gathering these materials ahead of time helps you ensure that your crafting session is worry-free and as fun as possible. You're now equipped and ready to let your creativity shine!
Grab some free self-care journal stickers or some tiny habit tracker stickers to bump up your sticker stash!
Step-by-Step Guide to Creating Custom Bookmarks
Making your own custom bookmarks with stickers is a creative activity that combines practicality with personal expression.
Whether you’re an avid reader, a thoughtful gift-giver, or just someone who loves to dabble in crafts, this project is for you.
Below, you’ll find step-by-step ideas to help you design and build a bookmark that’s both functional and visually stunning.

Designing Your Bookmark
Before any cutting or decorating begins, take a moment to brainstorm your ideas.
Sketching your bookmark design allows you to visualize the final product and fine-tune your theme. Want drawing tips?
Check out our Procreate Beginner Guide for Stickers That Slap you will find sticker designing tutorials for drawing on Procreate.
You'll follow the same steps for drawing on paper!
Cohesion is key, and choosing a consistent sticker theme is an easy way to make your bookmark look professionally crafted. For example:
- Go for floral designs if you’re creating an elegant bookmark that feels timeless.
- For kids, animal stickers can add fun and whimsy.
- Prefer something quirky? Explore abstract patterns to give your bookmark a bold, creative flair.
Sketch out a few options and ask yourself: What makes this bookmark unique? What story does it tell?
This will help you stay on track with your design goals. Visualizing your ideas first is a lot like having a map before a road trip necessary and rewarding.
Cutting and Shaping the Bookmark
Once you’ve settled on a design, it’s time to cut your cardstock to bookmark size.
The standard dimensions for a bookmark are usually around 6 x 2 inches, but don’t feel boxed in by tradition.
You can try out unique shapes like circular bookmarks or scalloped edges for something different. Here are some tips to keep your edges tidy:
- Use a ruler and pencil for straight, precise lines before cutting.
- Opt for scissors with smooth blades for clean edges.
- For intricate shapes, a craft knife and cutting mat work wonders.
If your edges turn out slightly uneven, no need to stress a little trimming can fix it in no time.

Decorating with Stickers
Here’s the fun part: decorating your bookmark! Your sticker placement can make or break the design, so think about how each piece works together. For maximum effect, try these ideas:
- Layer Stickers: Create depth by overlapping stickers slightly. This works well with flat elements like washi stickers or thin designs.
- Build Patterns: Stickers can form stripes, polka dots, or other simple patterns that look polished and intentional.
- Add Words or Personalization: Use sticker letters to spell out your name, favorite quote, or a phrase that makes you smile.
Mix and match your stickers until you’re happy with the look.
Don’t be afraid to shuffle things around, stickers can be repositioned carefully when they’re fresh.
Decorating is where your bookmark truly comes to life, so experiment with layers and layouts that make it uniquely yours.

Creative Variations for Bookmarks with Stickers
Adding a creative twist to your bookmarks can make reading even more enjoyable.
Stickers are a versatile medium that allows you to experiment with different designs, textures, and themes.
Layering Stickers for Depth
One of the simplest and most stunning ways to customize your bookmark is by layering stickers.
This technique adds a fun, textured feel to your design, almost like creating a mini art collage.
Begin with larger stickers as your base, and layer smaller designs over the top to create balance and intrigue.
If you're working with semi-transparent washi stickers, the overlapping areas will subtly blend, adding texture without crowding your canvas.
If you're new to layering, you might find it helpful to look at some examples for a better sense of how elements can complement each other. Check out this Pinterest board of creative sticker bookmark ideas for inspiration.

Using Stickers to Build Themes
Stickers are the perfect tool to establish a theme for your bookmark.
Here's why: themes instantly set the mood for your project. And the possibilities? Endless! Let’s break it down into some fun ideas:
- Nature Lovers: Pick floral or animal stickers to craft a seasonal bookmark—think blossoms for spring or cozy foxes for fall.
- Bold Typography: Use leftover letter stickers to spell out meaningful words like “Read,” “Believe,” or even a favorite quote from a book.
- Pop Culture Fanatics: Assemble your favorite characters or icons from movies, comics, or TV shows. This makes for a bookmark truly tailored to your interests.
By sticking to a theme, everything will flow together visually, resulting in a finished product that feels cohesive and professional.
Want 26 free self-care stickers to use in your designs? Just sign up for our newsletter below, and we will send it right over to your inbox!

Experimenting with Surfaces
Bookmarks don’t have to be flat! By mixing up your materials, you can take bookmarks to the next level.
For example, stickers on craft foam or felt can make your bookmarks not only visually unique but also tactilely interesting.
Adding a few fabric-based or textured stickers can be a great twist to really make your creation stand out.
And if you’re in the mood for something daring, consider making a sticker-based laminate bookmark with vintage elements.
Laminating can both protect and elevate your design composition, giving it a polished finish. This is an excellent idea for creating bookmarks as gifts.
Combining Stickers with Other Elements
Why settle for stickers when you can pair them with ribbons, glitter, doodles, or pressed elements like flowers?
A little dash of sparkle or a fabric tassel can add personality and dimension.
Here's a creative spark: combine pressed flowers and nature-inspired stickers to create a bookmark straight out of a botanical dream.
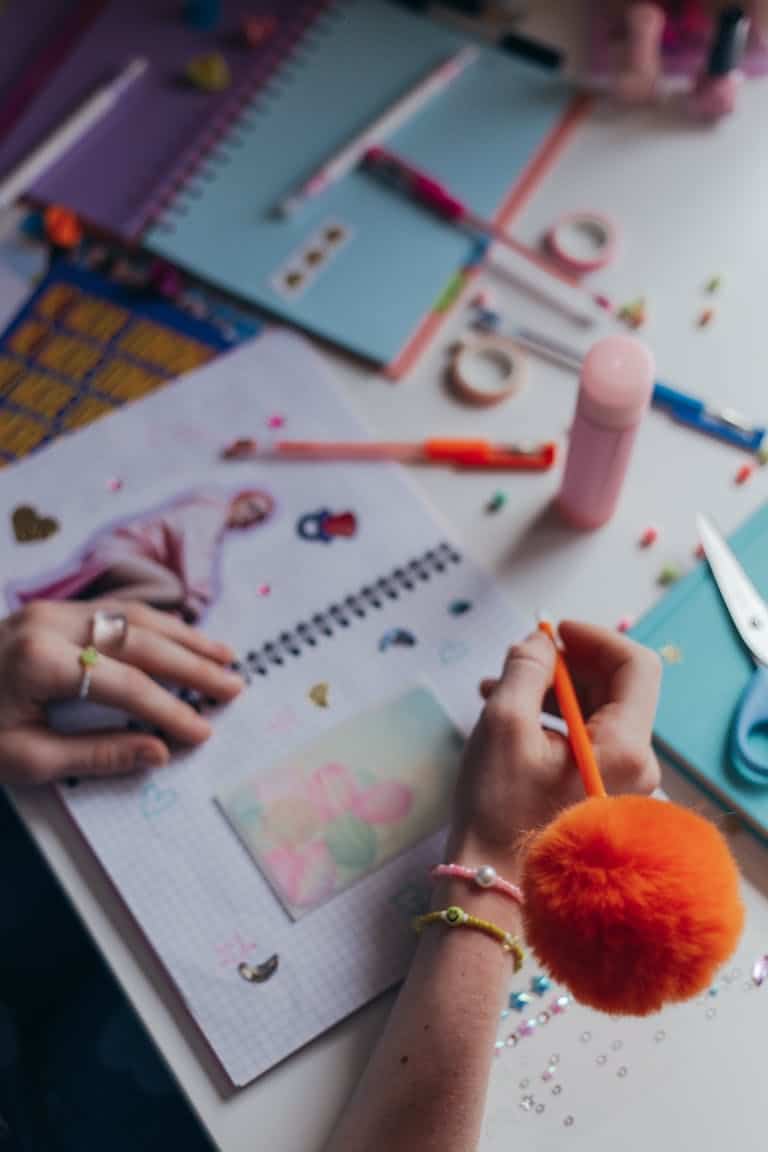
Photo by RDNE Stock project:

Revamping Old Stickers
Got odd or leftover stickers hanging around? Don’t toss them!
Instead, upcycle them into bold and quirky designs.
Start by creating a styled typography design or layering mismatched stickers to produce something entirely fresh and unexpected.
Believe it or not, even random stickers can come together beautifully if layered with intention.
Stuck in a creative rut? Head over to 15 Creative Ways to Use Stickers. You'll leave with fresh ideas and a smile.

Tips to Care for and Preserve Your Handmade Bookmarks
Handmade bookmarks not only keep your place in a book but also carry sentimental value, whether it's a piece you created yourself or a thoughtful gift from someone else.
Preserving your bookmarks ensures they can stand the test of time and remain as beautiful as the day they were crafted.
Protect the Surface from Wear and Tear
One of the easiest ways to keep your bookmark looking pristine is by giving the surface some protection.
Laminating your bookmark or using a clear contact sheet is an excellent way to shield it from moisture, dust, and smudges. Once covered, your bookmark gains added durability while retaining its charm.
For smaller bookmarks, sticker enthusiasts often recommend applying a layer of clear-drying glue to seal both stickers and the edges.
This works particularly well if you've used washi or paper stickers, as it prevents corners from peeling over time.

Store Your Bookmarks Properly
When not in use, it's a good idea to store your handmade bookmarks in a safe, flat space where they won’t risk being bent or scratched.
Options like an envelope, a small bookbinder, or even a designated folder work wonders.
A tip: Repurpose an old photo album, those clear sleeves protect against creases, and it’s an organized way to show off your collection.
Avoid placing your bookmarks in humid or damp areas, as this can lead to warping.
Similarly, don’t leave them near direct sunlight for long periods, especially if they contain printed designs or glued elements, as exposure may cause colors to fade.
Handle with Clean and Dry Hands
It might sound basic, but caring for your bookmarks starts with how you handle them.
Always make sure your hands are clean and dry before picking up your bookmark.
Oils or debris can transfer easily, leaving unsightly spots or smudged areas.
If your bookmark accidentally gets soiled, gently wiping it with a slightly damp microfiber cloth usually does the trick just avoid soaking it, as water may damage the materials.
Extend Life with Thoughtful Touch-ups
Over time, even well-cared-for bookmarks might need a touch-up. For example, if your corners start curling, you can reapply a bit of glue to secure them back into place.
Torn areas? Clear tape on the back can reinforce the tear without altering the front design.
Think of your bookmark like a small art piece: little repairs here and there help sustain its beauty.
Keep It Clean and Fresh
Dust and random stains are the nemesis of paper-based bookmarks. A light dusting every now and then ensures dirt buildup doesn’t ruin intricate designs.
If you’ve opted for fabric or mixed-media bookmarks, giving them occasional gentle cleaning can go a long way.
For an extra layer of protection, you could also experiment with resin-coated finishes. This method not only seals the bookmark but also adds a polished, professional look.
Taking care of your handmade bookmarks doesn’t have to be complicated; simple steps can keep them looking as delightful as the day you made them.
These tips are easy to incorporate into your routine, giving your bookmarks the longevity they deserve while protecting the memories they hold.

Turning Bookmarks into Creative Keepsakes
Bookmarks don’t have to be just for you; they can easily become cherished gifts.
Imagine personalizing a set of custom bookmarks for your book club members or sending a set to a friend who shares your love of stickers. It’s simple, heartfelt, and guaranteed to make anyone’s day brighter.
If you’re gifting bookmarks, add an extra personal touch like including the recipient’s favorite quote or using their favorite colors.
Package them beautifully in a small envelope or tie with a ribbon to add a finishing touch that says, “This was made just for you.”
Sharing your bookmark creations is all about spreading joy and creativity, whether it’s through photos, swaps, sales, or thoughtful gifts.
Remember, each bookmark is a tiny masterpiece that reflects your unique style and effort.
Take pride in showing the world what you’ve made, you never know who will be inspired by it!
Ready to keep the inspiration going? Try out more sticker-based projects for endless opportunities to create something magical.
Love and messy buns,
❤️
Cynthia McDonald
Creating stationery and sticker goods for women who crave creativity in the chaos
Make sure you add one of these Pinterest Pins to your Pinterest Bookmarks Board to keep it handy when you are ready to start creating!